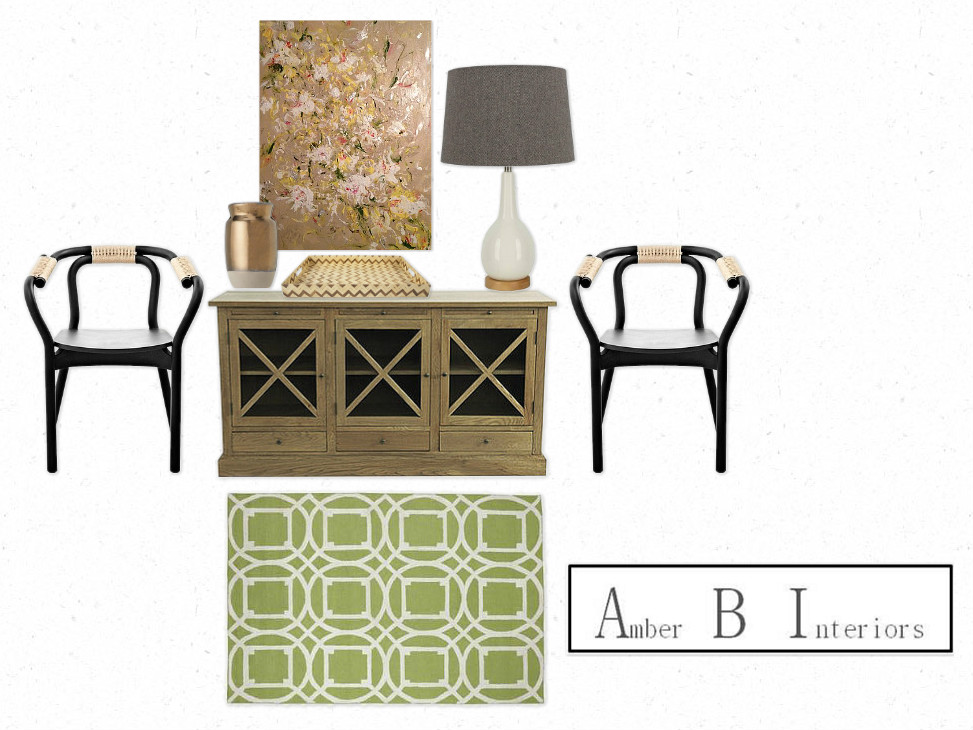
I definitely love interiors with some blue and green mixed in. That seems to be my favorite right now, especially with some browns and grays. So it is no surprise then, that I have been drawn to landscape art. I love the way it brings the outdoors in and ties together all of the colors that I love. And when clients come to me also loving that color combo… it’s amazing! Here are some great prints from Minted that have caught my eye, lately…
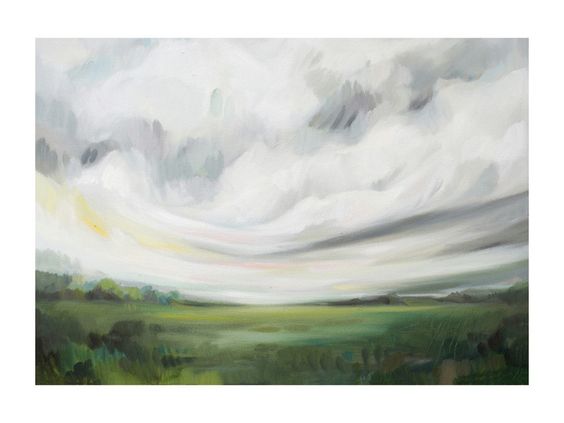
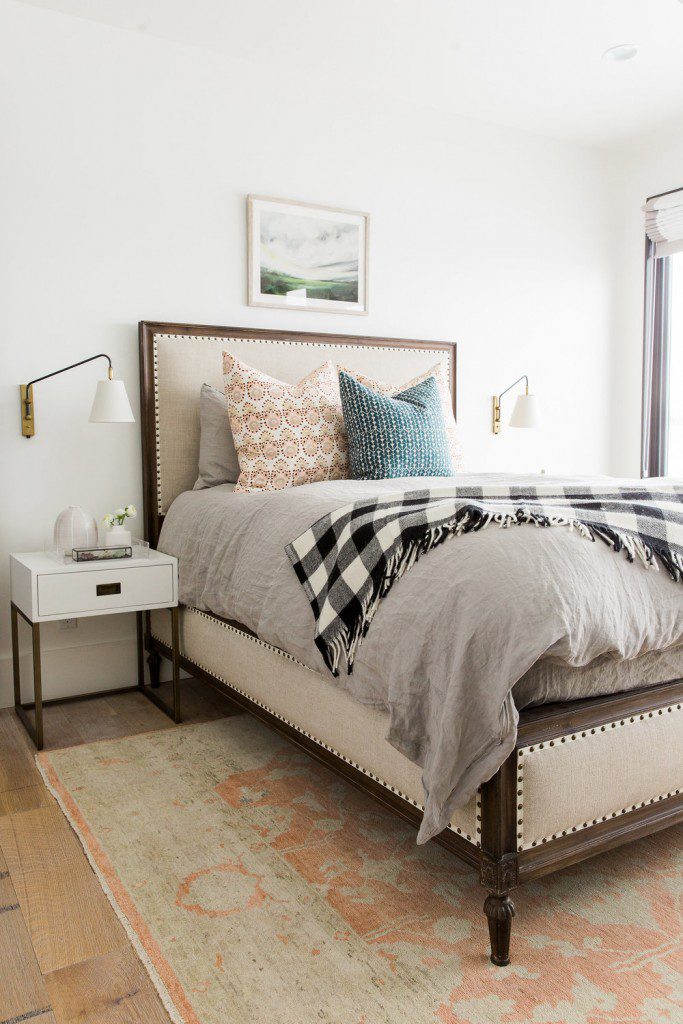
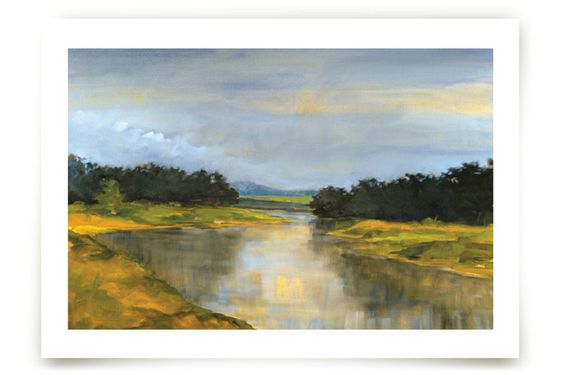
You can see the ‘Mornings Away’ print in Studio McGee’s latest Modern Mountain project…
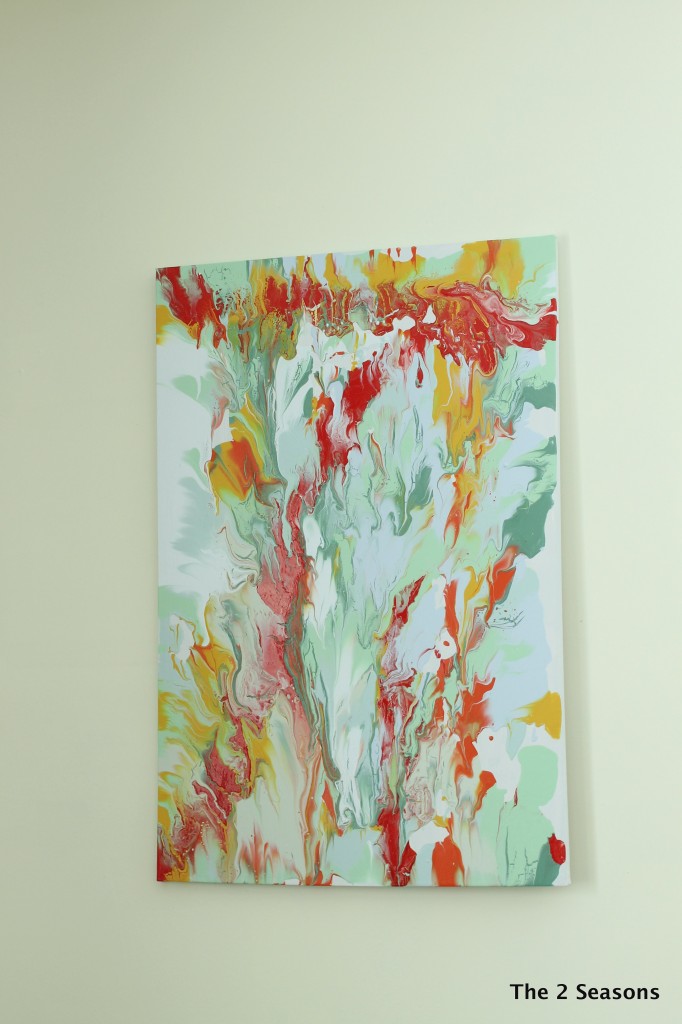
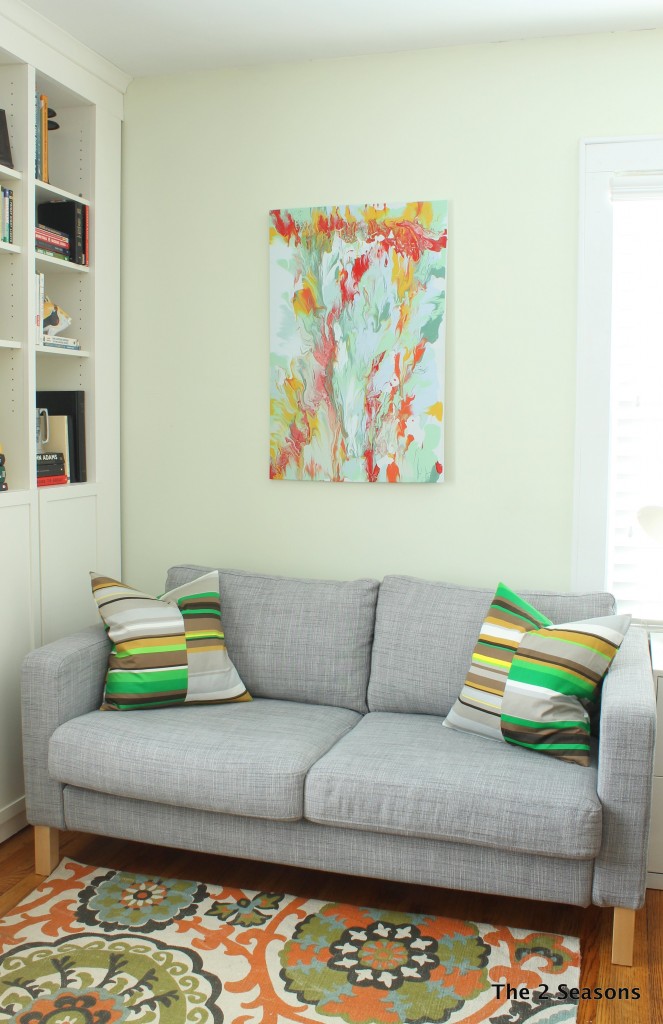
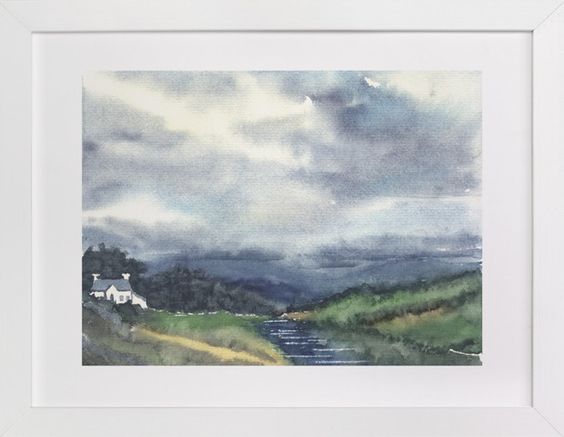
I have used both above prints in design projects and they are beautiful! They bring so much to a design.
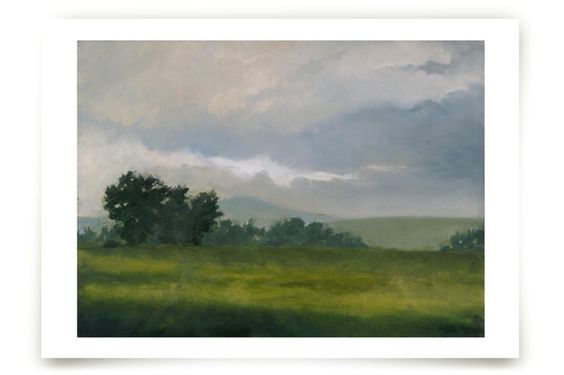
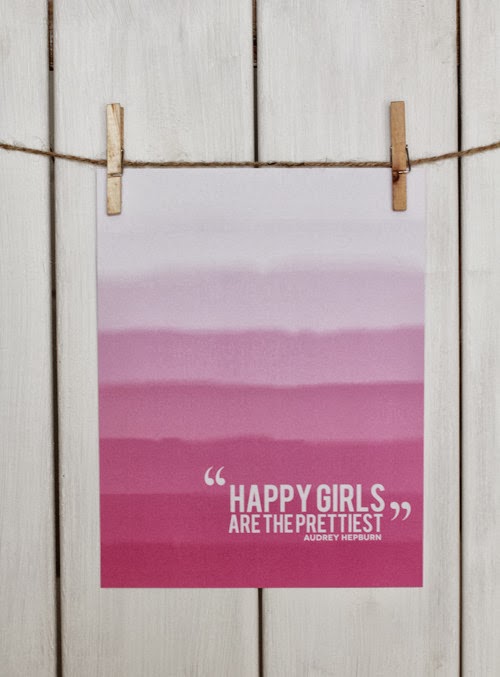
The two above prints are both from the same Minted artist. I just love shopping for art on this site, knowing that I am supporting independent artists. Adding prints like this to a gallery wall, will work great with some modern art mixed in…
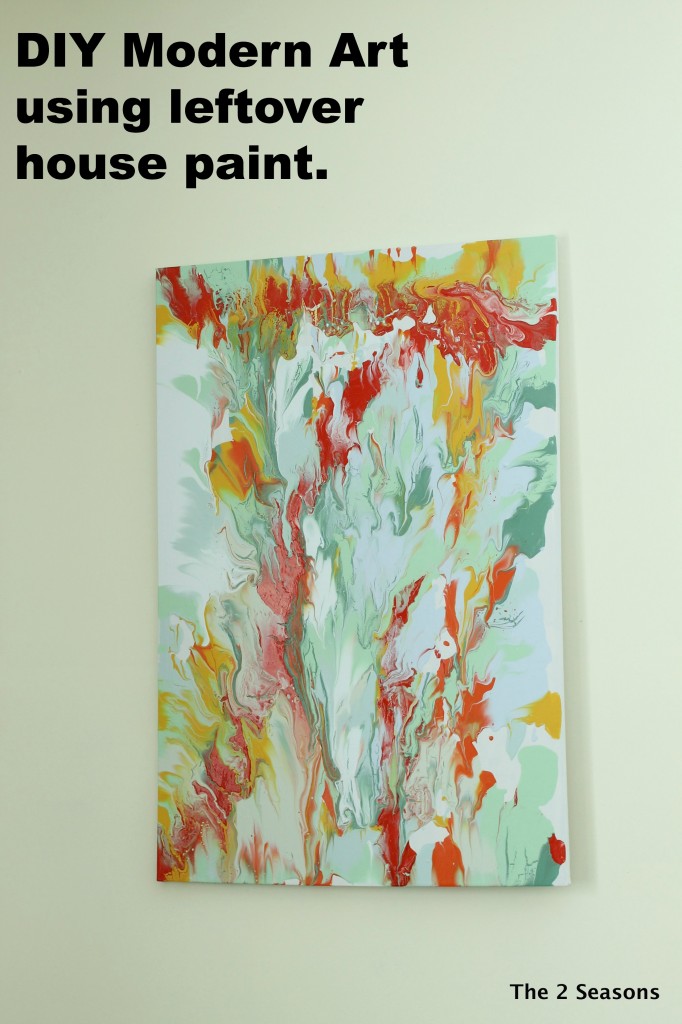
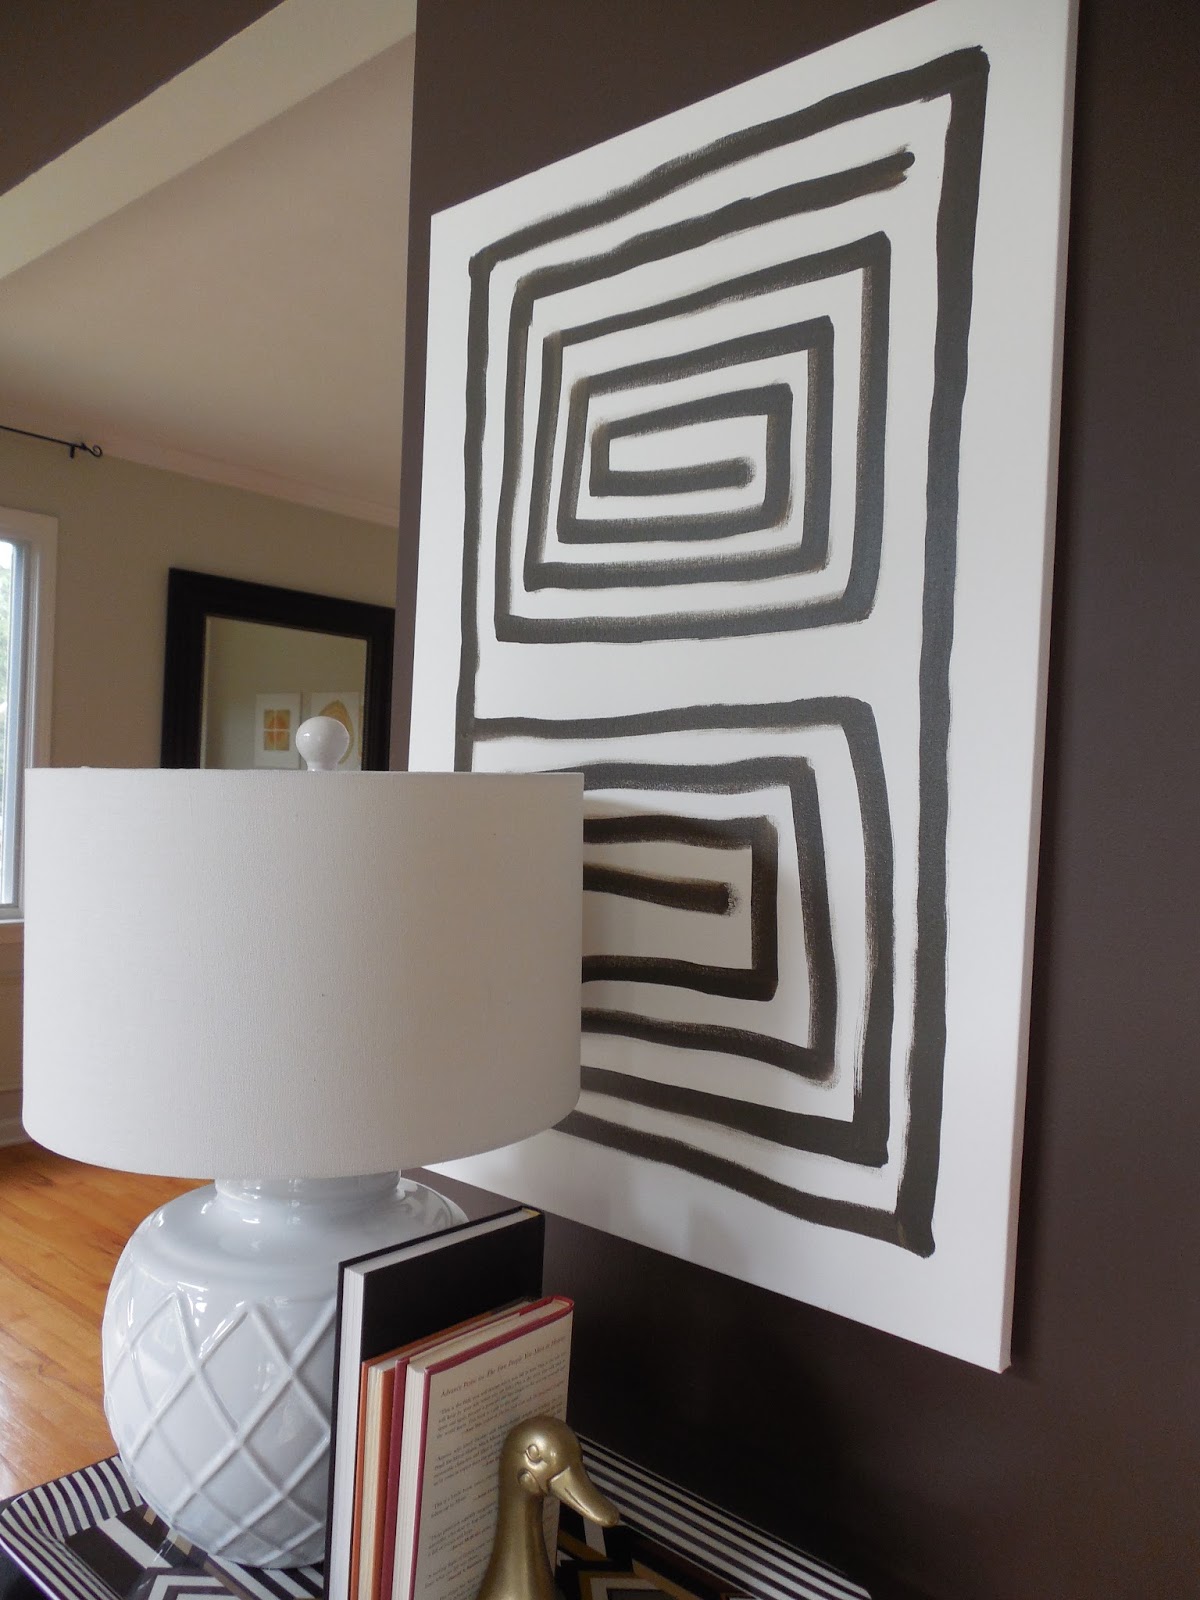
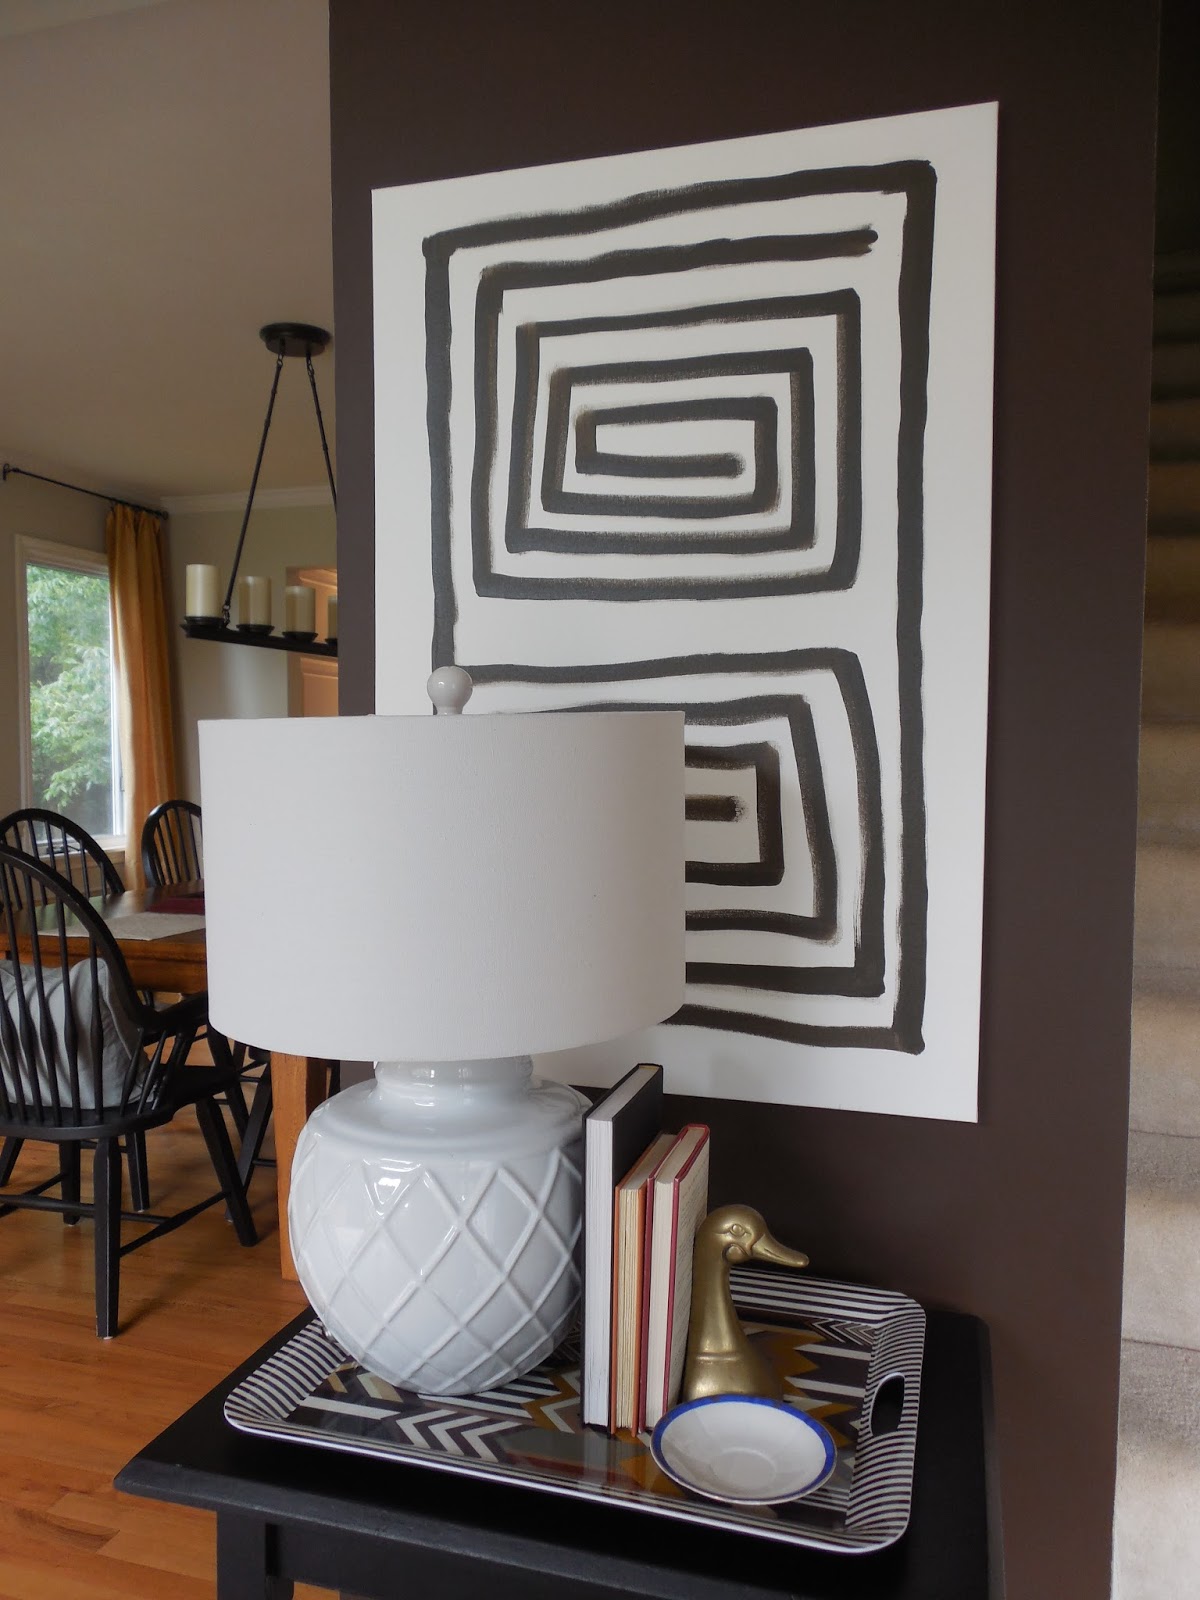
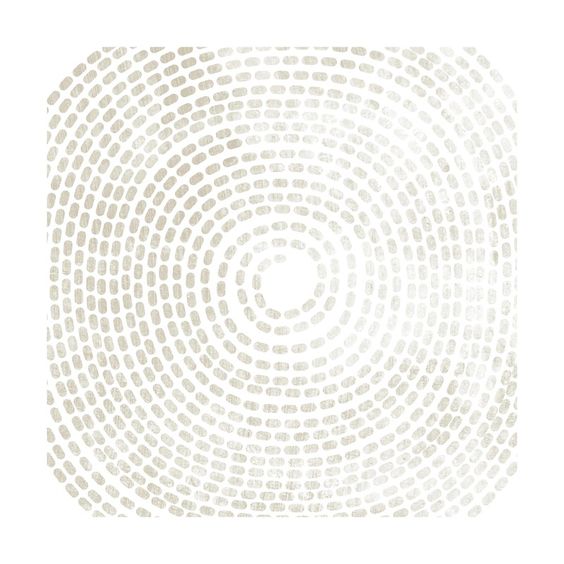
Like this
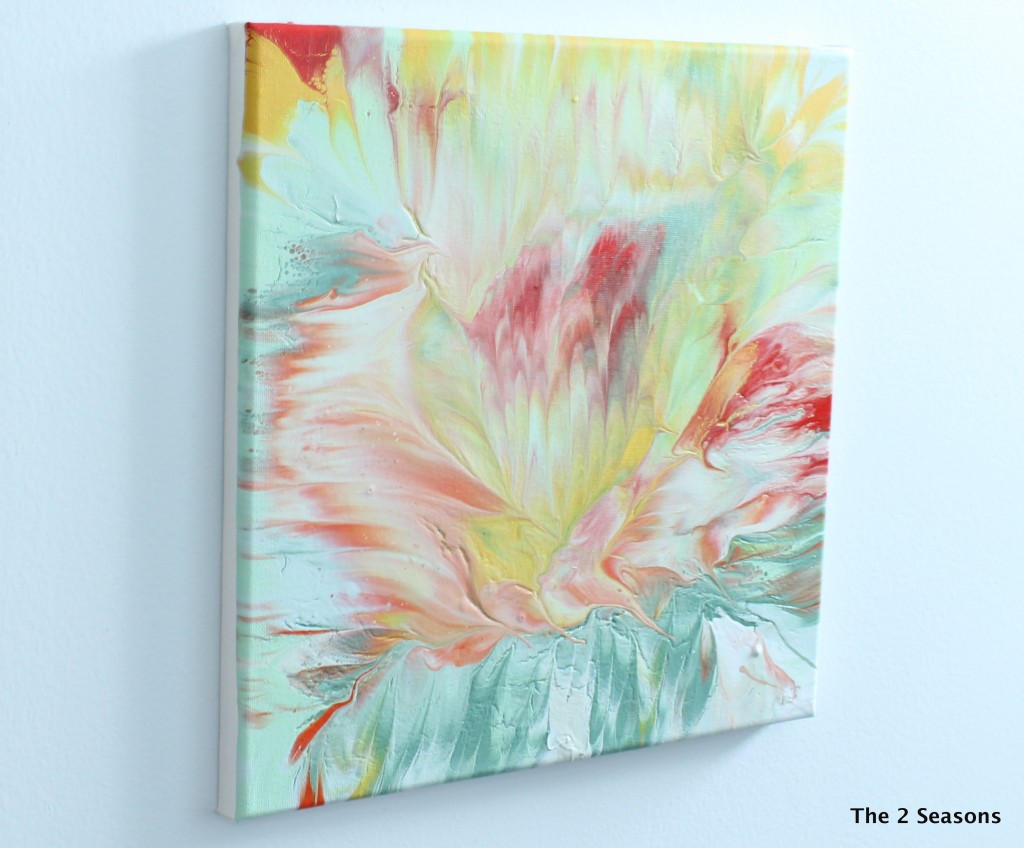
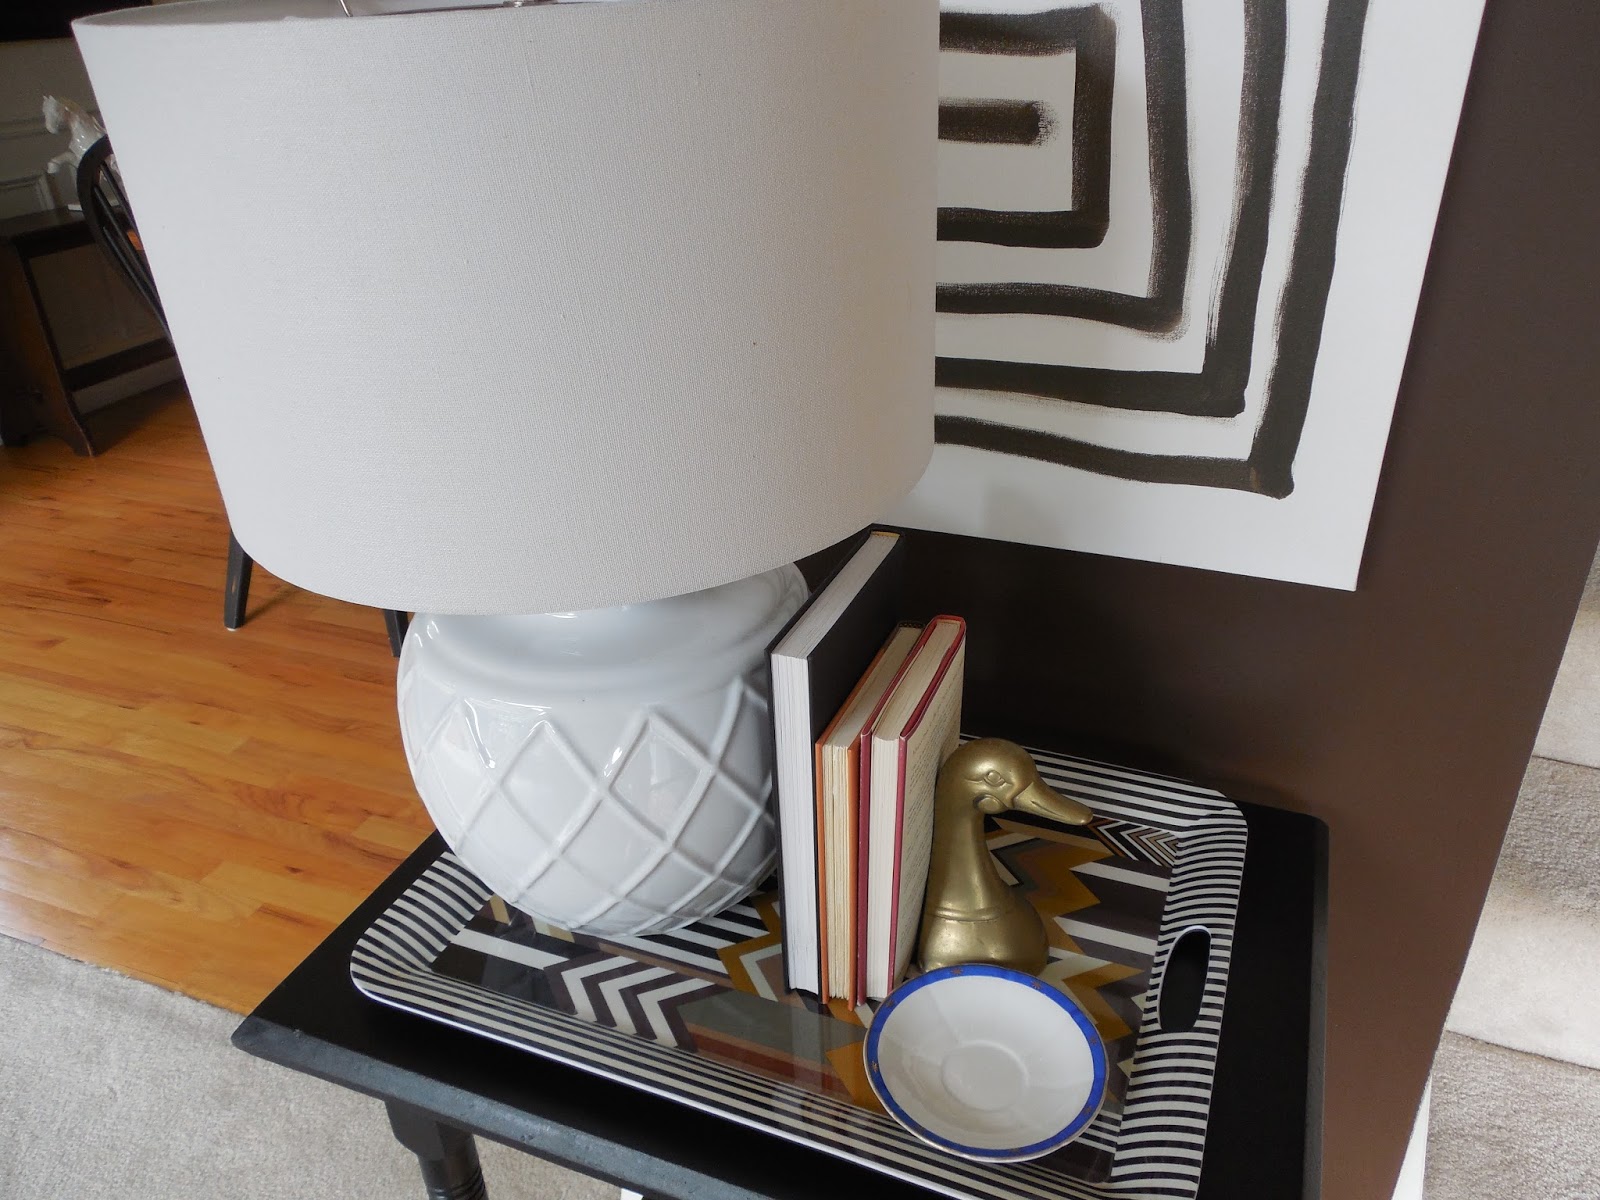
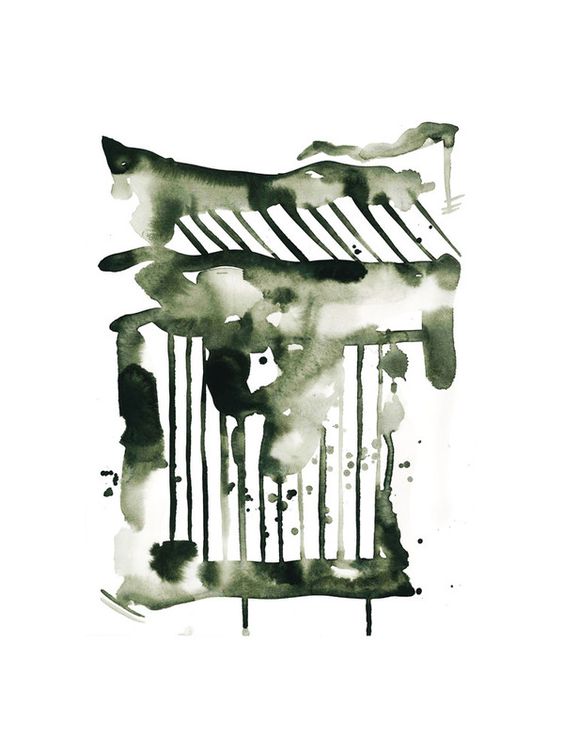
And this
Do you have a favorite art style?!?