Amber B Design Studio

Interior Design & Decoration for the South Florida region

  • Home
  • About
  • Services
  • Portfolio
  • Blog
  • Press
  • Contact

Ready for the New Year!

January 17, 2023 by Amber Filed Under: #ProjectClassicCoastal, #projectclassicliving, amber b design, amber b design at home, family room, living room, local clients

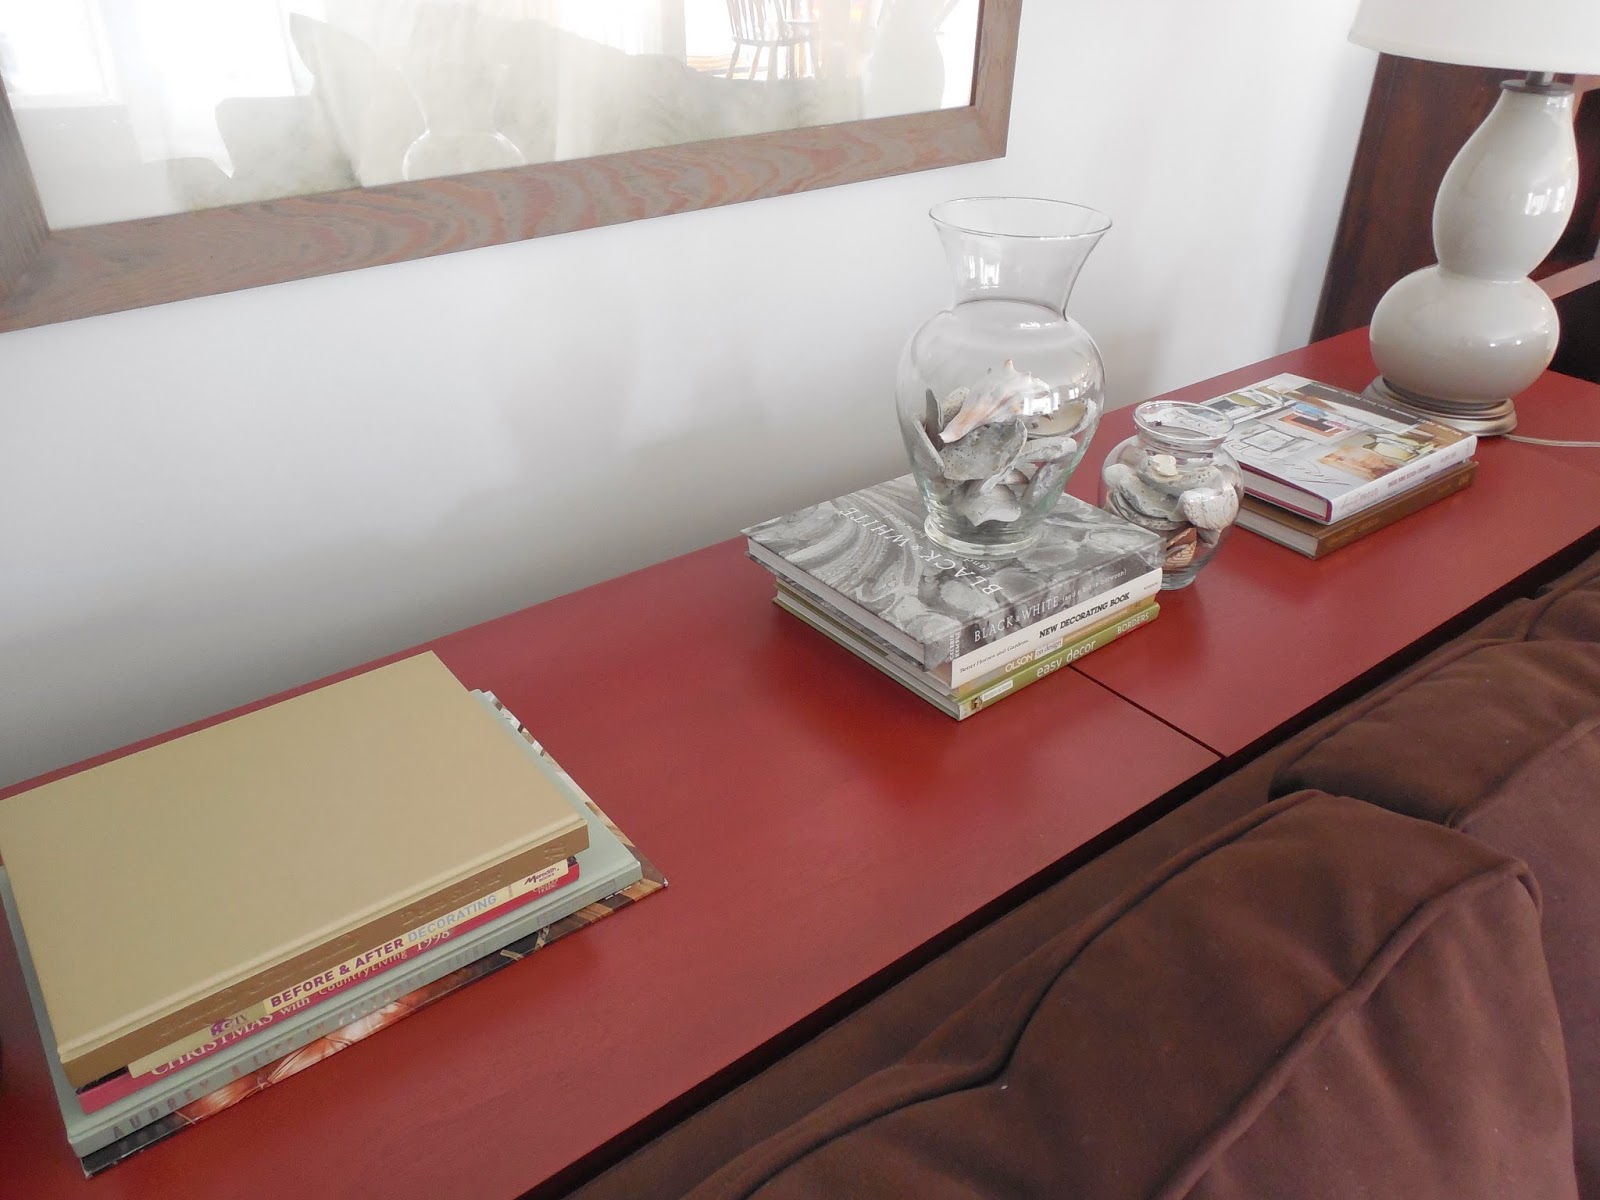
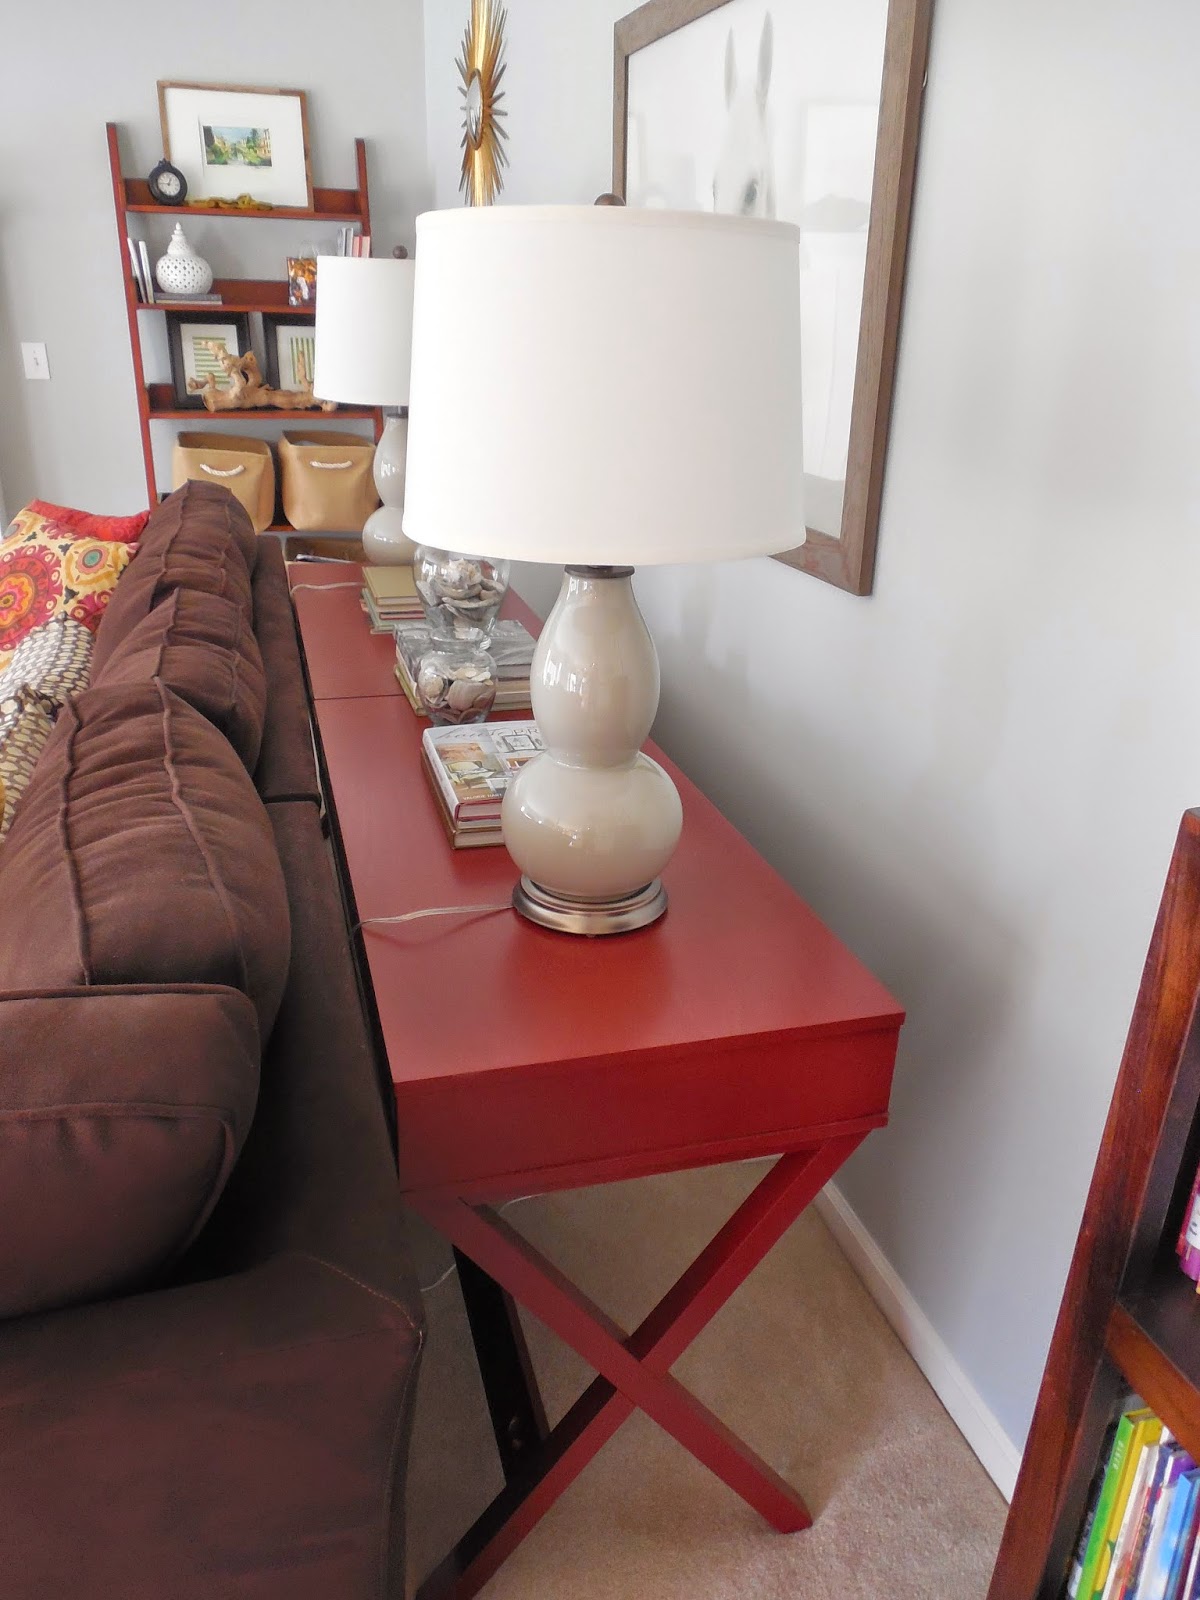
It has been a while since I have opened up this blog and did some writing! I do miss it and want to check in every now and then with changes around our home, design project updates and anything and everything design. So, let’s jump right in! After the holidays, the house always feel so much more bare than before the tree went up. That wall where the tree stood was empty before Christmas, but why does it feel so bare now?!? So, I do what I have always done and shop around my home to switch things up and breathe new life into old accessories. Of course, that becomes a domino effect and moving things from one room to another leaves an empty space where the accessory was before! It’s never ending, but fun at the same time.

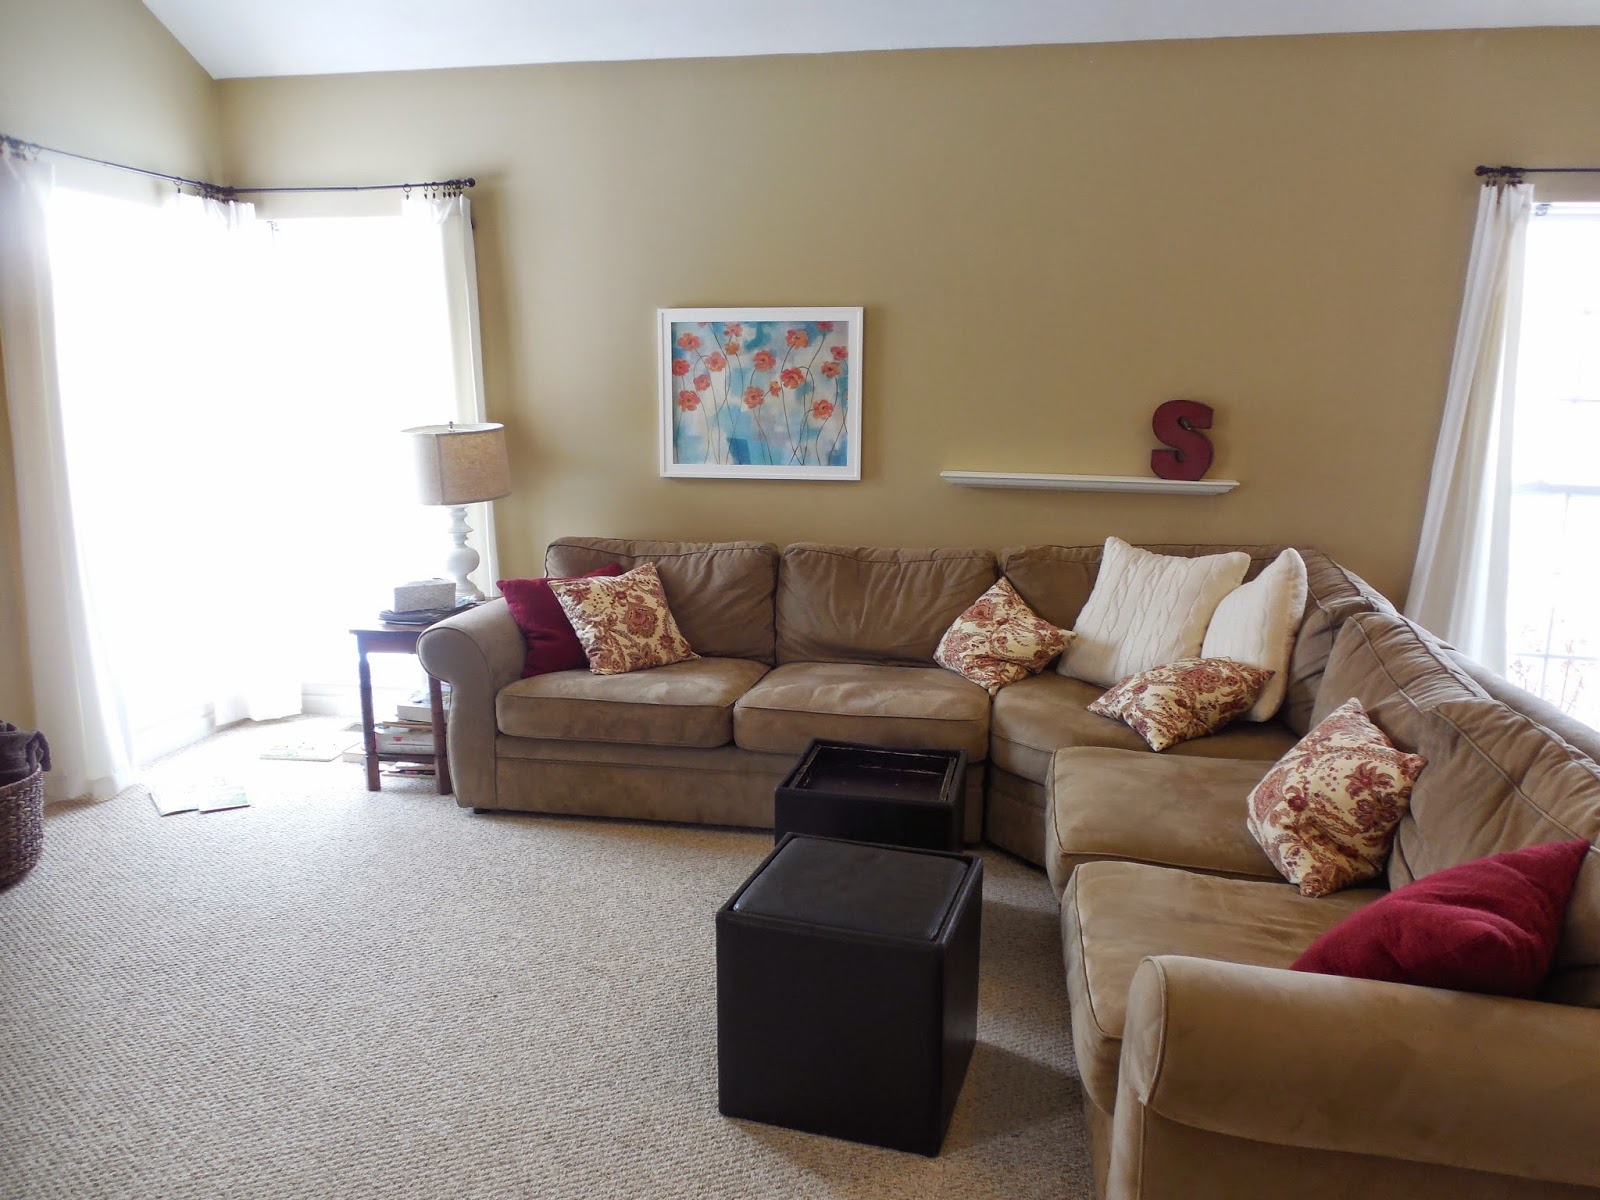
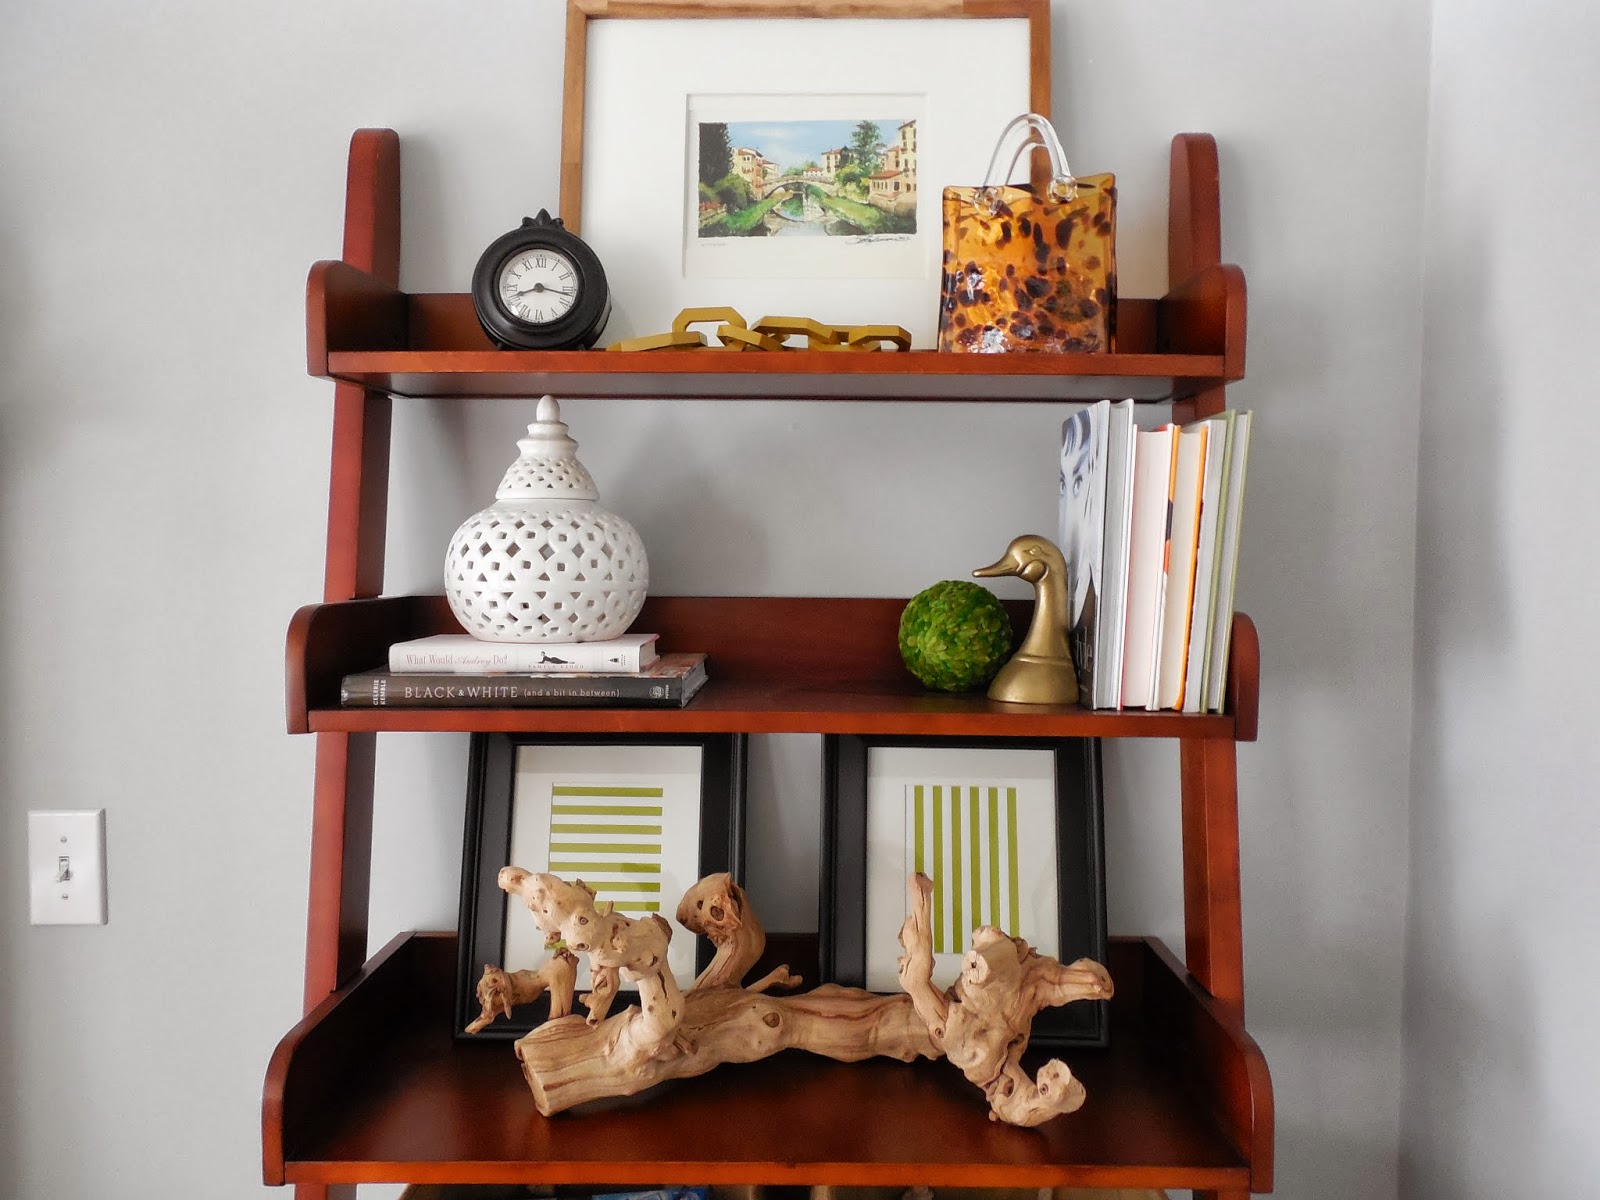
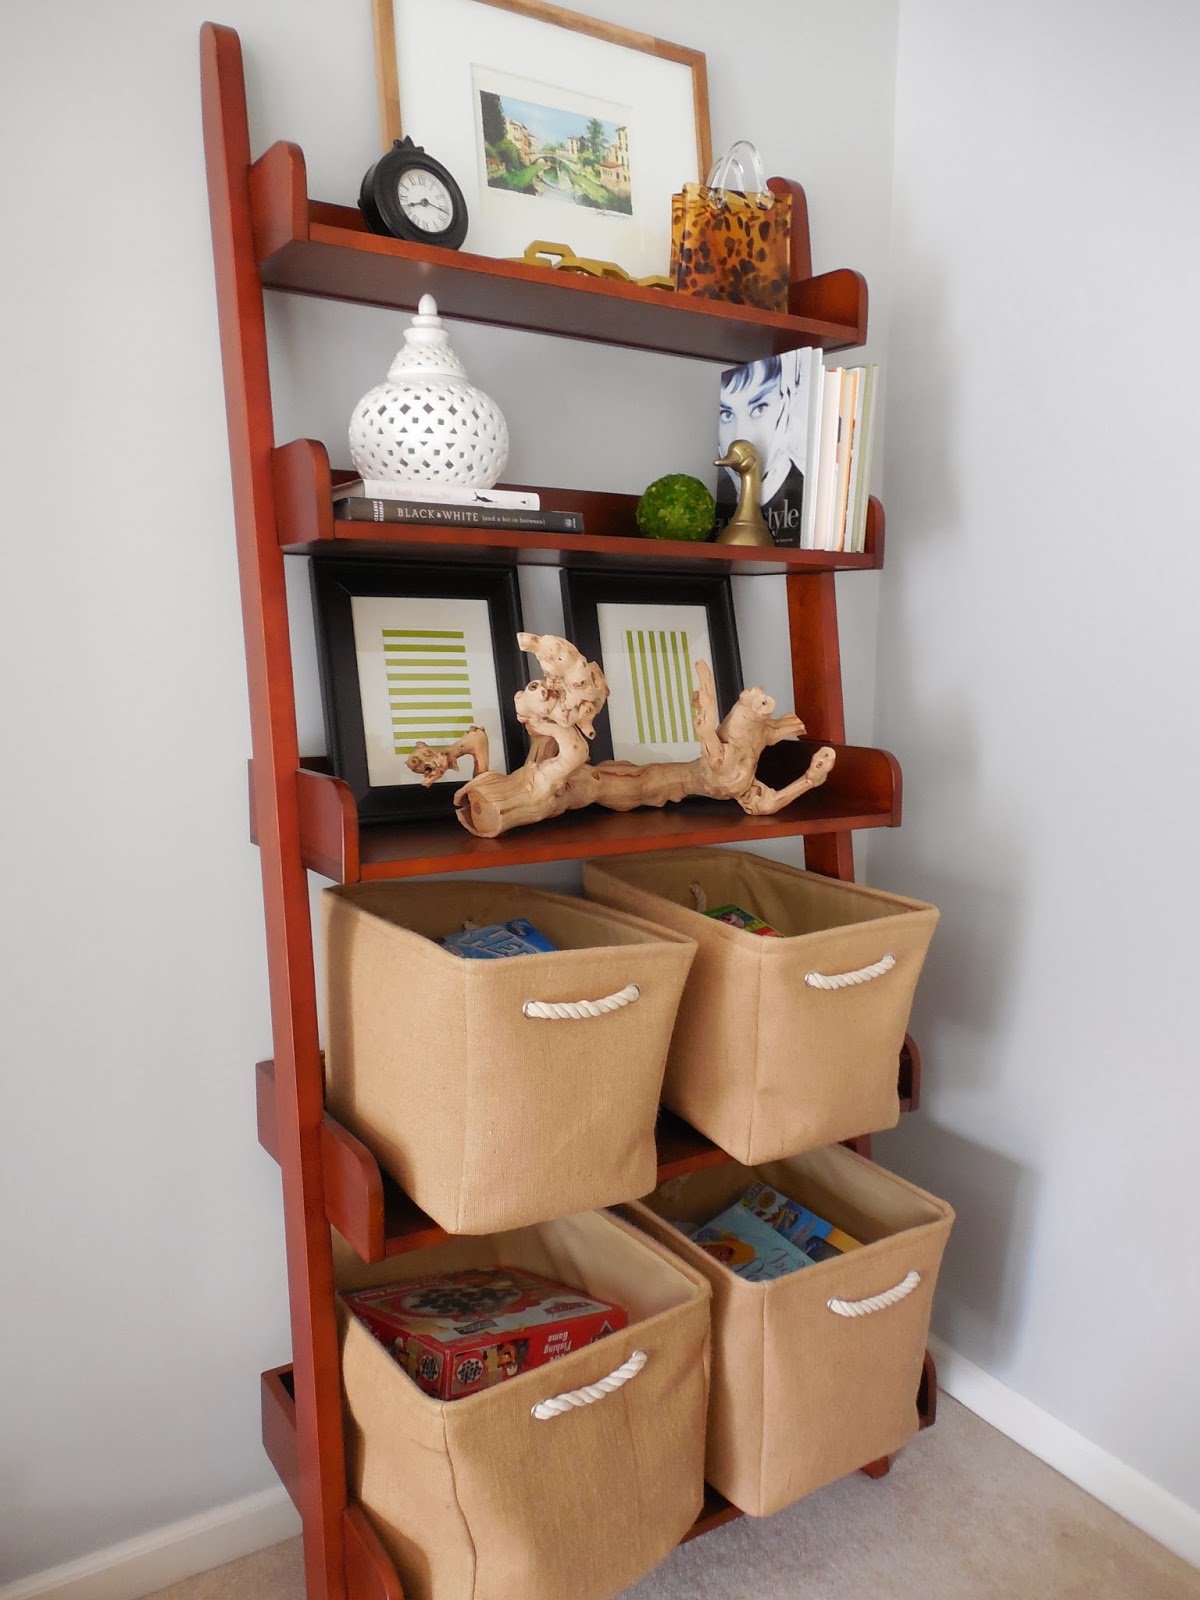
Our tree was to the left of the television in our family room. So… not liking that empty space after the holidays, I moved our living room ladder in there!

An old ladder with a new home!

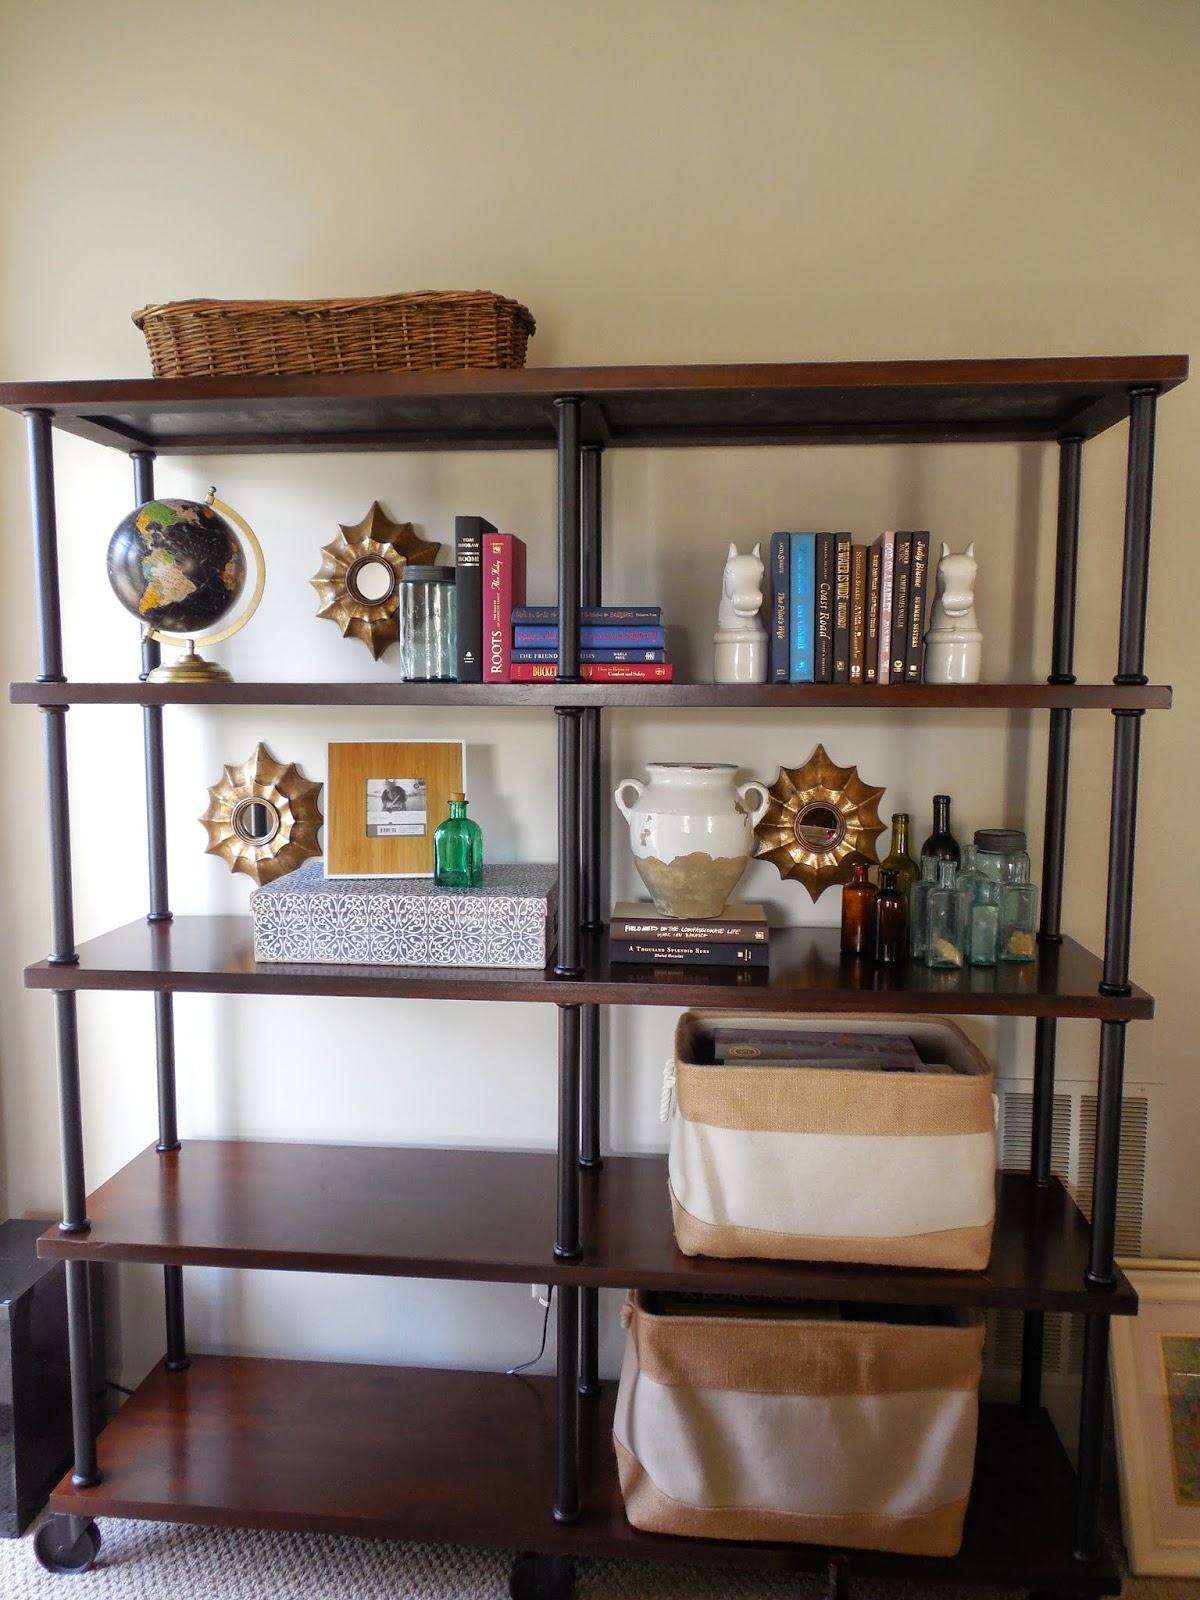
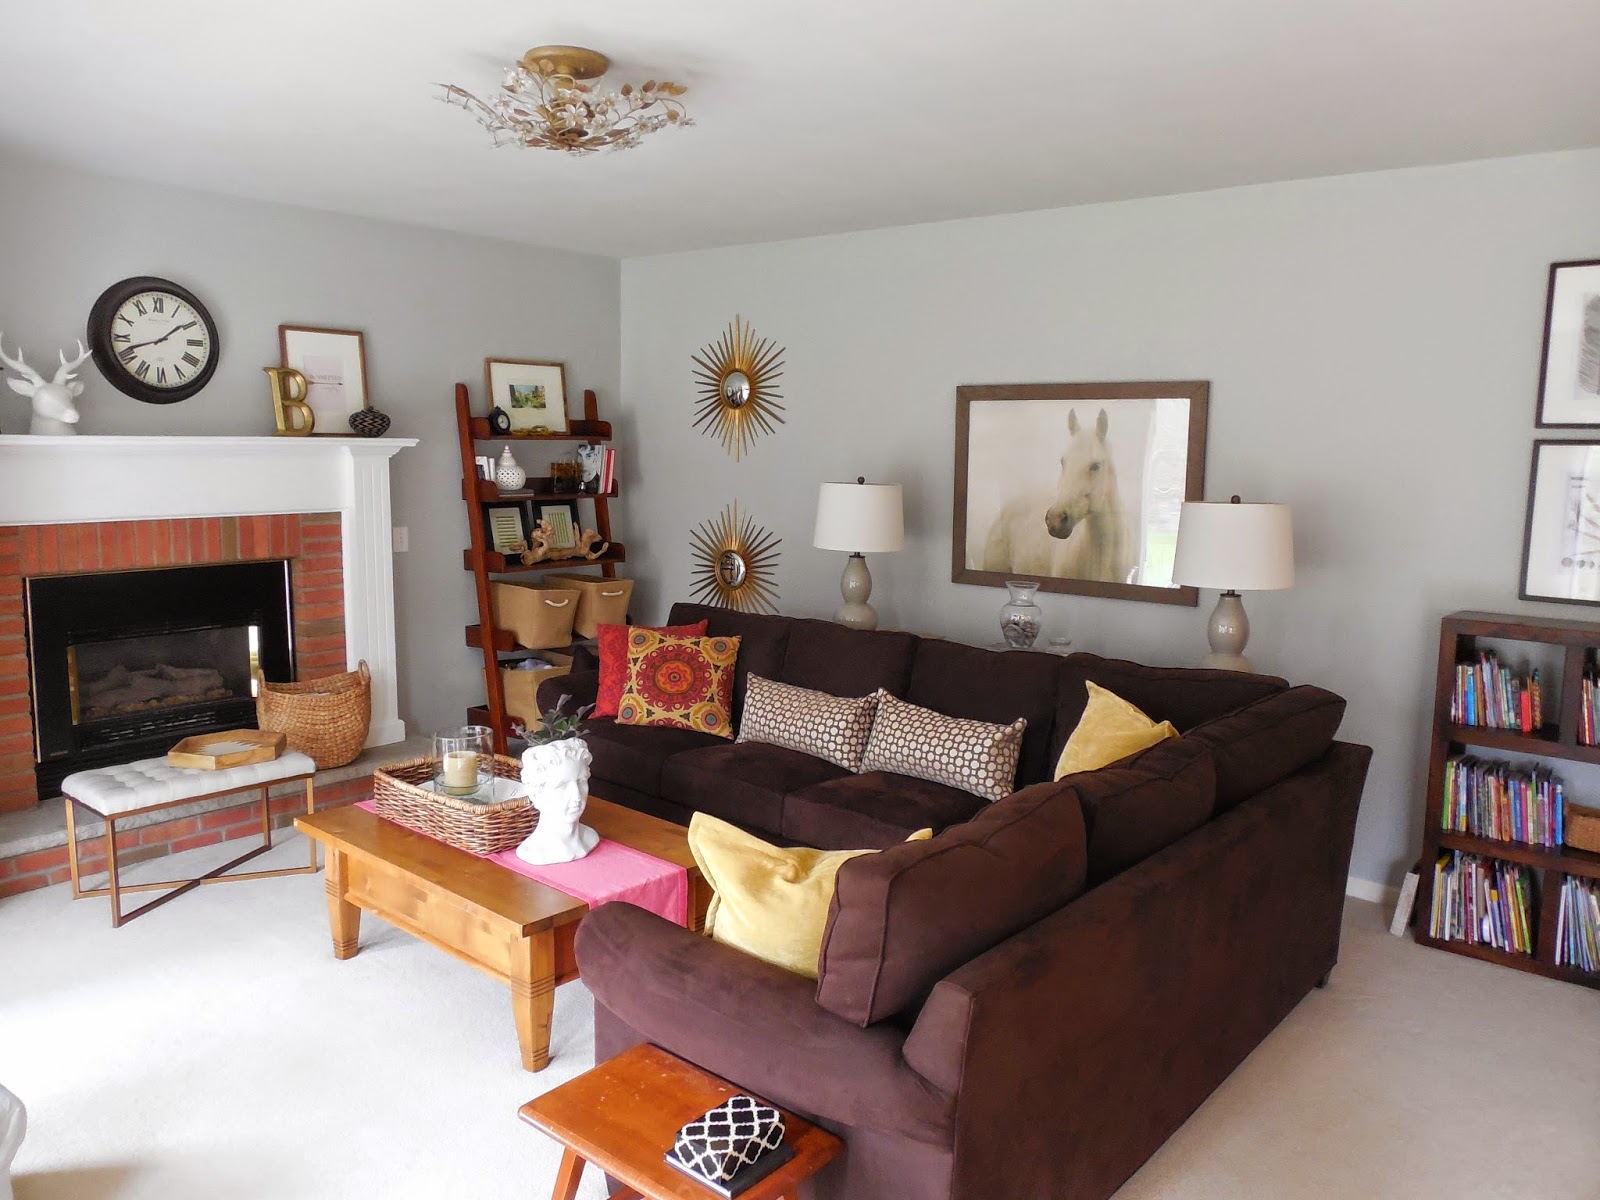
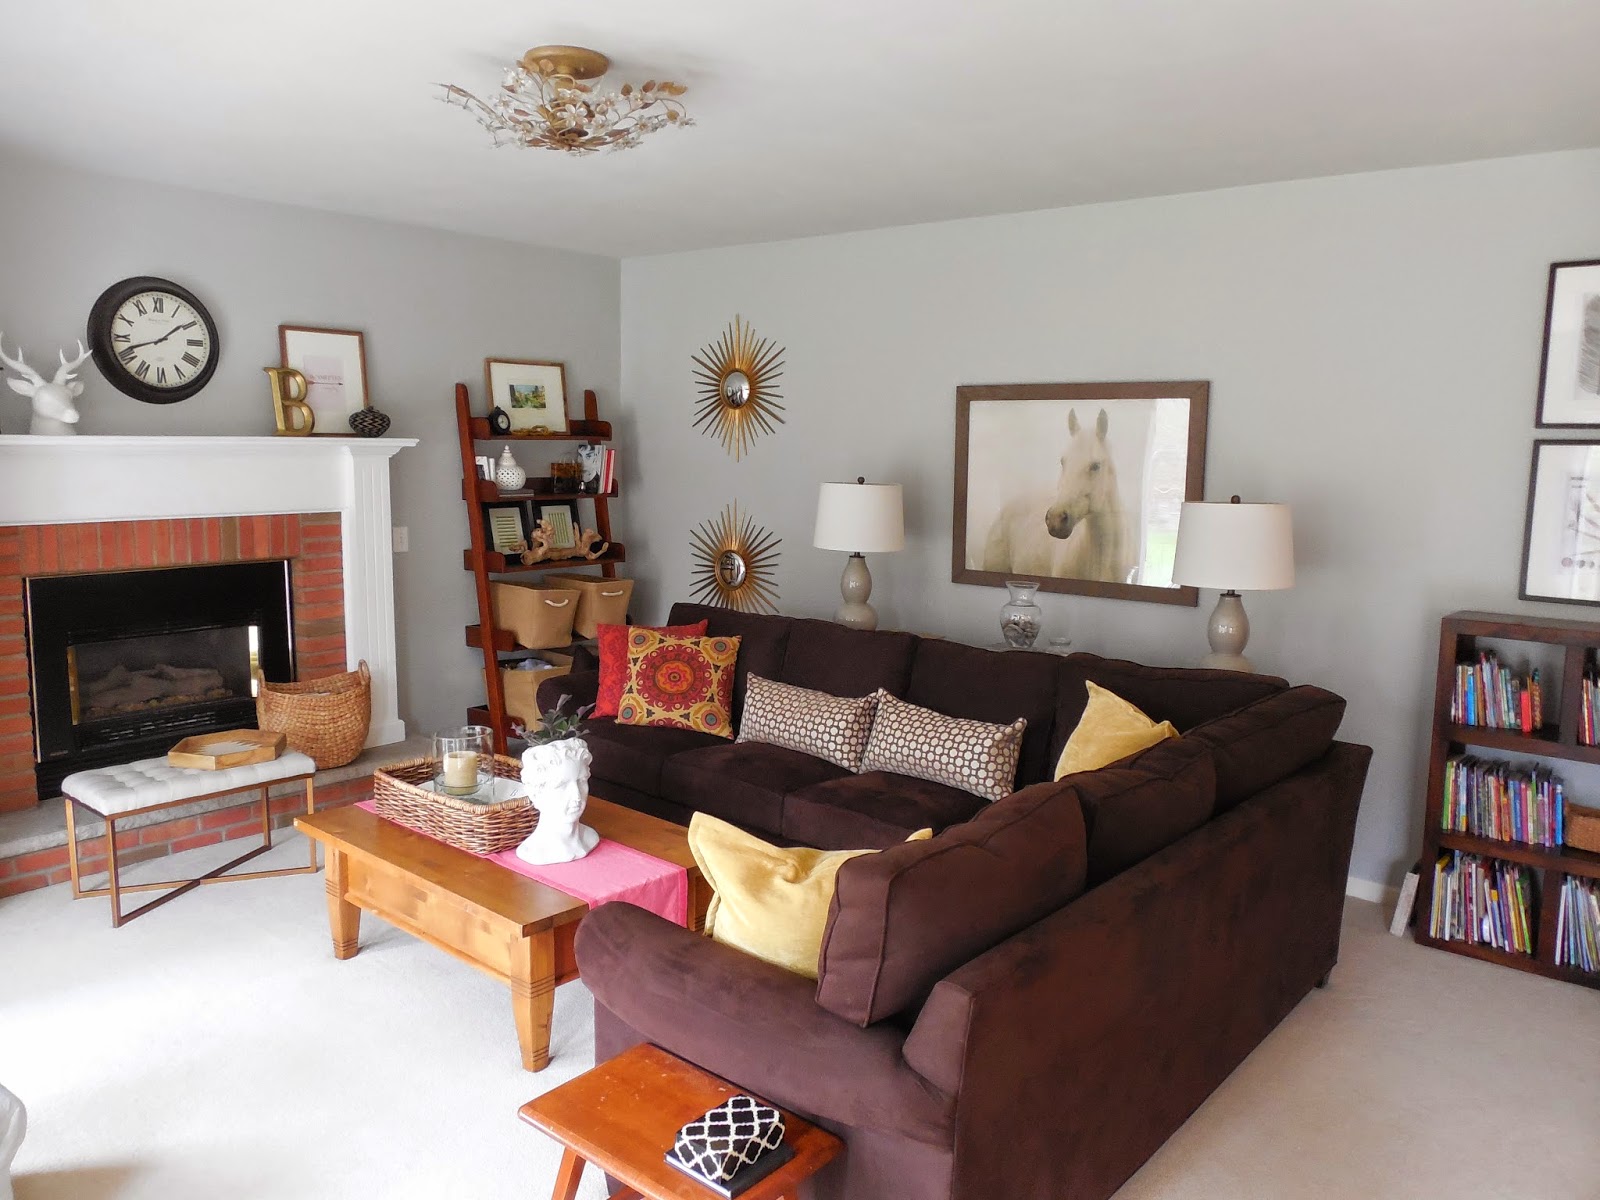
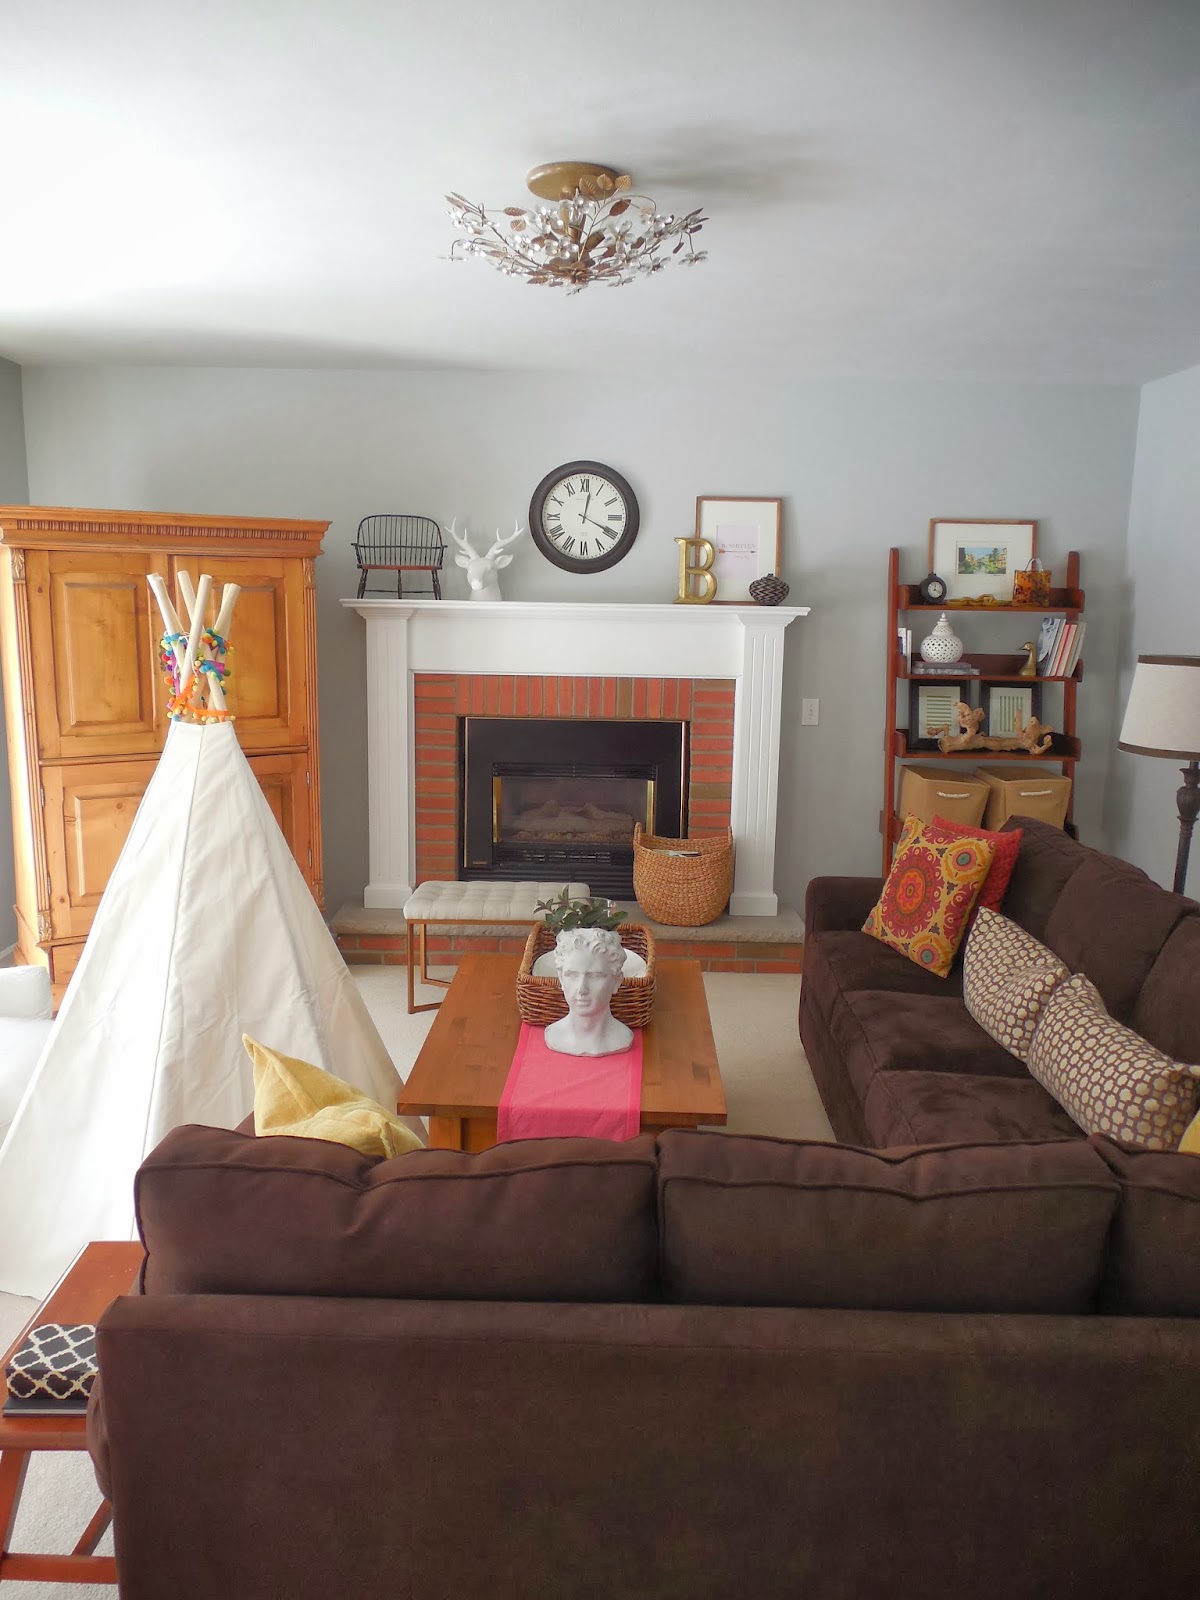
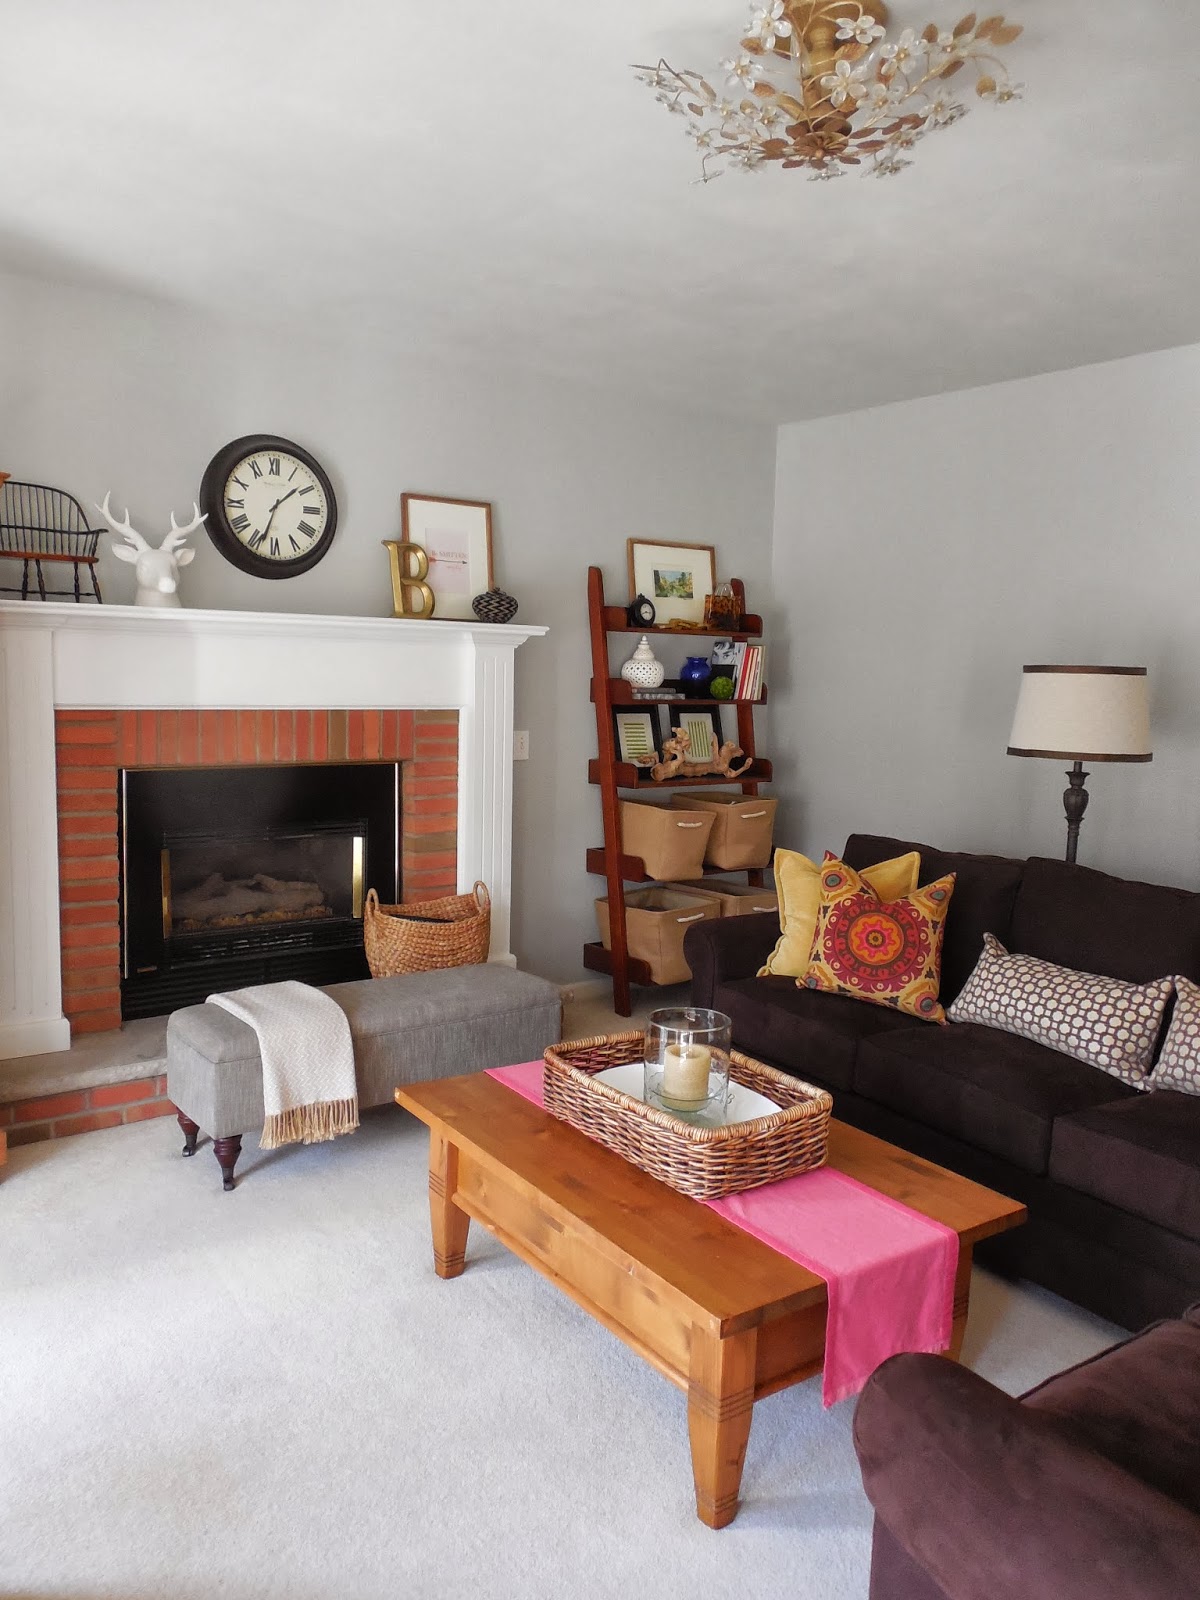
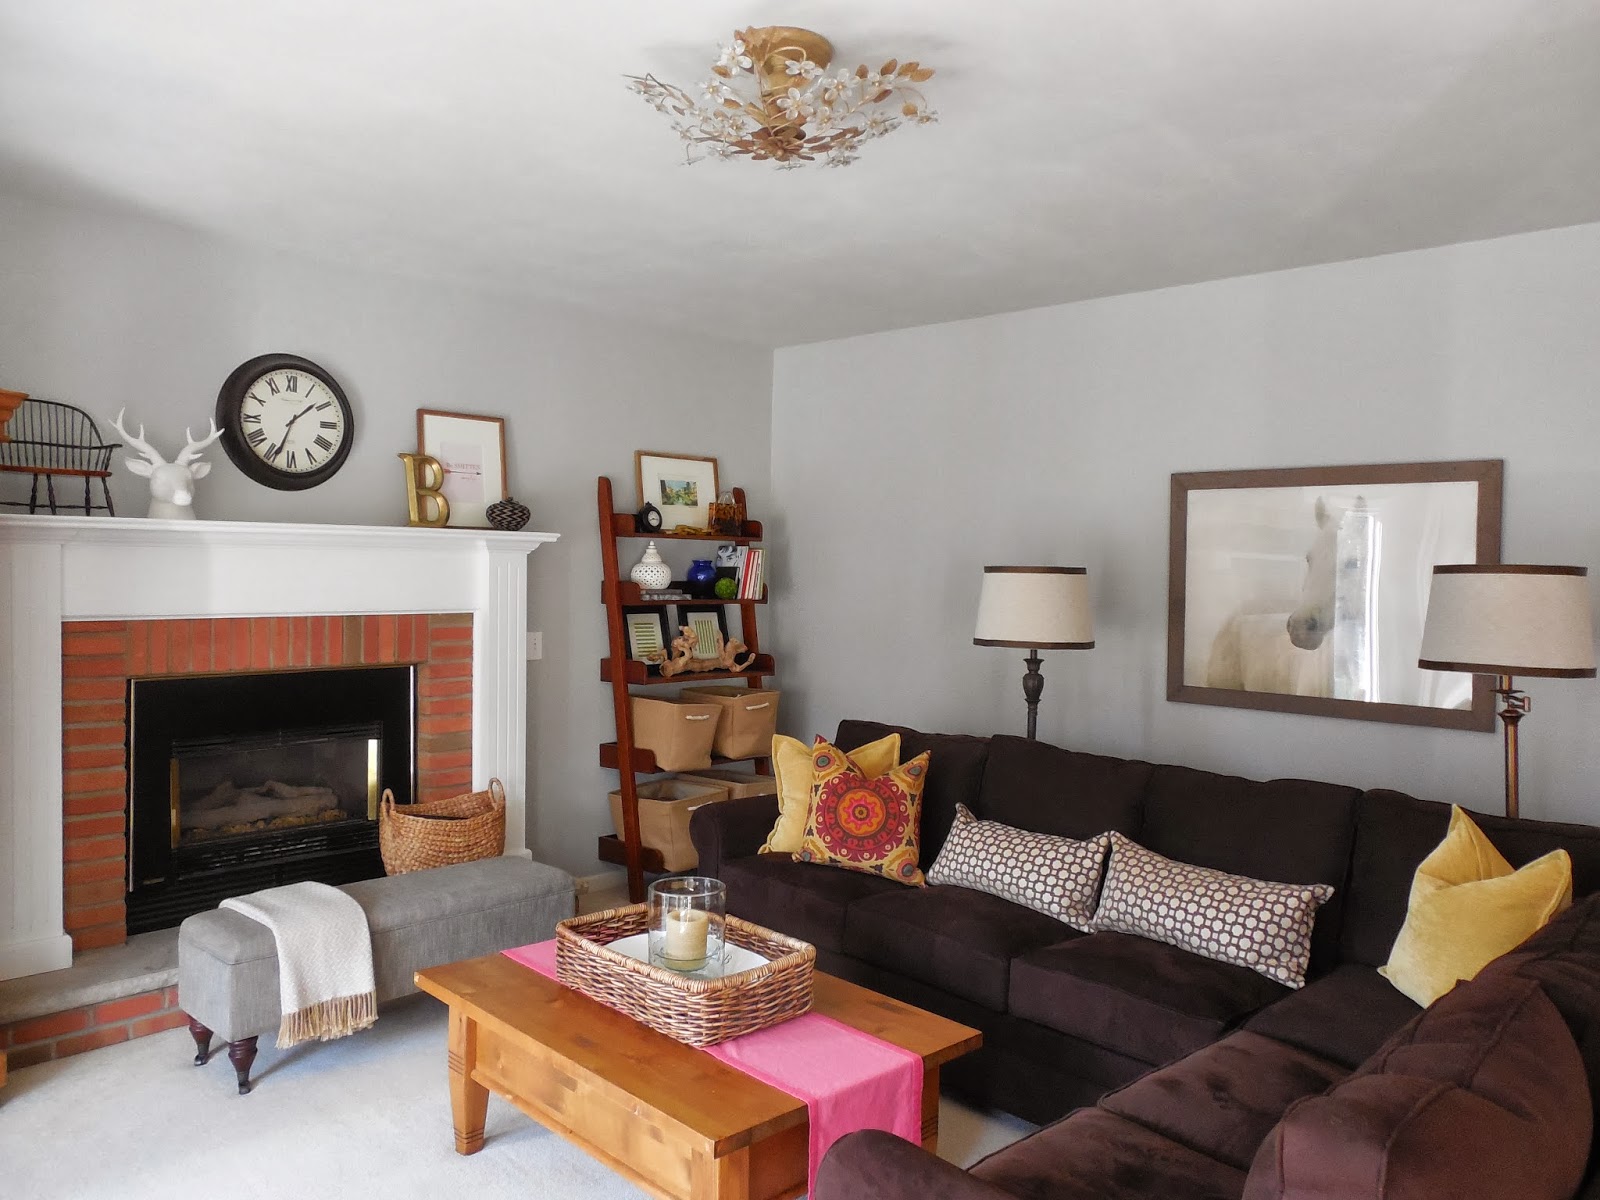
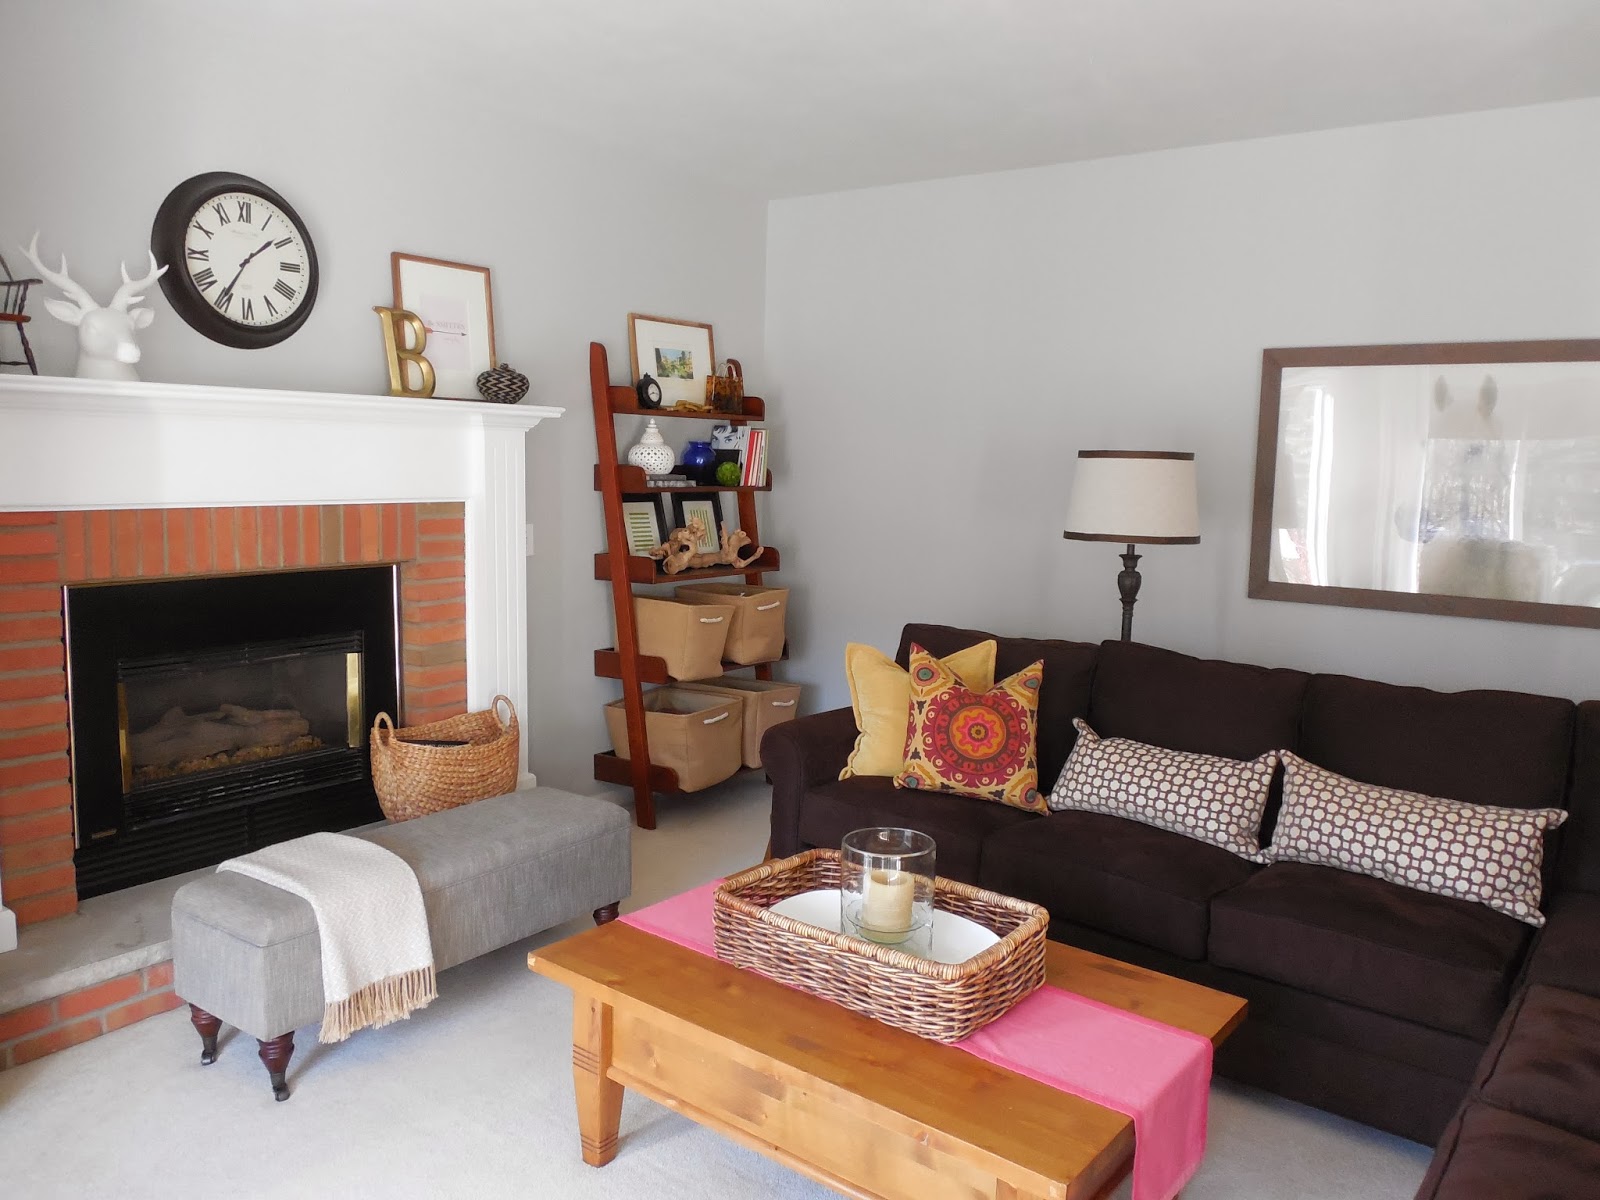
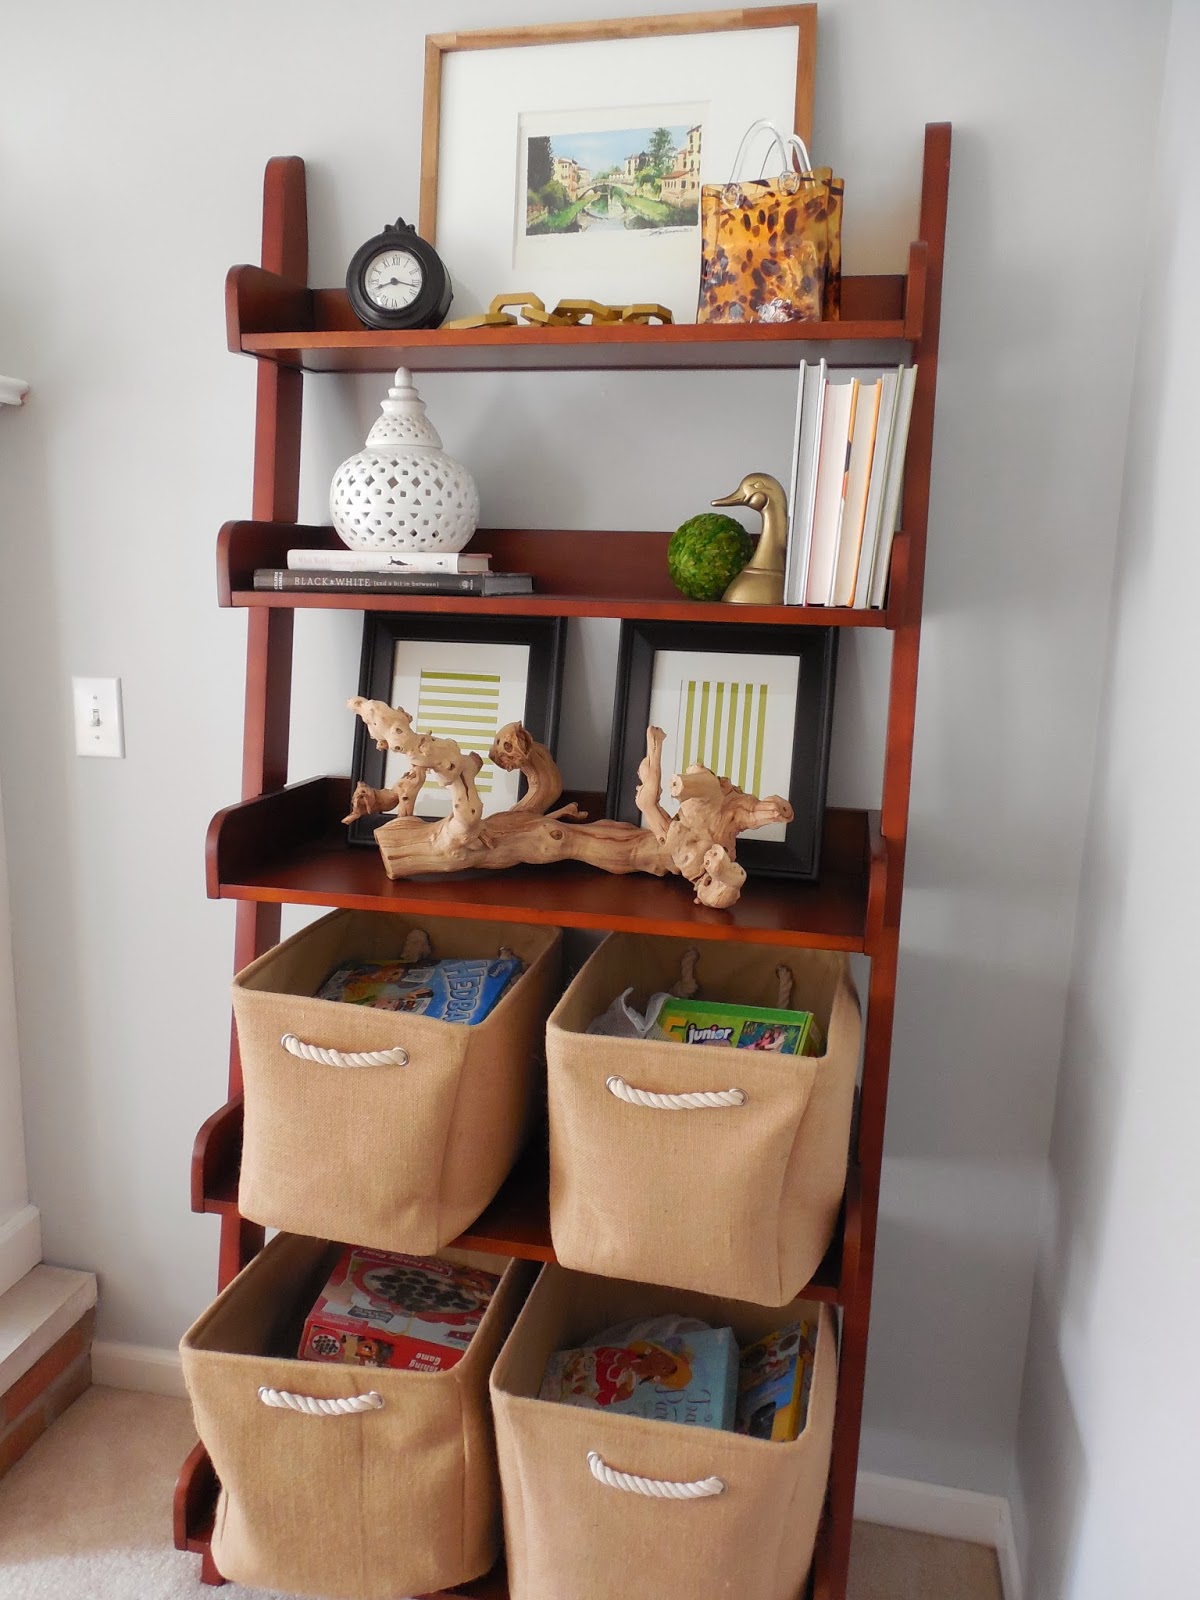
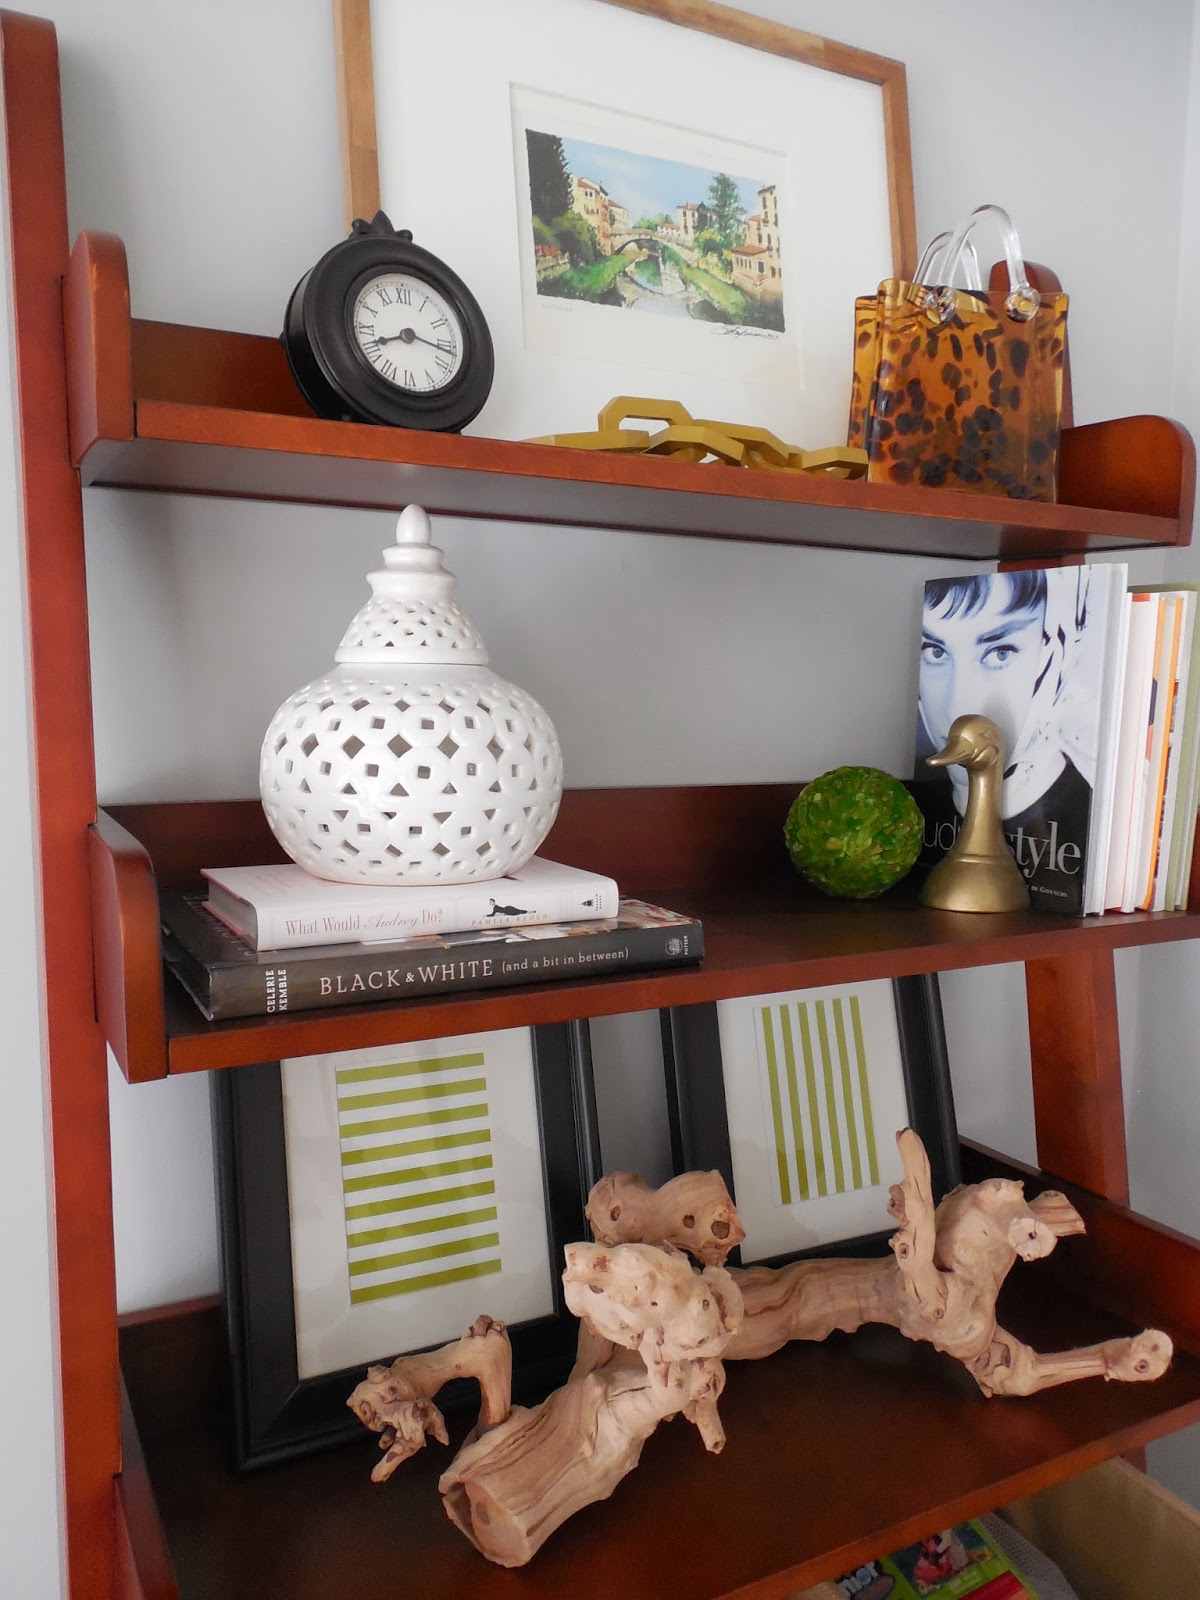
I love the casual, family friendly vibe the ladder brings to this room. I think it was always better suited in here! As a reminder, here is the ladder in its first location, our living room-

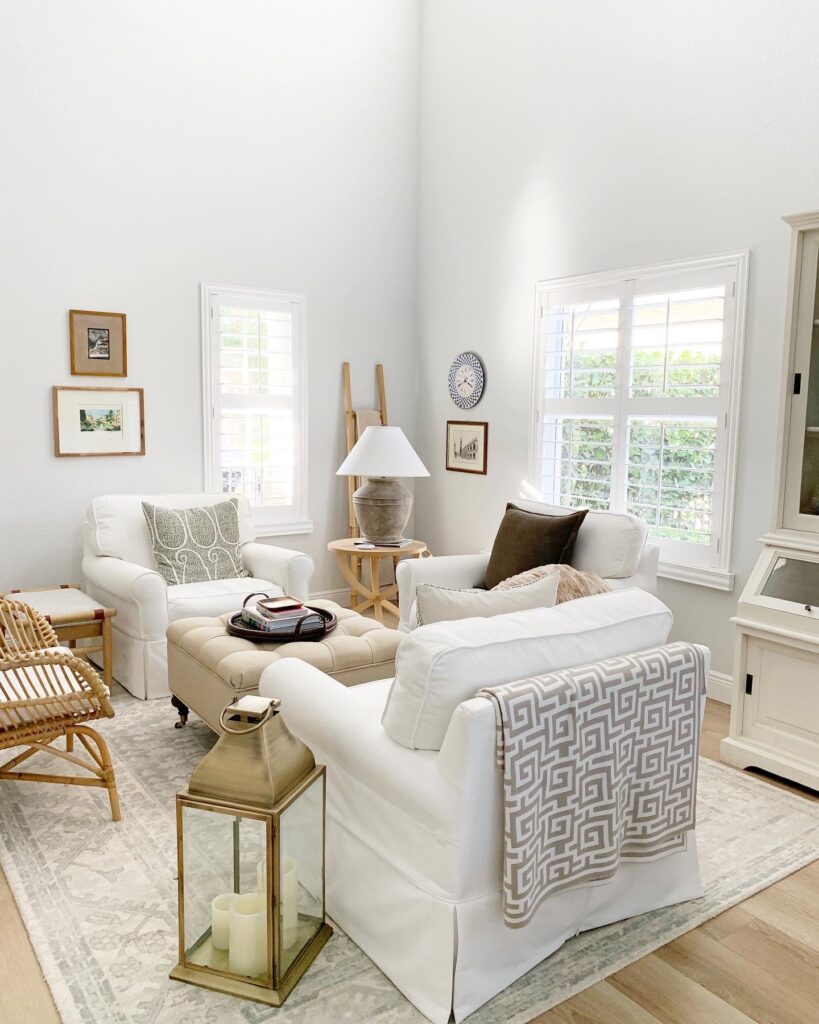
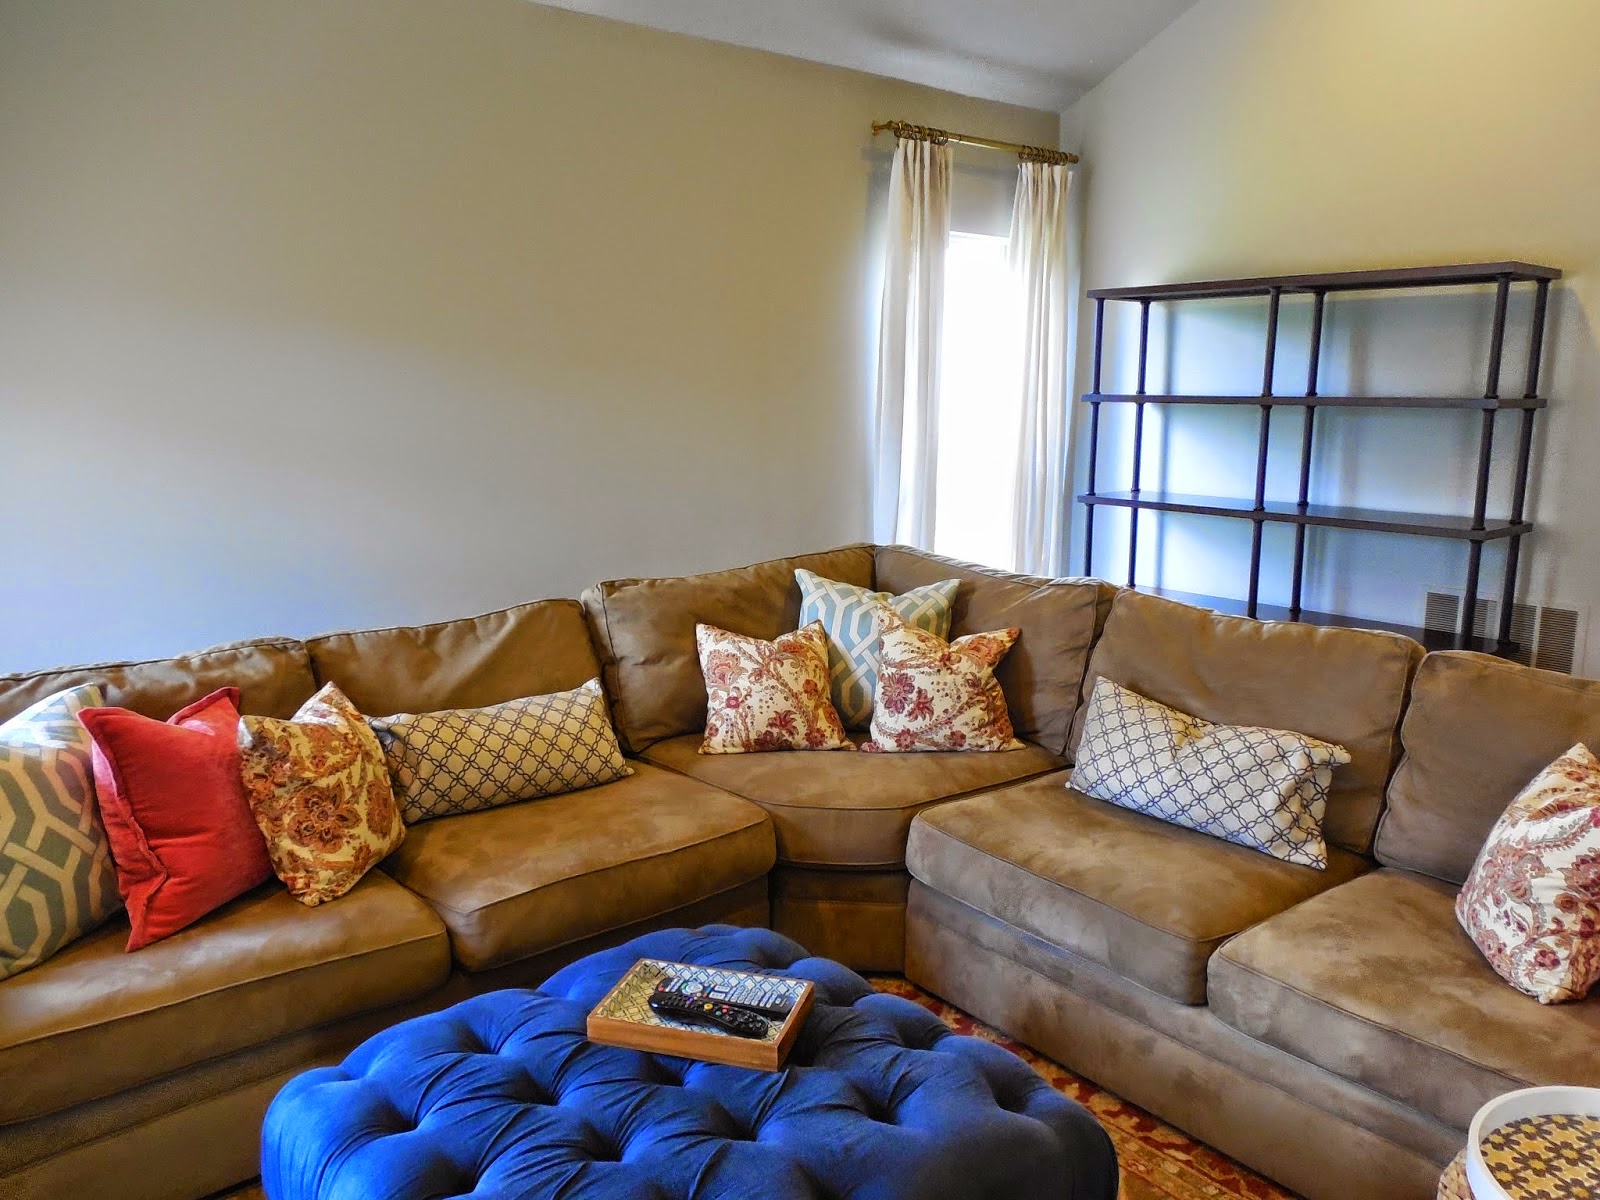
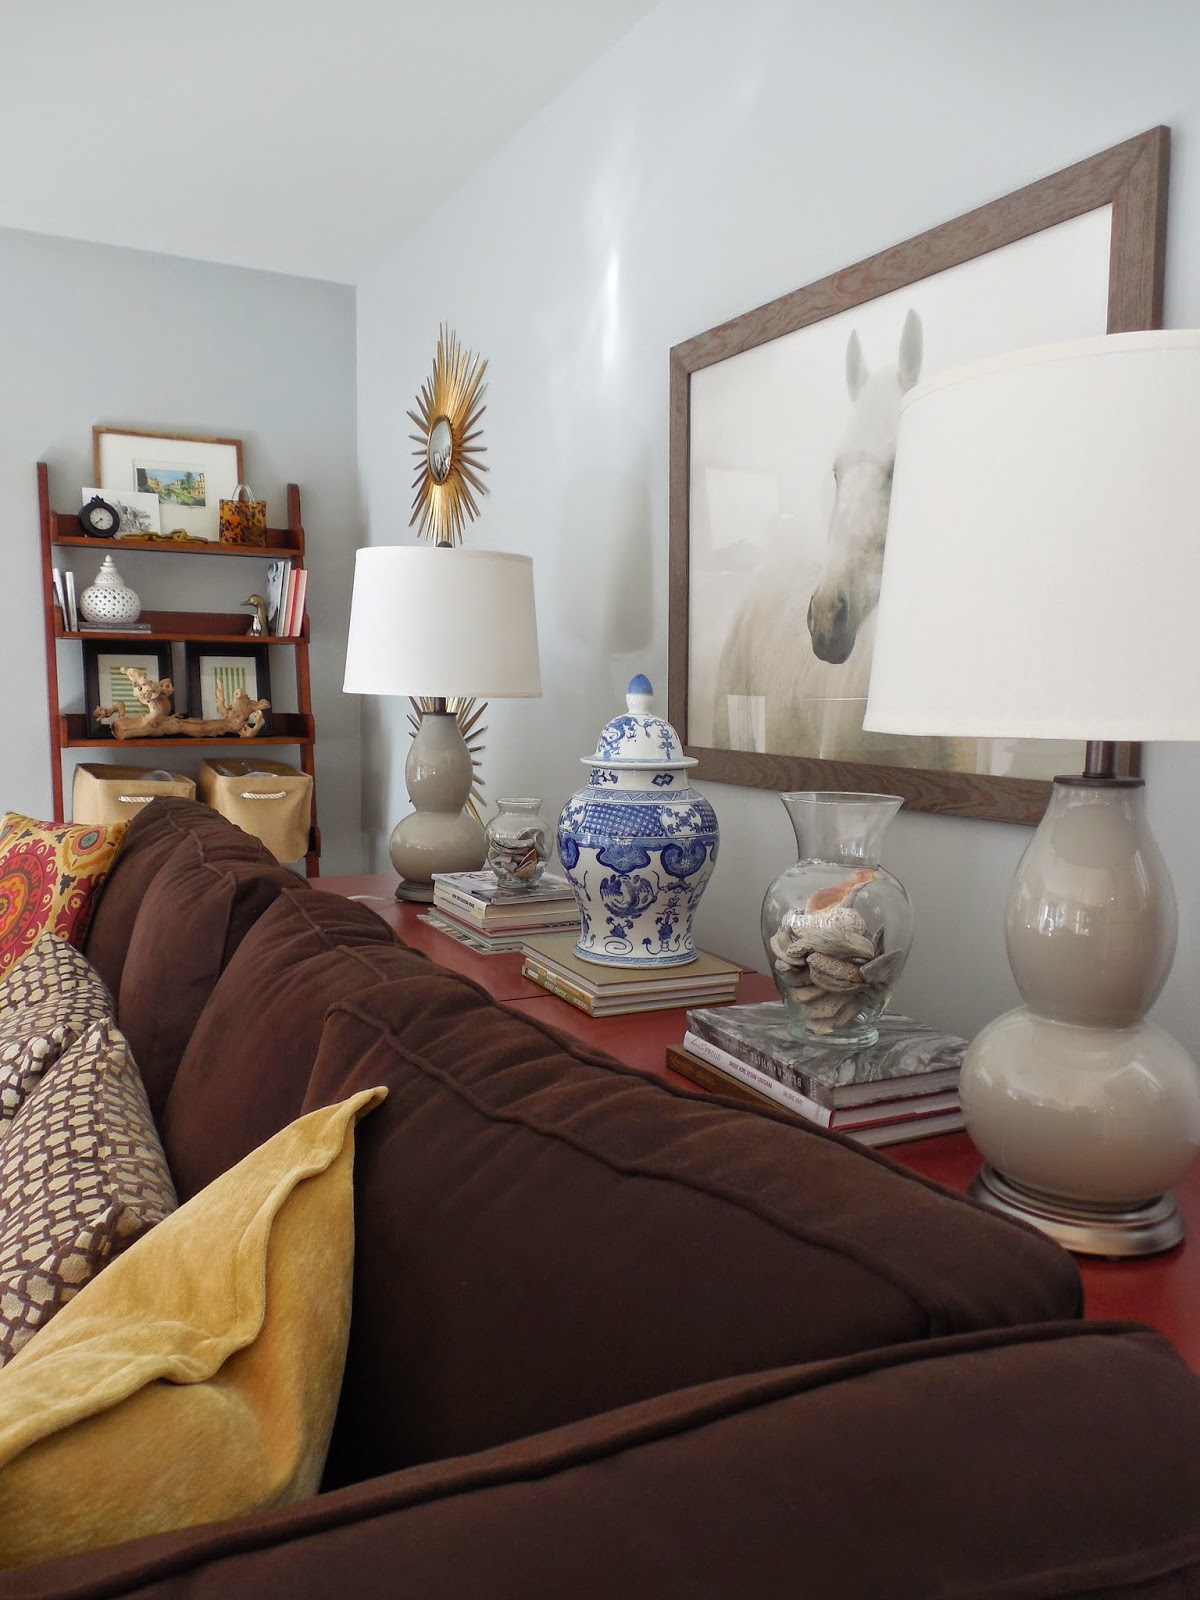
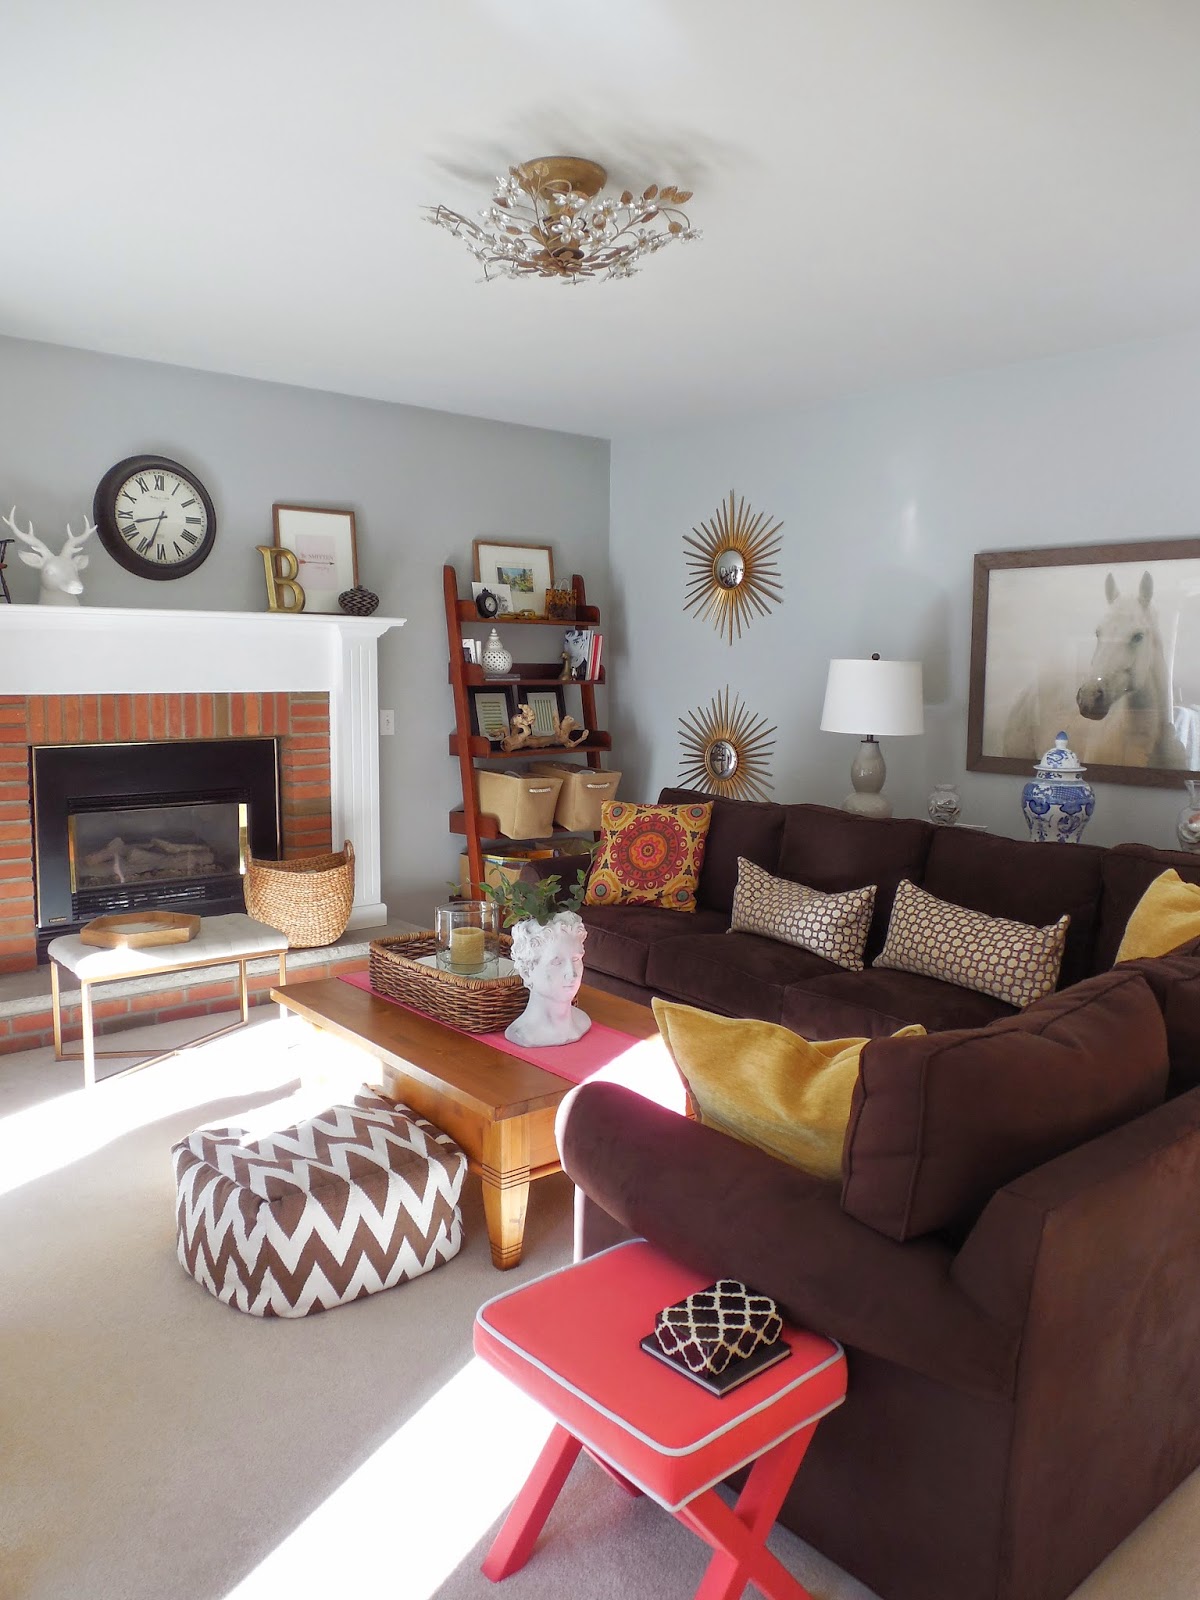
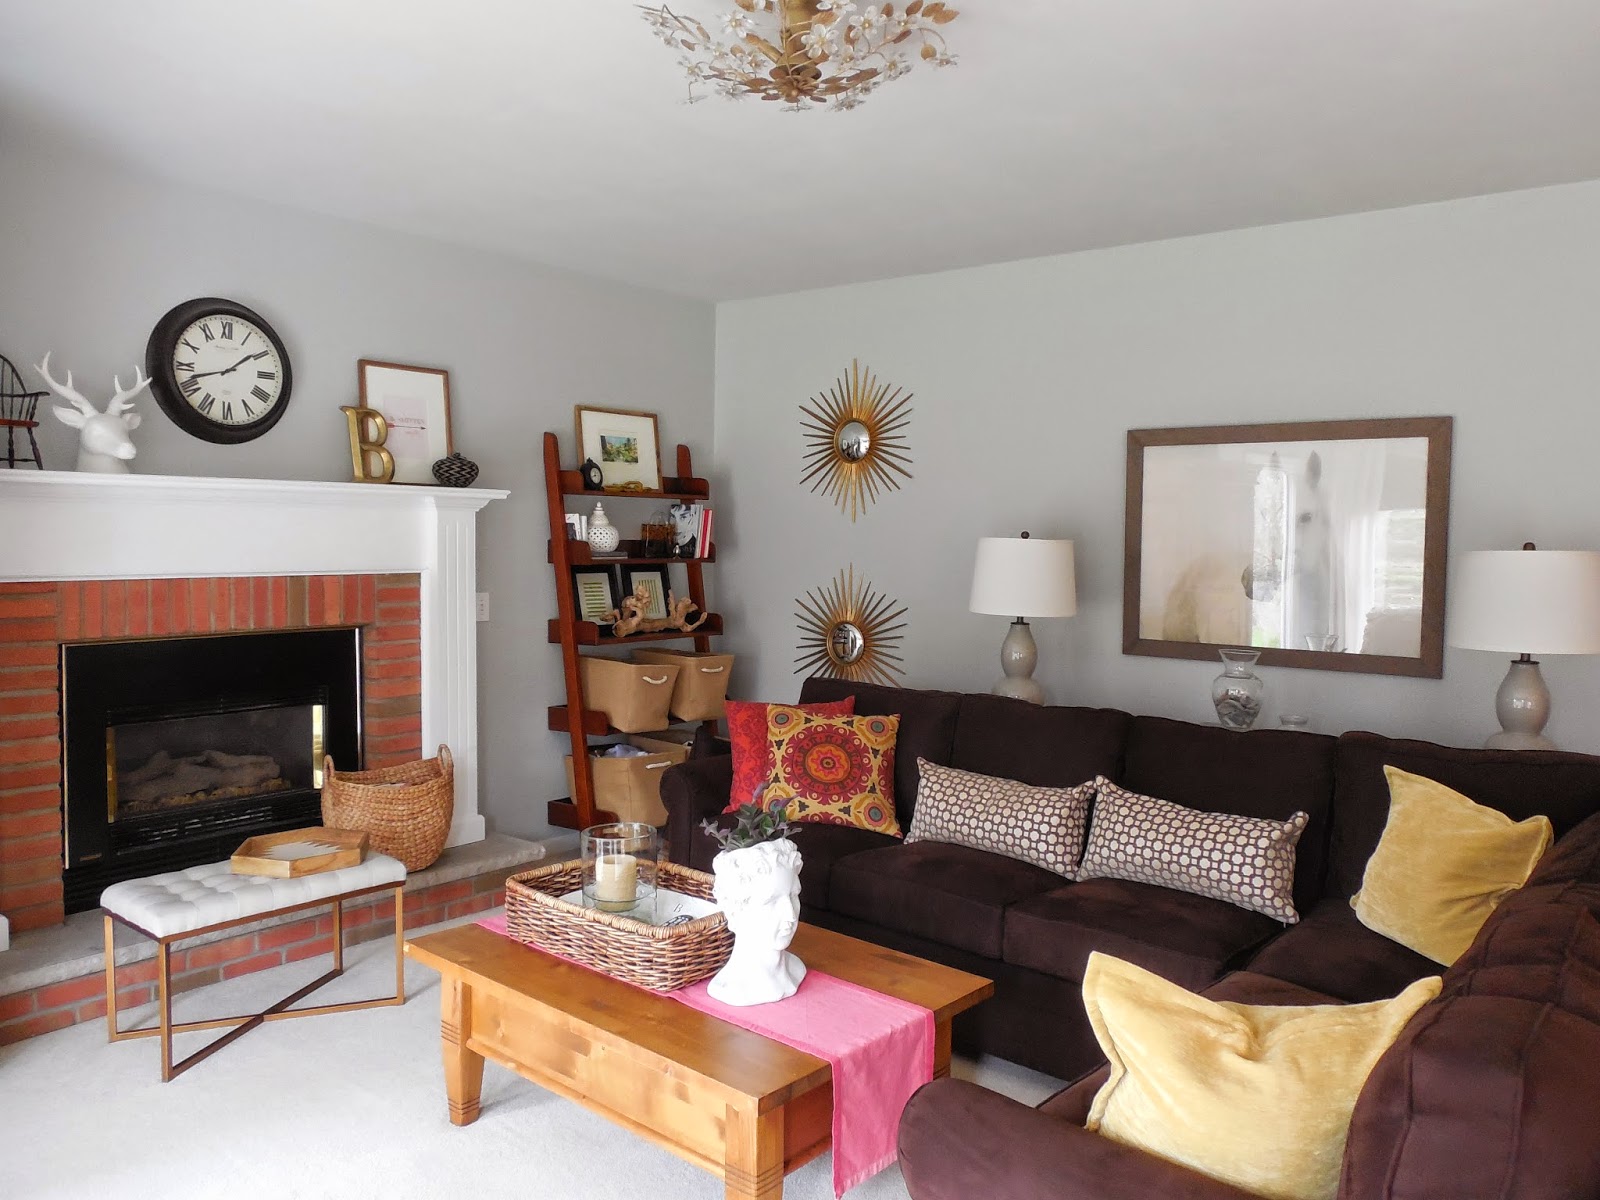
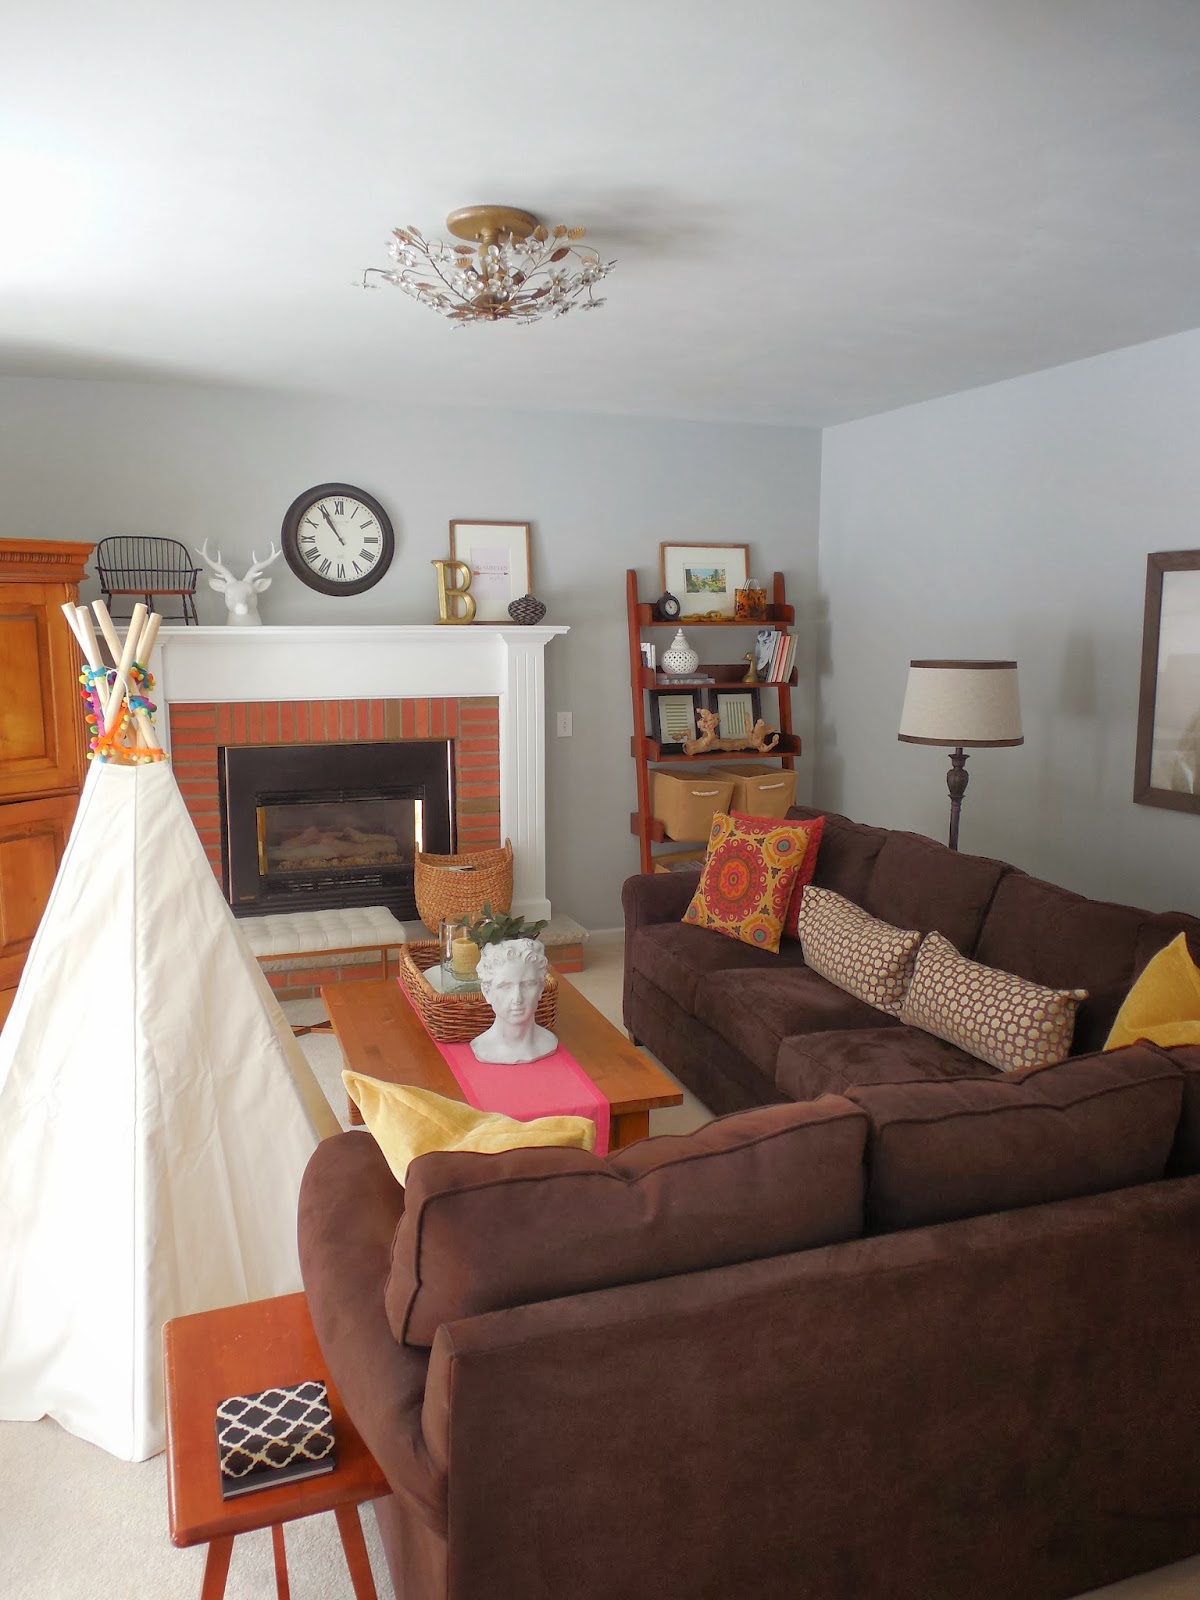
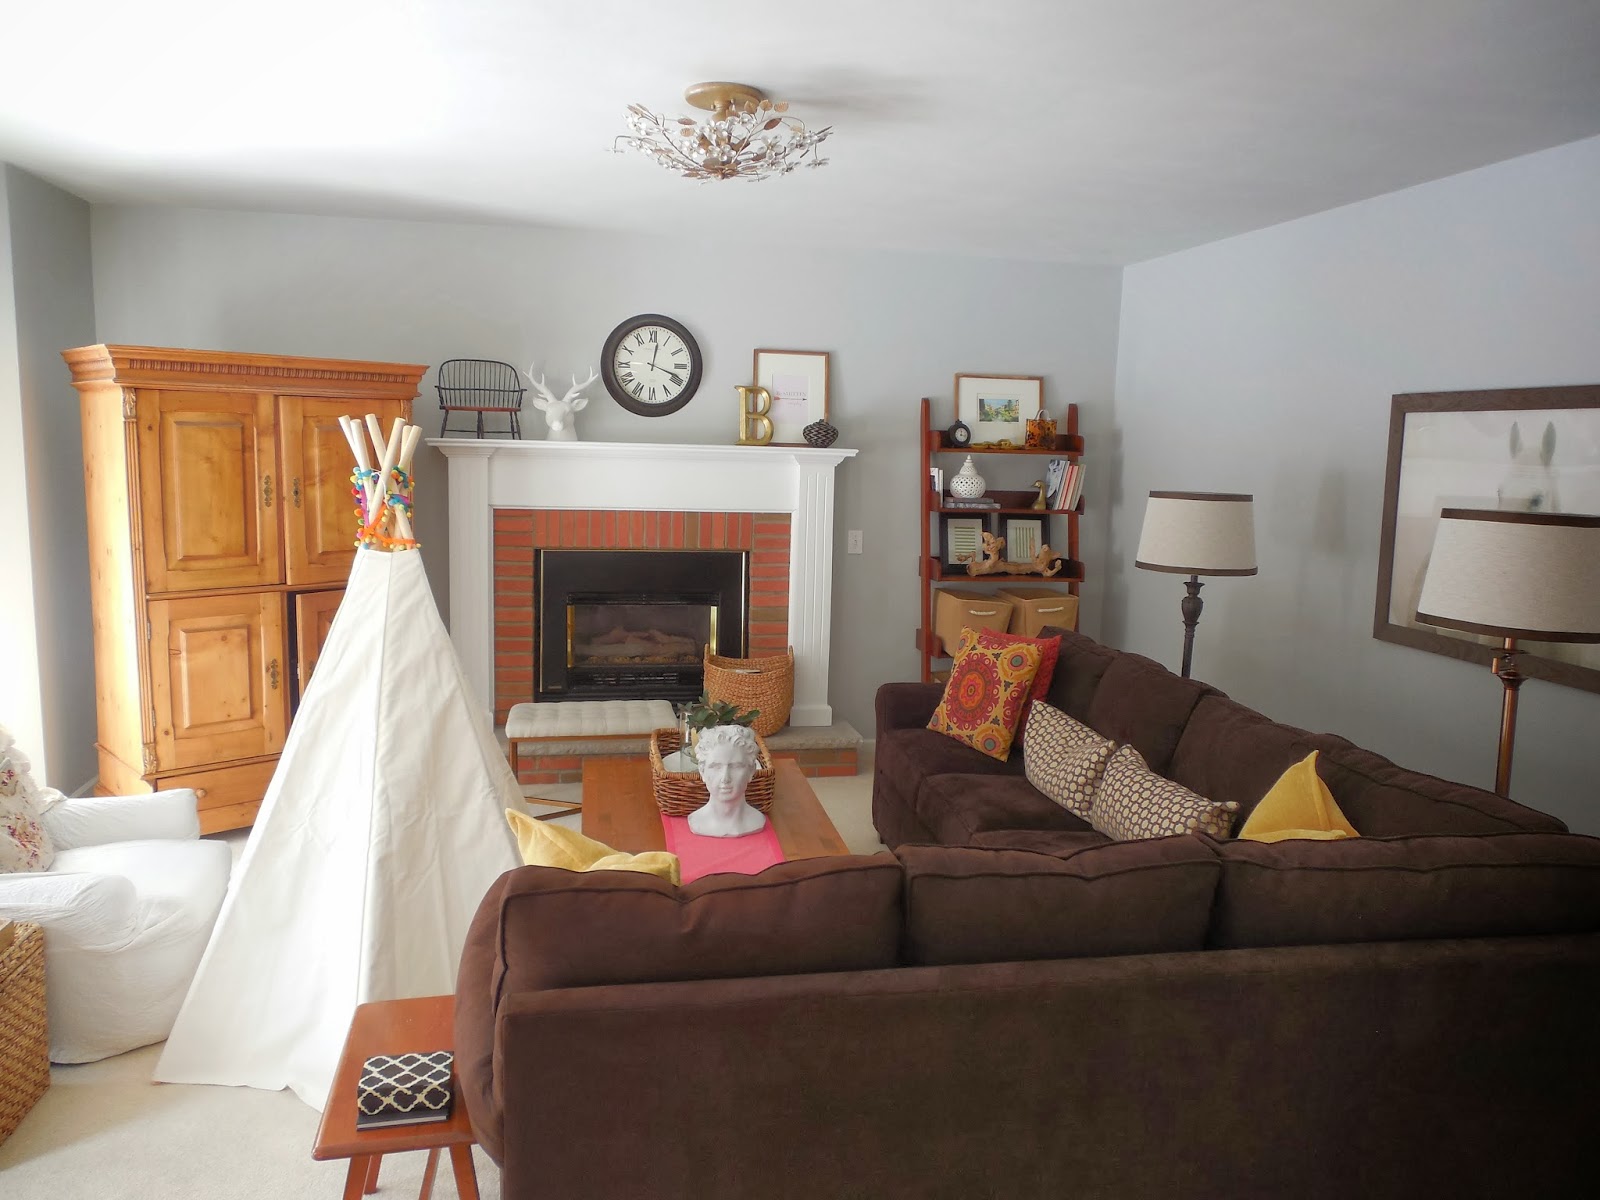
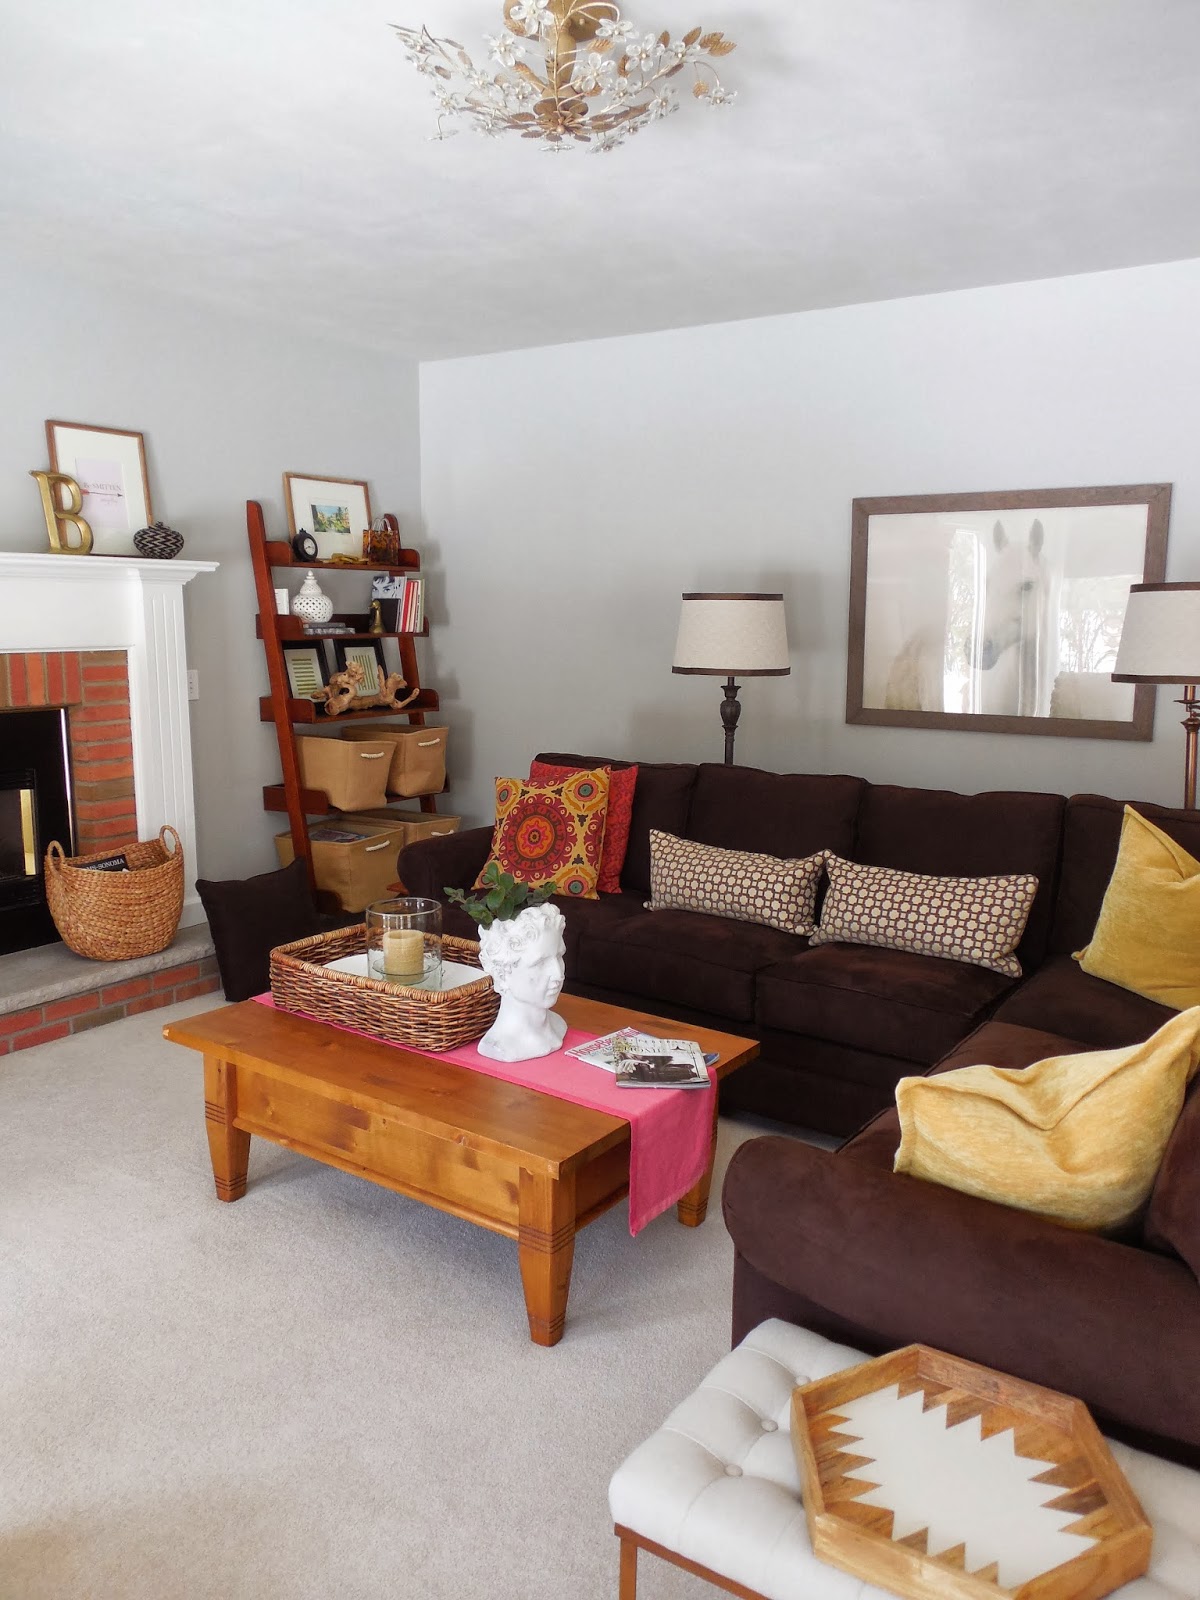
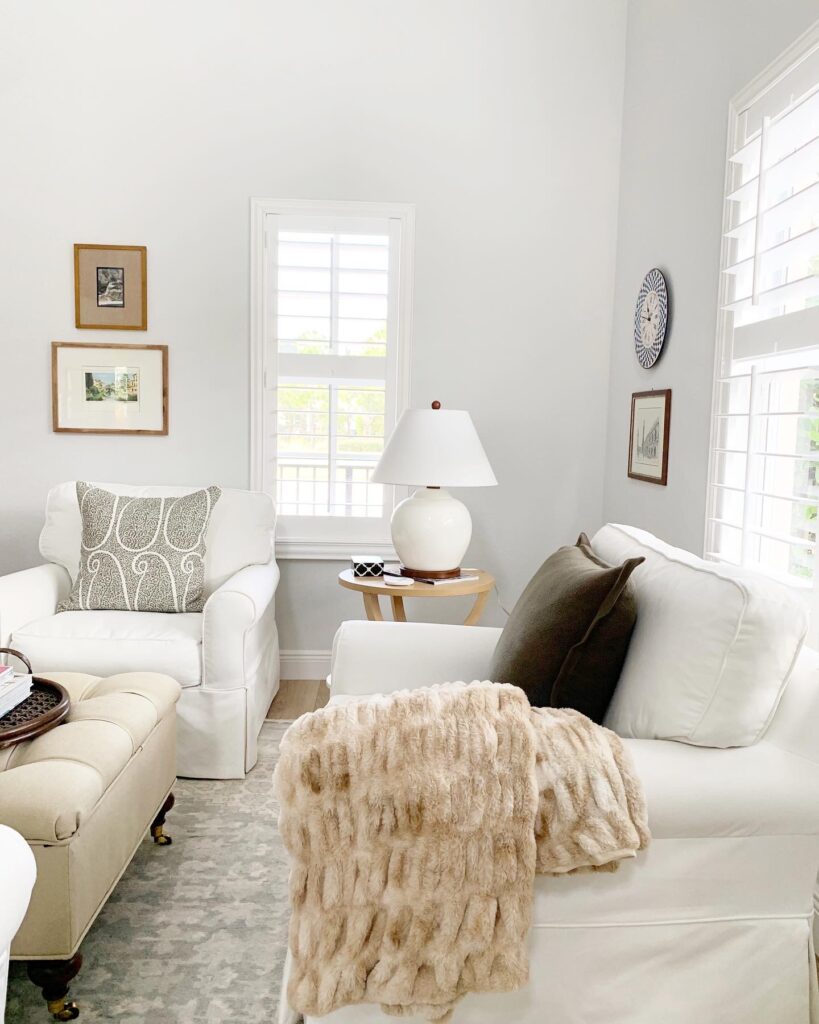
Without the ladder in the living room, that corner is now a bit empty…

I have always admired the look of a tree in a home, but for some reason, I am just not seeing it in here. So I decided to look at Pinterest for some inspiration and came upon Shea McGee’s family room and her pedestal in the corner…

Inspiration via Studio McGee

I think that idea is a perfect solution for my space, because I can change out the greenery and vase from time to time and seasonally! So, I will keep you posted on that corner of our living room when I find the detail pieces.

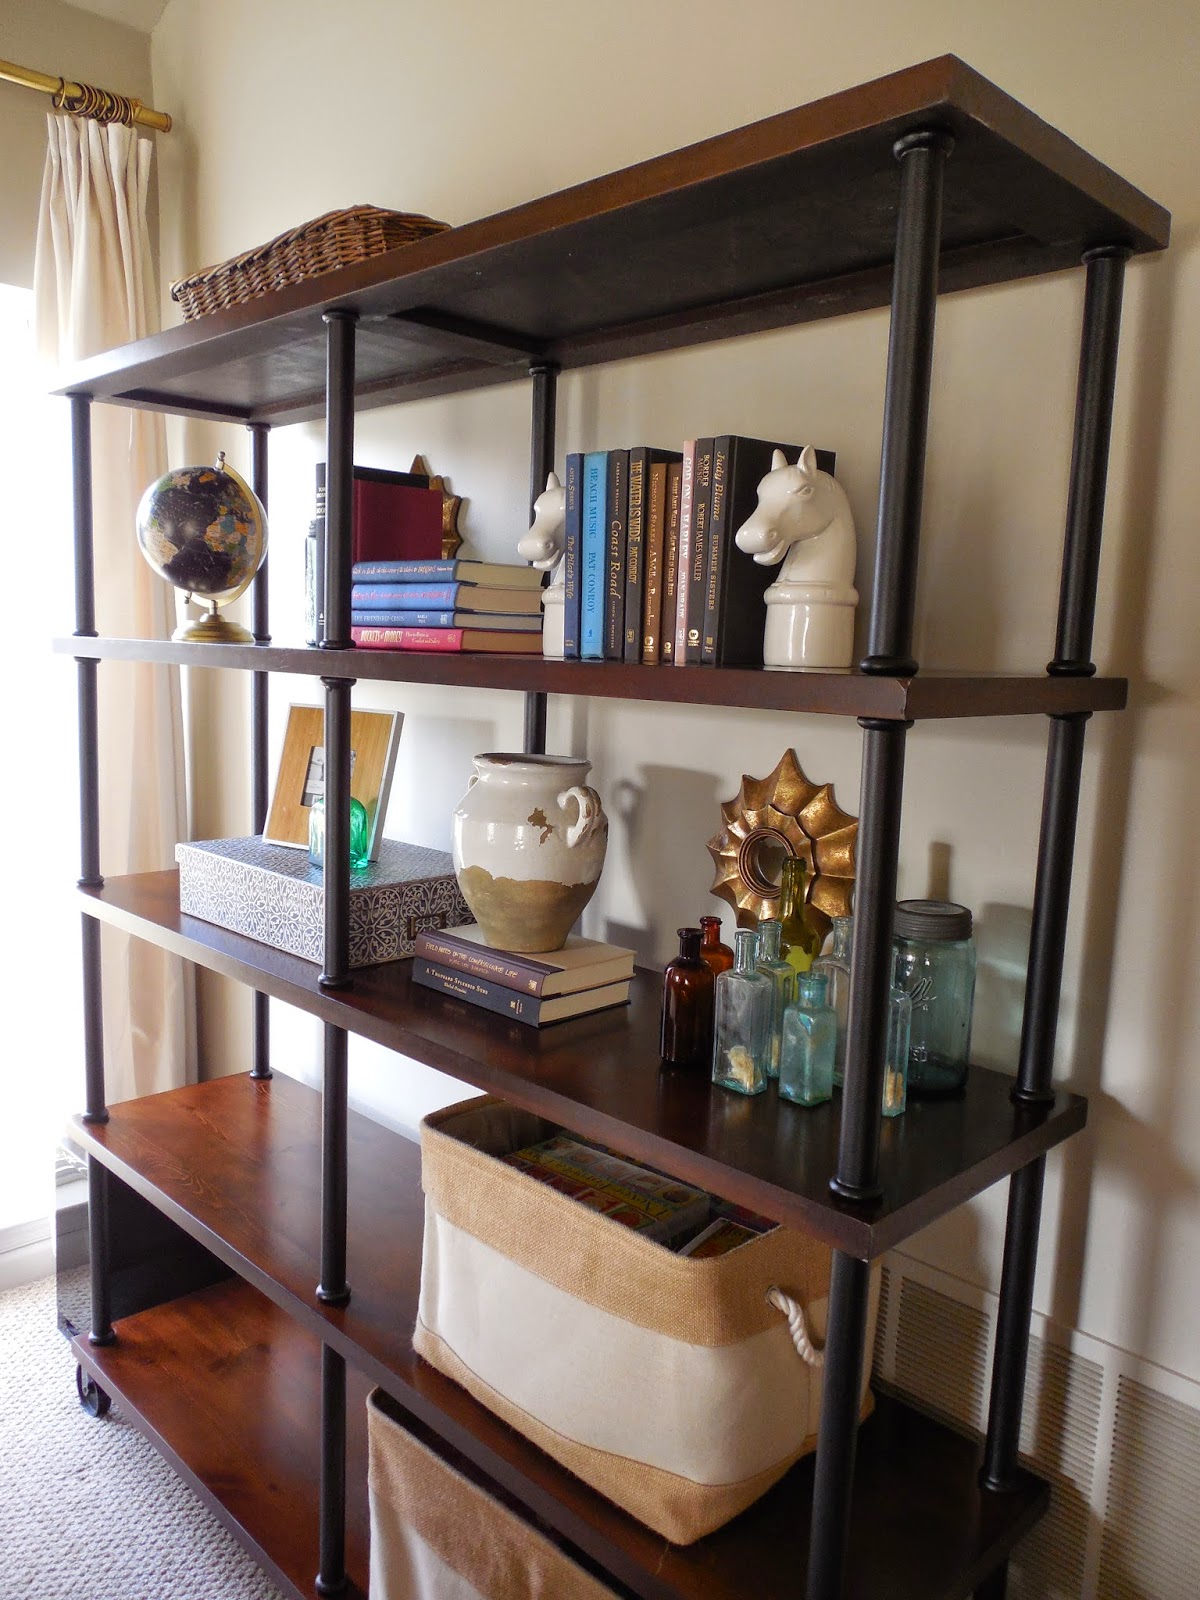
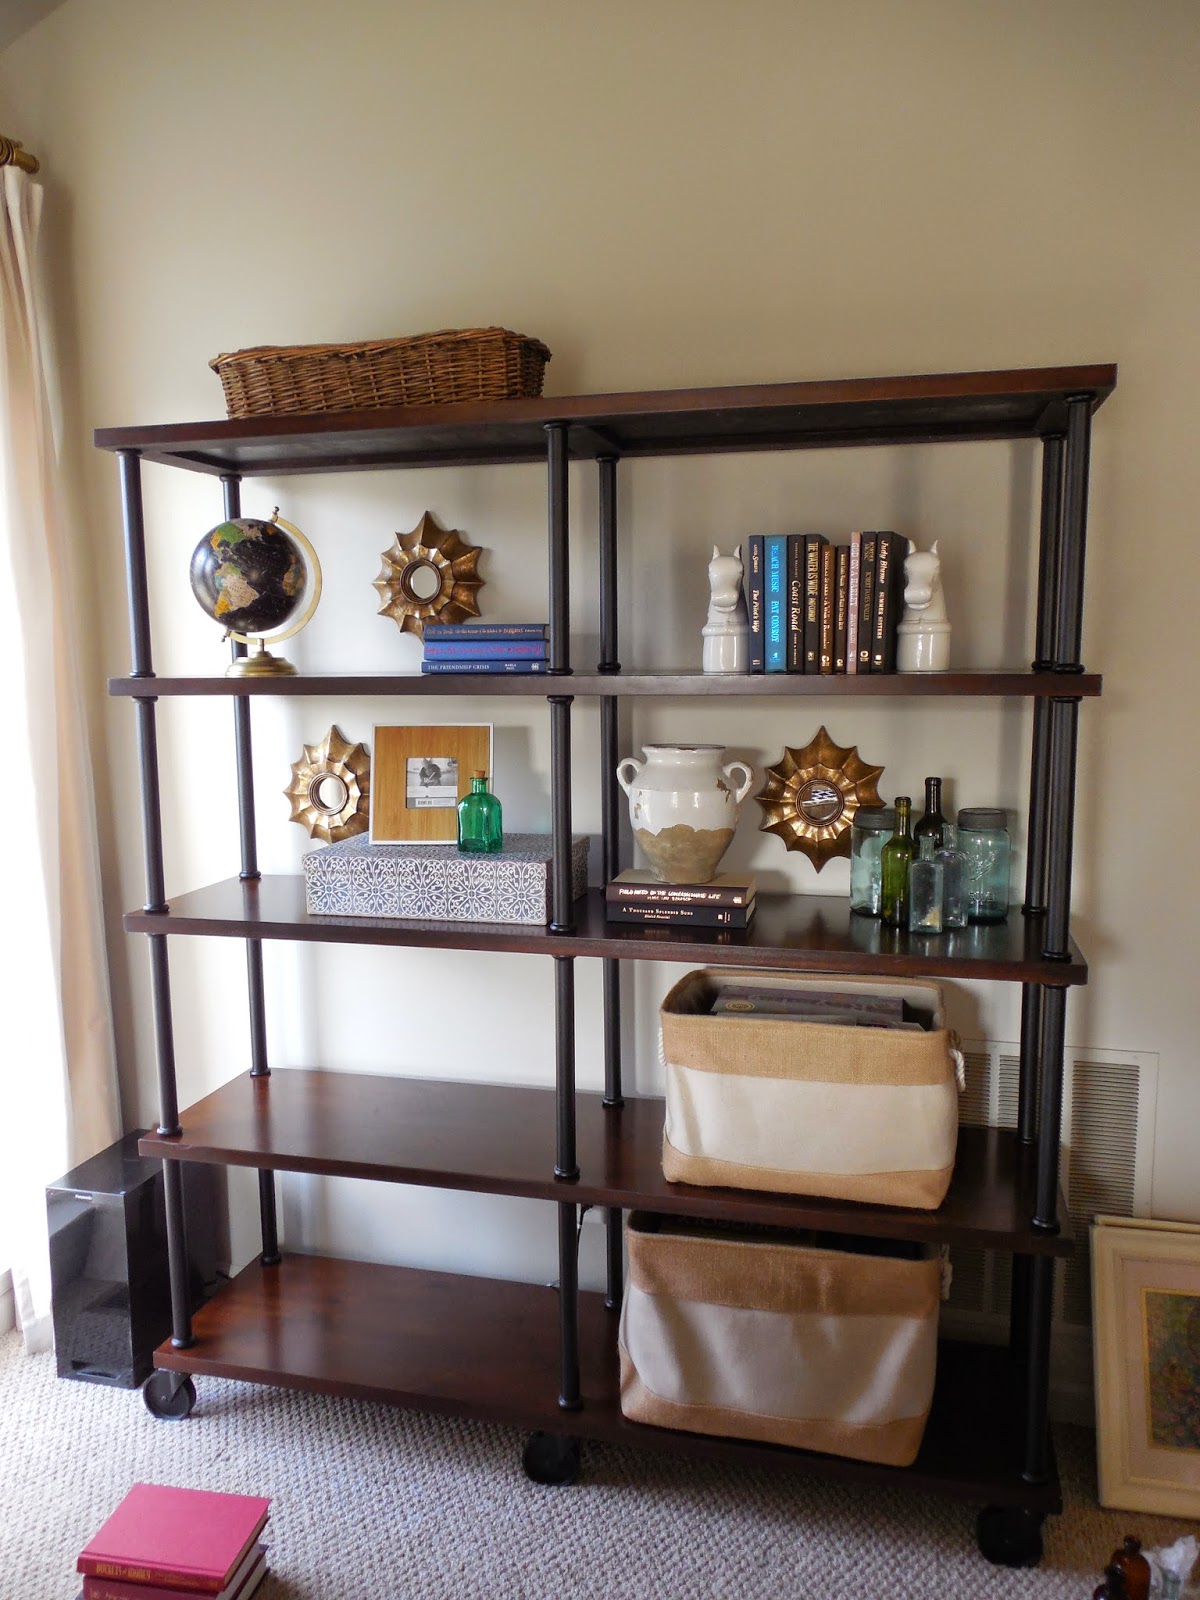
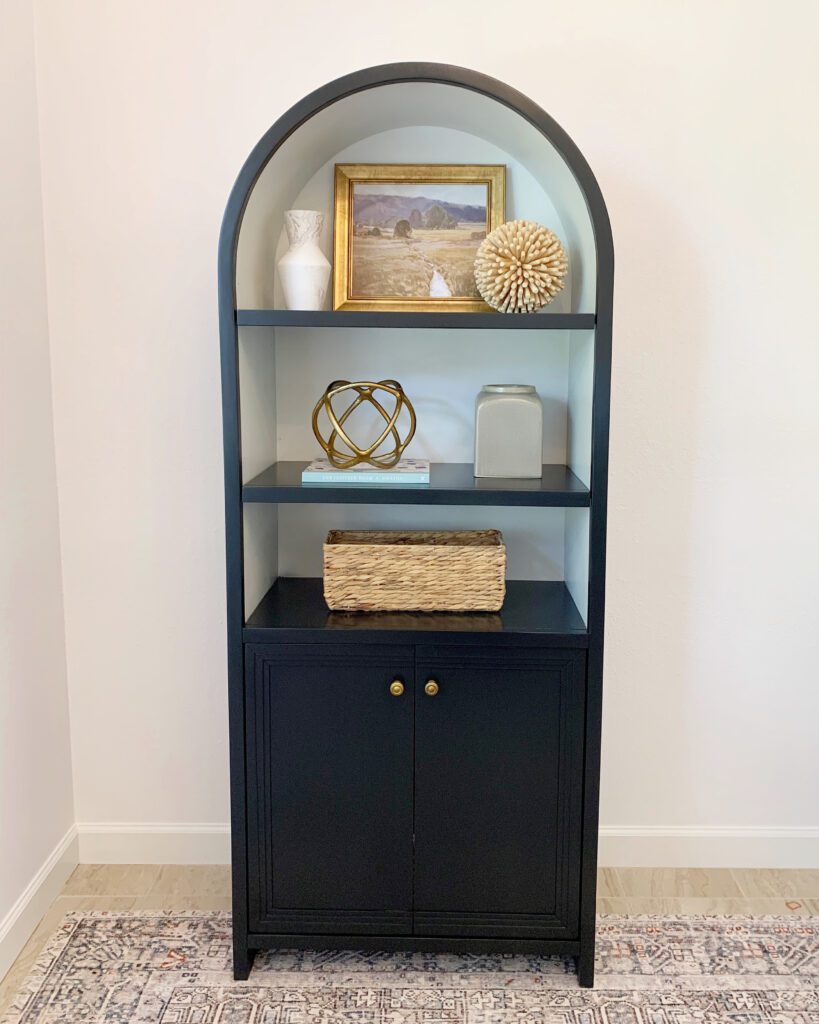
My design business, Amber B Design, has been having fun making houses feel like home and transforming the look of a space! Over at Project Classic Living, the office bookcase is in and all styled up!

The office bookcase

Stay tuned, because I have much more design afters to share with you! I will definitely check back into the blog and write more often, as it’s a new year’s goal for me to write and catalog fun things in design. Here’s to a great new year and as always, thanks for stopping by!

What Do You Love About Your Home?

February 1, 2016 by Amber Filed Under: amber b design, family room, guest post, kids and design, personal design style


I love that question, because it gives us the opportunity to really think about what we already LOVE about our home. So often, it’s easier to think about the to do lists and the ongoing thoughts of what we want to change, instead of realizing what we already have in front of us. My friend Lisa, from the blog Shine Your Light, asked me to participate in her weekly series called Shine Home Love. I was asked to choose a favorite spot in my home and talk about why I love it! Stop by her blog to see what room I chose and why. Here’s a hint…

I love our hand written wall with an inspirational quote for our kids…

A room with white walls and a window.

And I also love our slip covered chair from the good old college days!

A white blanket is folded on top of the couch.

Stop by Lisa’s blog HERE to read the post!

Shelf Styling is a Process

November 20, 2014 by Amber Filed Under: design, family room, interior design, local clients, shelf styling, styling


I recently stopped over my client’s house to begin styling her shelves in her family room. I wrote about the progress of her room in this post and after this most recent visit, we both feel that the finish point is near! And that’s definitely an exciting thing to see. All of the room’s elements have been on the design board and it is now so rewarding to get to see the results in action. Shelf styling is definitely a process, though. Every designer approaches it differently, but for me, I have some tried and true methods when I work…

1. Start from scratch. The shelves should start with a clean slate, i.e. empty. My client was amazing and already spread out everything she had, so we could see what we had to work with. That’s so refreshing and helpful, so you can get right to it.

Where we started…

Today, I styled the shelves seen behind the sectional. There is my empty slate.

2. Find all of the hard cover books you can use and remove the book jackets. You will be amazed at how they all of a sudden look like bound collector’s books.

3. Before placing items on the shelves, I hung a trio of sunburst mirrors on the wall. I made sure I did that first, so I had the mirrors right where I wanted. Then, I styled around them. Hanging mirrors on the walls behind your shelves gives the furniture piece depth and interest. You could also hang small pieces of artwork or family photos.

4. Start placing the items on the shelves to see how they will work together. This can be a long process. And it may even change from today to the next styling visit. I like to take pictures and study them, to see if the shelves are how I like them. This can involve a lot of editing, but it is really worth it and the true fun part of the room!

This was how I had the shelves styled in phase one…

Like I said earlier, the three mirrors were hung first. I then started styling around them. But this first phase seemed a bit too cluttered to us. I made a few more changes…

This was how I had the shelves styled in phase two…

I removed some of the books on the top shelf, but the globe still didn’t look right in that spot and it all felt cluttered and busy.

And this was how I styled the shelves in the final phase…

5. Editing, editing and more editing! I think it is almost impossible to get it 100% right the first time. Stepping back to see the changes you have made is a great way to finalize your shelves.

Do you like the changes? I moved the globe to the top shelf, removed some of the glass bottles and added a blue and white bowl to the small stack of blue books. We are both excited about the transformation of these shelves. And we were happy to be able to use so much of what my client already had! I know adding those personal items will be meaningful to the overall design. We are now on the lookout for two more storage bins for the bottom left shelves. I won’t necessarily match them, but find coordinating bins in a similar size. We will also add another detail to the wall space next to the globe. This room has a very high angled slope to its ceiling, so we will add a wall clock to visually draw your eye up and to also help make that tall wall feel useful.

So stay tuned… we will be having much more fun in this space in the coming months! 

A Local Client’s Family Room {Making Great Progress}

November 7, 2014 by Amber Filed Under: design, family room, interior design, personal design style


I have been working with a local client who I am happy to also call a good friend. We have been plugging away on her family room, making it a space that has a blend of traditional with modern. She has been a joy to work with so far, because she truly gets as excited as I do about design and it feels like a girl’s day out when we meet to discuss the progress in her space. Here are some before pictures of the room to show you where we began…

Before…


We will be working with the main furniture pieces in the room, such as the Pottery Barn sectional and storage cabinet. Since we are keeping these warm furniture pieces, I immediately thought we should cool down the walls with a color that balances all of the warm elements. I chose Revere Pewter by Benjamin Moore and she loved the idea. The walls in this family room are daunting… they slant up to a dramatic height and painting this room is a huge undertaking. My clients realized it needed to be done to transform the space, but I also totally understood the hesitancy of the project. Luckily, the tried and true Revere Pewter was a winner and my clients could not be happier with the result! This tall wall in the photo above needed some architectural interest to help visually bring that wall down to feel more cozy. I suggested adding board and batten to this wall (up 3/4 of the wall) and painting that a dark gray/brown shade. I selected Equestrian Gray, also by Benjamin Moore. Here is the design board I initially presented to my client…

The Design Board…


And here is the amazing progress of this room so far…

Progress…


We changed the color palette a bit for the accessory pillows, but for the most part, the rest of the plan stayed the same. We also replaced the curtain rods with brass options and purchased longer drapes, so the rods could be installed much higher than the windows. That visually brought your eye up, making the windows feel grander and in better fitting with the height of the room. Love that trick! Our plan moving forward is to replace the slipcovered chair and ottoman with a leather club chair/ottoman, place console tables behind the sectional, add ceiling beams to warm up the tall ceilings and install a fireplace/mantel where the TV is currently. We will also accessorize the walls and shelves, but the transformation is already coming along so well, that I had to share!

Thank you so much to my amazing client and friend for allowing me to share the progress here on the blog. I look forward to sharing more, as the room design unfolds! 

Adding Some Color & Pattern to our Family Room

September 4, 2014 by Amber Filed Under: design, family room, interior design, personal design style


I always live by the idea that a home is never finished… I will constantly be editing, moving things around and finding that new perfect accessory for a space in my home. I have to keep making changes, because it makes home decorating fun and interesting! And it’s always cute to see my family come home and say, what is this table doing in this room now? She’s at it again!  ๐Ÿ™‚ Now with fall fast approaching, I thought it was time for some minor changes…

The blue chinoiserie urn was a recent antique find. I like the introduction of cobalt blue and this accessory feels collected and vintage, which adds character to the consoles. The coral x bench was a Target purchase. I also have one in our foyer and when they showed up again in Target and on clearance for only $17, I scooped one up right away. I know having two of these benches will come in handy to use as a pair or separately throughout the house. The chevron pouf was also a Target find. I had my eye on it since it came into the store for about $70. I waited and was very patient. Luckily, that paid off for me and I bought the last one for only $22!

By adding the cheerful , bright colors to the space, I smile when I walk in the room! I think these small changes are just what this room needed.

To recap, here is a picture of the space before these additions…

Before


And After


Does the start of fall motivate you to make small changes, too??

Our Family Room {Before and After}

May 1, 2014 by Amber Filed Under: design, family room, personal design style


I live by the motto that a home is never finished… as our design styles change and we continue to gather more ideas, the editing of a room always comes into play. I will forever be making changes to our home and I think that’s fun! Even if it’s just moving an accessory from one space to another- that’s a change! For our family room, I realized our long sofa wall with the horse print, needed something more. There was too much empty wall space for me on either side of the print. I finally tackled that project, after thinking about it in my head for months. {I love it when a plan works out the way you imagined it would!} I also switched from floor lamps to table lamps and added consoles behind the sectional. I have been showing snippets on instagram {amberbinteriors}, but here it is in all its entirety…

Before


And After…


I am so excited with the changes and I smile when I walk into the space! I wanted to add the consoles with table lamps, because our floor lamps were broken in places and there was an awkward space behind the sectional that needed to be filled. The kids liked going behind there and I always worried someone would trip on the lamp cords. So, these changes helped in both of those areas. Since the sectional is so long, I used two Threshold desks from Target for the consoles. It was a great cost saving alternative and brings a nice pop of color to the room. As for the wall space, I knew it needed more than just the one horse print, but I wasn’t sure what- until now. The botanical prints are actually free printables from Poppy Talk. I printed them out at Staples for only $1 a page! I chose the 11×17 size they had and then filled them in matted frames to fit 11×14 images. The two mirrors need no introduction! They are the Wales mirrors from Home Depot and are currently on sale! I also have one in our bedroom and I love the look and the under $30 price tag!! If the site says they don’t have any in your local store- try anyway! They said my store didn’t have any left and there were actually 3 there, including the sample! Sometimes, it pays to be persistent.

So for now, I think I can sit back and relax with this room. Now… what room to change next??

Our Tee Pee Reveal {Now in the Family Room}

March 5, 2014 by Amber Filed Under: design, family room, kids and design


Don’t adjust your screen… this is a new post! Yesterday, I revealed our new tee pee in the finished basement. The kids love it and for now, they have decided that it would be fun to bring it upstairs. They wanted to watch cartoons in it, so it’s now in our family room. I actually think this is a great idea, since the picture quality is so much better to show all of you! That’s probably not what the kiddos had in mind, but works for me and the blog!  ๐Ÿ™‚ So here is the second reveal, in much better lighting, of our new tee pee…

The Family Room Reveal


So there you have it! Enough tee pee pictures for a while. I am so glad we did this. It’s fun, whimsical and will create so many great memories. Luckily, it’s easy to move. This will probably not be the last location. ๐Ÿ™‚

Changes to Our Family Room & A Guest Post

February 26, 2014 by Amber Filed Under: design, family room, guest post, personal design style


Even though it is still freezing outside, the bright sunshine reminds me of spring and gets me excited to make changes in our home. Even if it’s just moving some accessories from one room to the next or a new pair of pillows to add to the room’s color scheme, I am a happy camper. So here are some subtle, fun changes that recently went on in our family room…

Target can do no wrong lately with their Threshold line and Nate Berkus accessories. My new tray is a Nate Berkus beauty and the Threshold ottoman it sits under was a surprise from my hubby for Valentine’s Day!! This ottoman will end up all over the house, because it is so versatile! We can use it as a bench at our kitchen desk, a side table in our family room or a place to rest our feet. I love furniture pieces that have so many uses.

The man head plant has been moved from our dining room to the family room. Surprise, surprise… it’s also from Target! I really should do promo work for them. ๐Ÿ˜‰

Head on over to Jordan and Janette’s blog, The 2 Seasons, where I am guest posting today! My topic over there is also small changes with big impact. See you there!

New Changes in Our Family Room {or Basement??}

January 21, 2014 by Amber Filed Under: basement, design, family room, personal


You may have seen some of my previous posts about renovating and adding livable square footage to our basement. We are making it an additional space to relax, play and spend family time. On Instagram, I mentioned an ottoman that I loved from Target. I knew it would be a great piece to use as a coffee table and rest our feet in the basement. Mike, my husband, checks in on my blog and instagram for gift ideas {what a guy} and surprised me with that ottoman for Christmas!! I love it so much and it is so versatile, that I haven’t even put it in the basement yet! I have been enjoying it on our first floor family room and also wanted to keep it out when I do some entertaining next month. Eventually, it will make its way in the basement, which will be a much needed accessory down there, too.

{love the casters!!} 

Ottomans this size can work in almost any space! They are great for the foot of the bed, coffee table {with tray}, in front of the fireplace, etc. The possibilities are endless! I am sure this furniture piece will have a home all over the house, throughout the years.

How about you… do you have a furniture piece in your home that would work anywhere??

Our Quick Solution for Board Game Clutter

October 16, 2013 by Amber Filed Under: design, family room, kids and design, organize, shelf styling


If you’re a parent, chances are you have loads of toys! When creative, easy organizing tips come along to store those toys, I become a happy camper! A long while back, my blog friend Courtney posted about an easy solution for all of the puzzles and games we can accumulate. By using small mesh bags that are primarily used to machine wash delicates, you can throw away the bulky boxes and just keep the game with directions. This has been a life saver for storage! So, here is our shelving unit where this solution was used…

The top half of the shelves holds my fun accessories and books, while the bottom shelves are for the kiddos. But when the games are tucked away in cute burlap bins, it doesn’t scream out: KIDS TOYS HERE!! With the mesh bags, I have been able to fit so many more puzzles and games than before. We still keep some of the games in boxes, but storing half in bags cuts the bulk down a lot.

I found our mesh bags at Target and they sell for about $1.50 each. They were in the same aisle with the irons. 

Do you have any creative solutions for storing kid’s toys?? Please share!!

  • 1
  • 2
  • 3
  • Next Page »
Welcome!

Hi, I'm Amber... a wife, mom and interior decorator. I am the writer of Simple Dwellings and the designer behind Amber B Design. Blog topics are all things design, with the occasional DIY attempt! Thanks for stopping by Read more...

  • Bloglovin
  • Email
  • Instagram
  • Pinterest
  • Twitter

Blog Posts, Straight to Your Inbox

Popular Projects

A dining room with white walls and wooden table.
A black door with white curtains and a red chair
A staircase with black and white chevron pattern on the steps.

Blog Love

  • Addison’s Wonderland
  • A Thoughtful Place
  • Alison Giese Interiors
  • Amber Interiors
  • Bailey McCarthy
  • Caitlin Wilson
  • Chris Loves Julia
  • Classic Casual Home
  • Cottage and Vine
  • Design Indulgence
  • Dwell by Cheryl
  • Eddie Ross
  • Elements of Style
  • Emily A Clark
  • Emily Henderson
  • Gallery No Eight
  • Hi Sugarplum
  • House of Jade
  • Jana Bek
  • Juniper Home
  • Kate Marker Interiors
  • Lucy Williams
  • Monika Hibbs
  • Our Fifth House
  • Pencil and Paper Co
  • Rachel Parcell
  • Rambling Renovators
  • Pure Style Home
  • Sita Montgomery
  • Studio Mcgee
  • The Makerista
  • The White Buffalo Styling Co
  • the Zhush
  • Traci Zeller
  • Young House Love

Copyright Amber B Design © 2025 ยท Design by Britt Douglas


Loading Comments...