Amber B Design Studio

Interior Design & Decoration for the South Florida region

  • Home
  • About
  • Services
  • Portfolio
  • Blog
  • Press
  • Contact

Our Fall Mantel

October 17, 2012 by Amber Filed Under: fall colors, fall fix ups, family room, mantle, shelf styling Leave a Comment

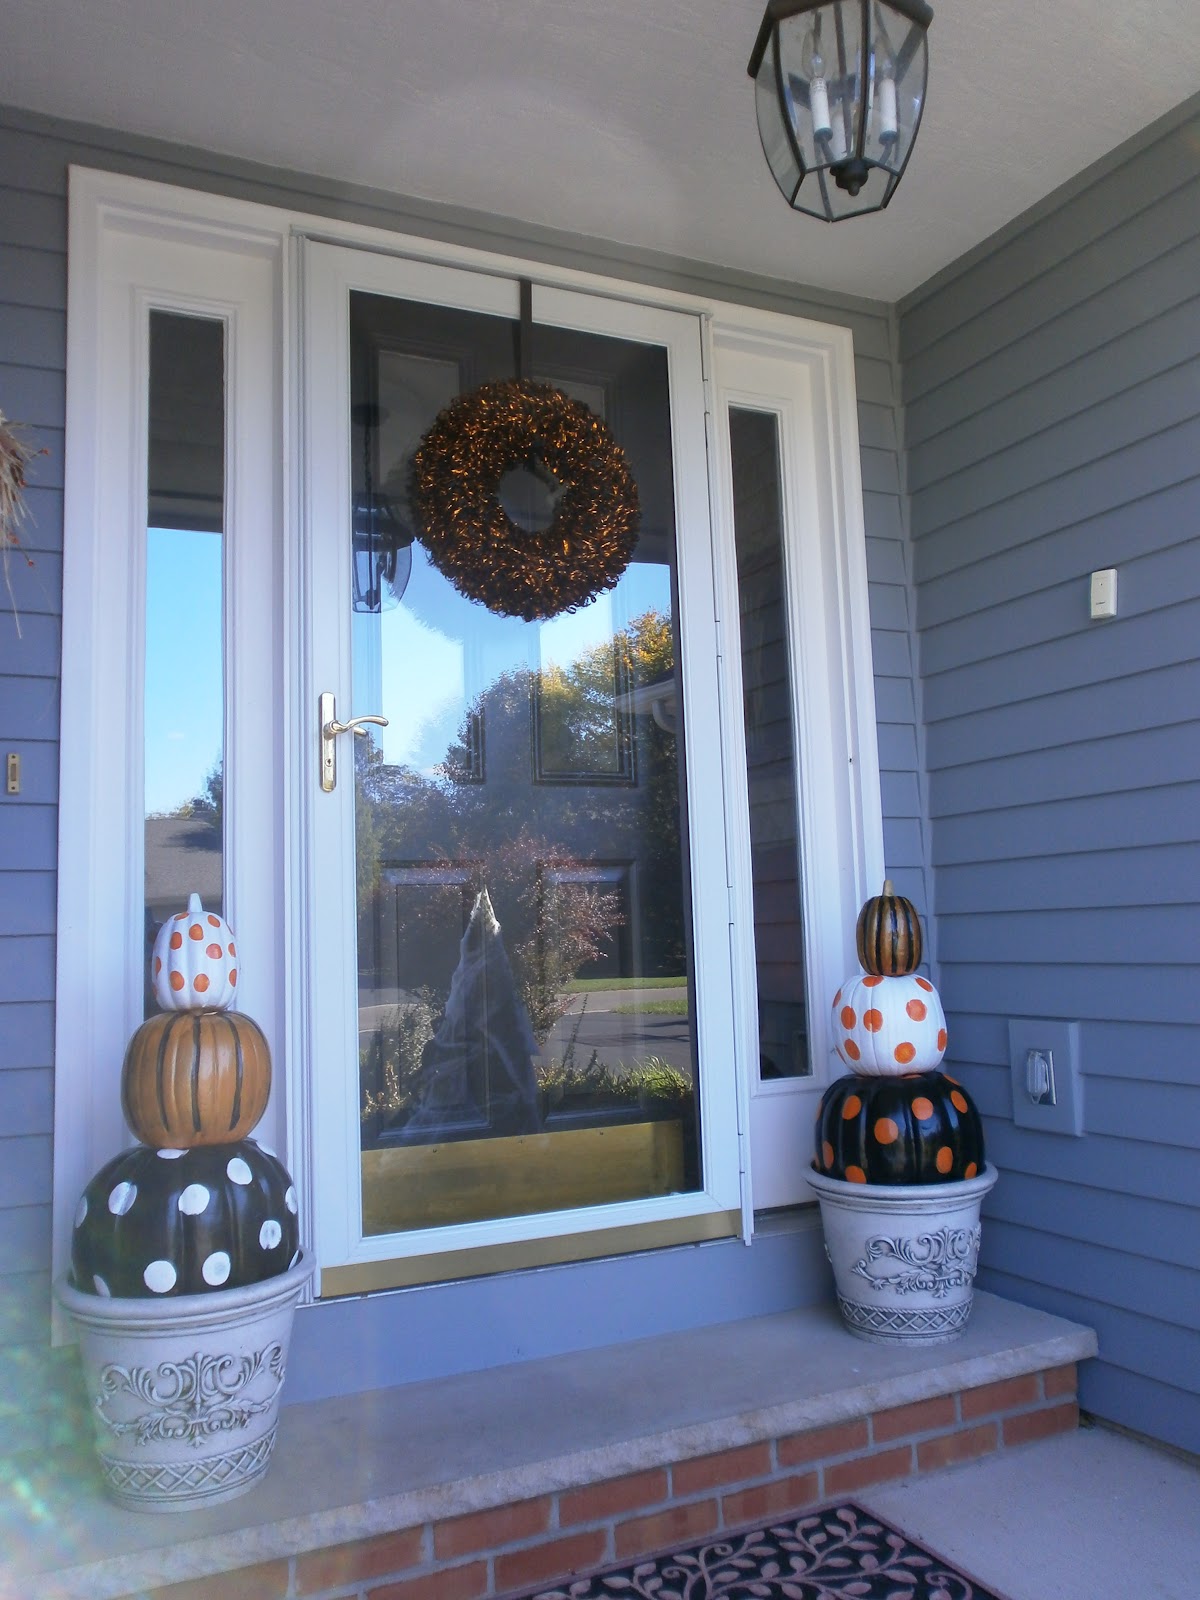
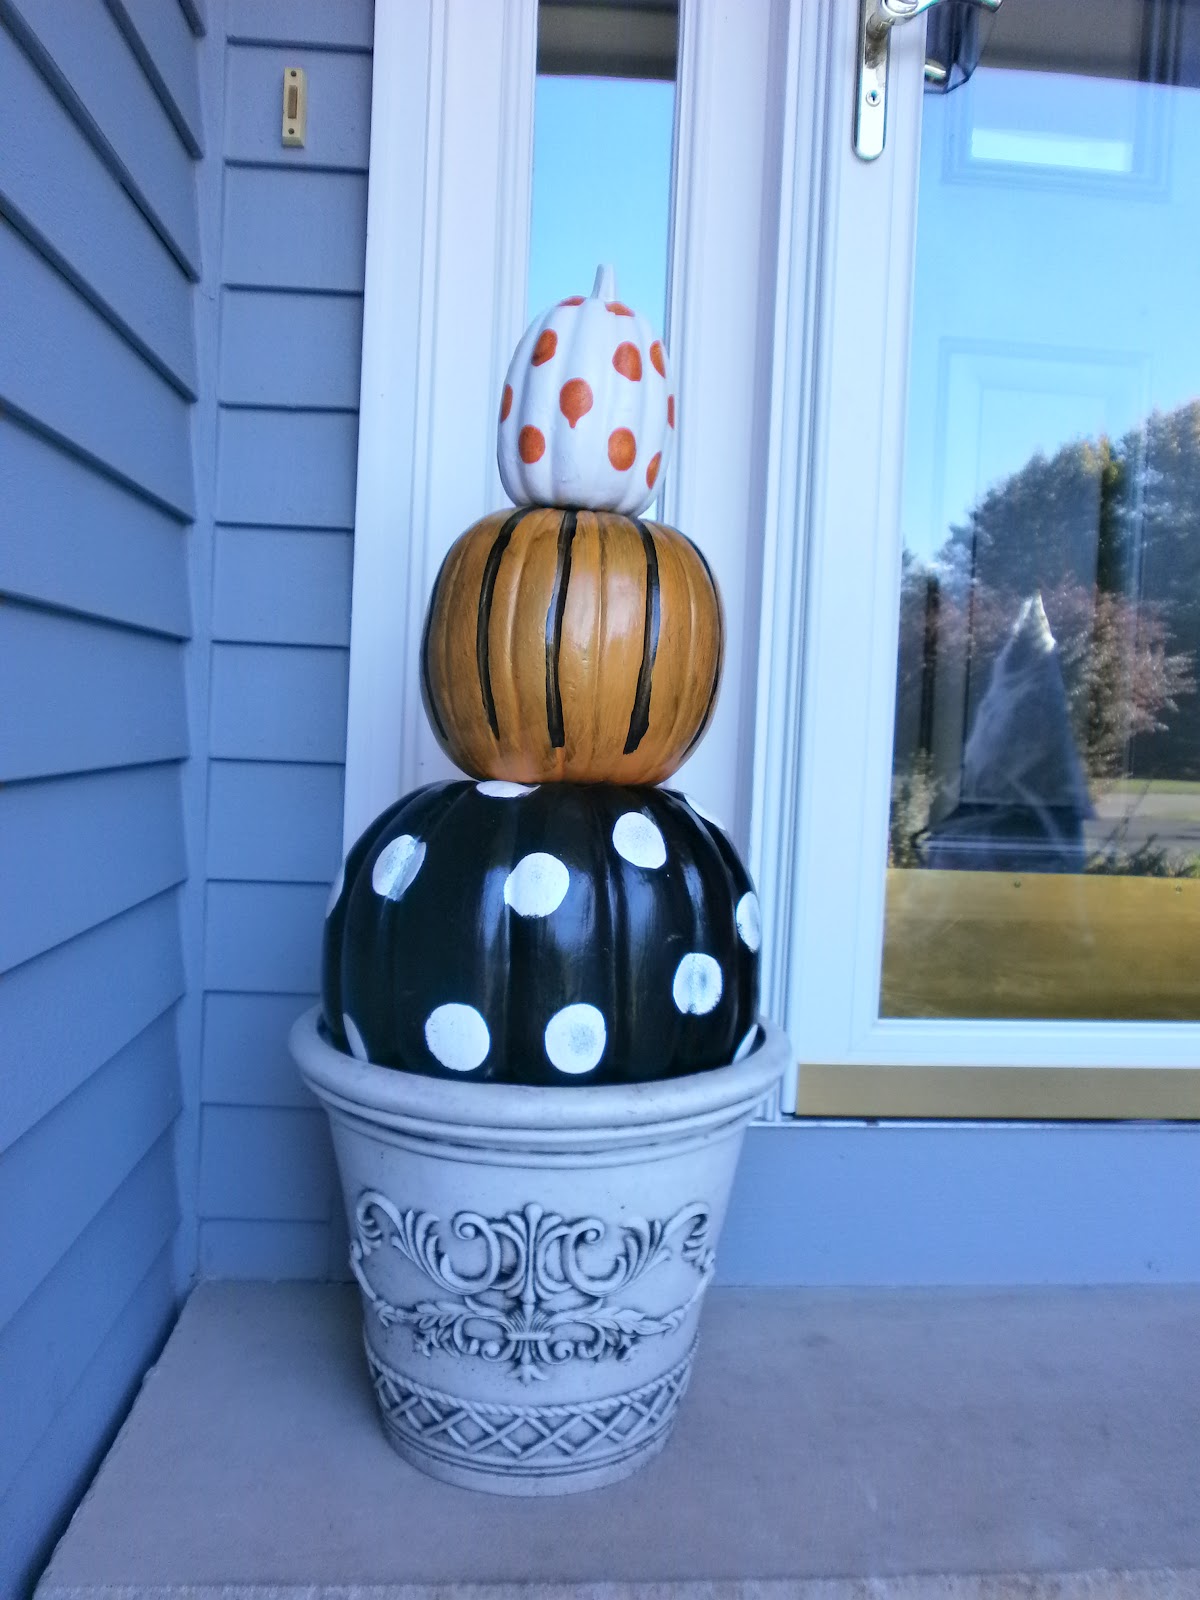
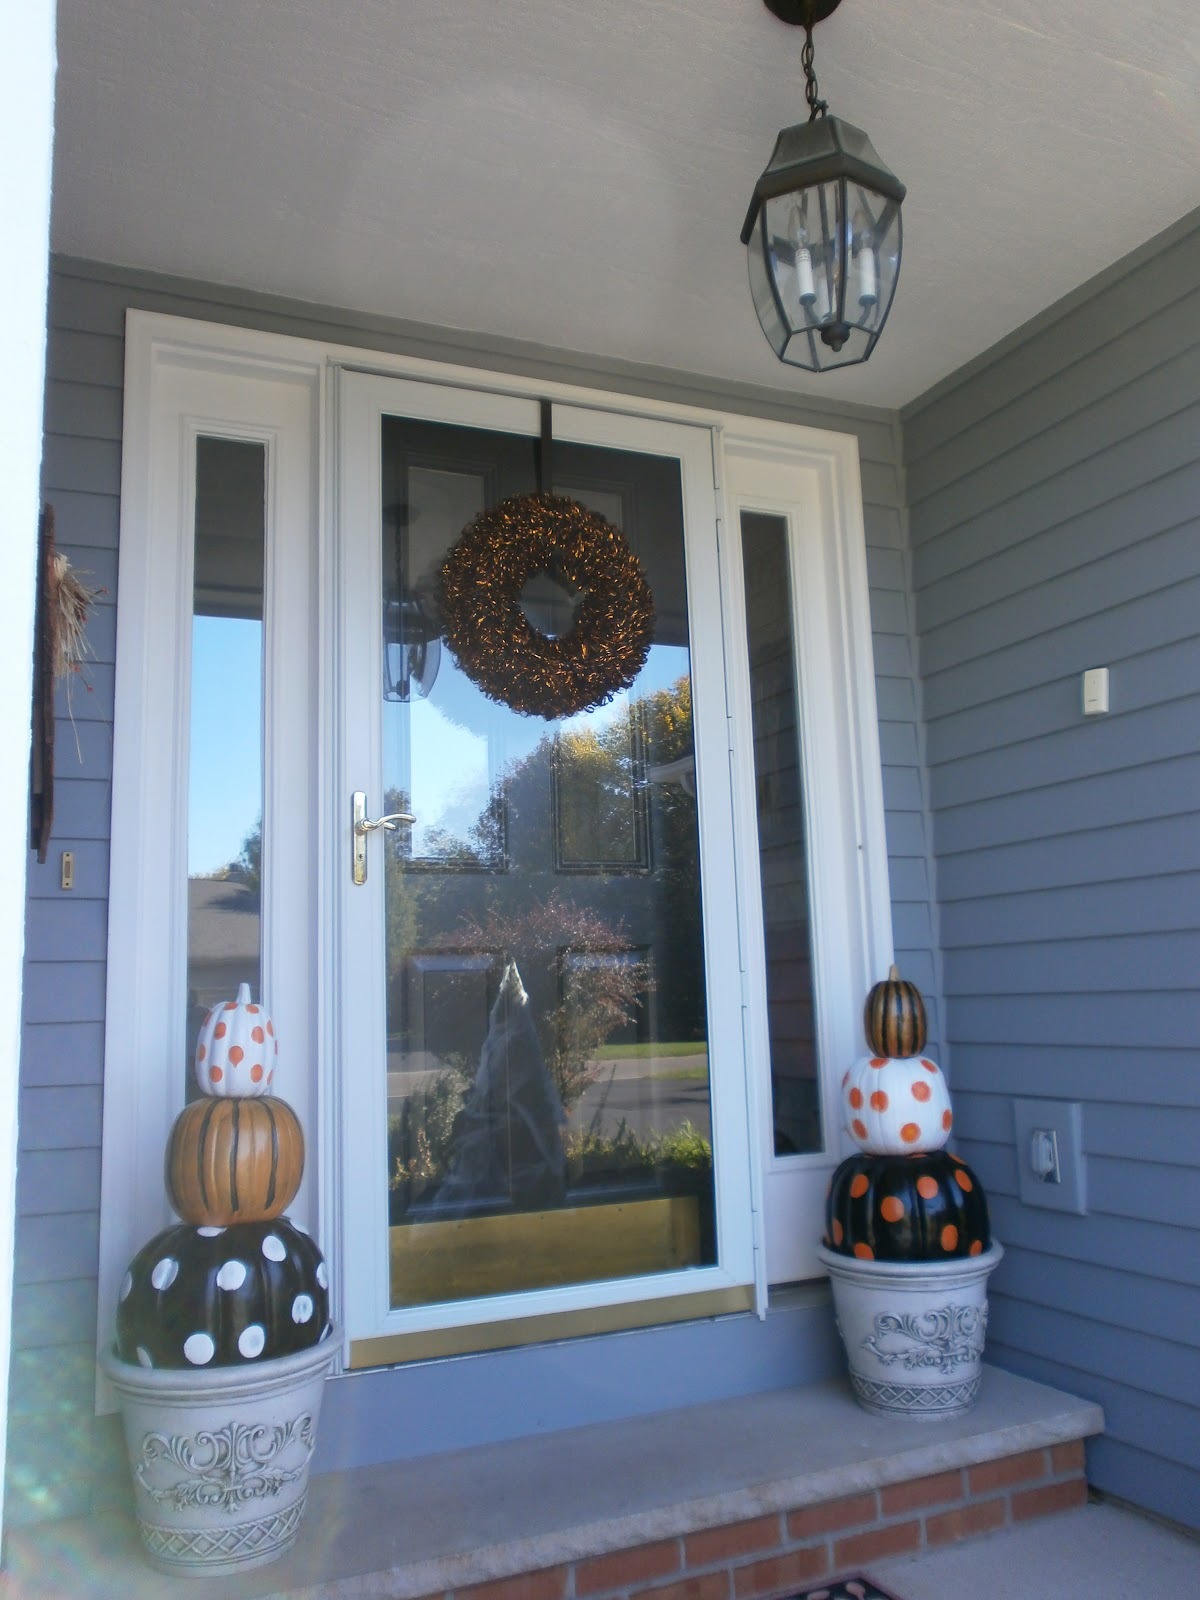
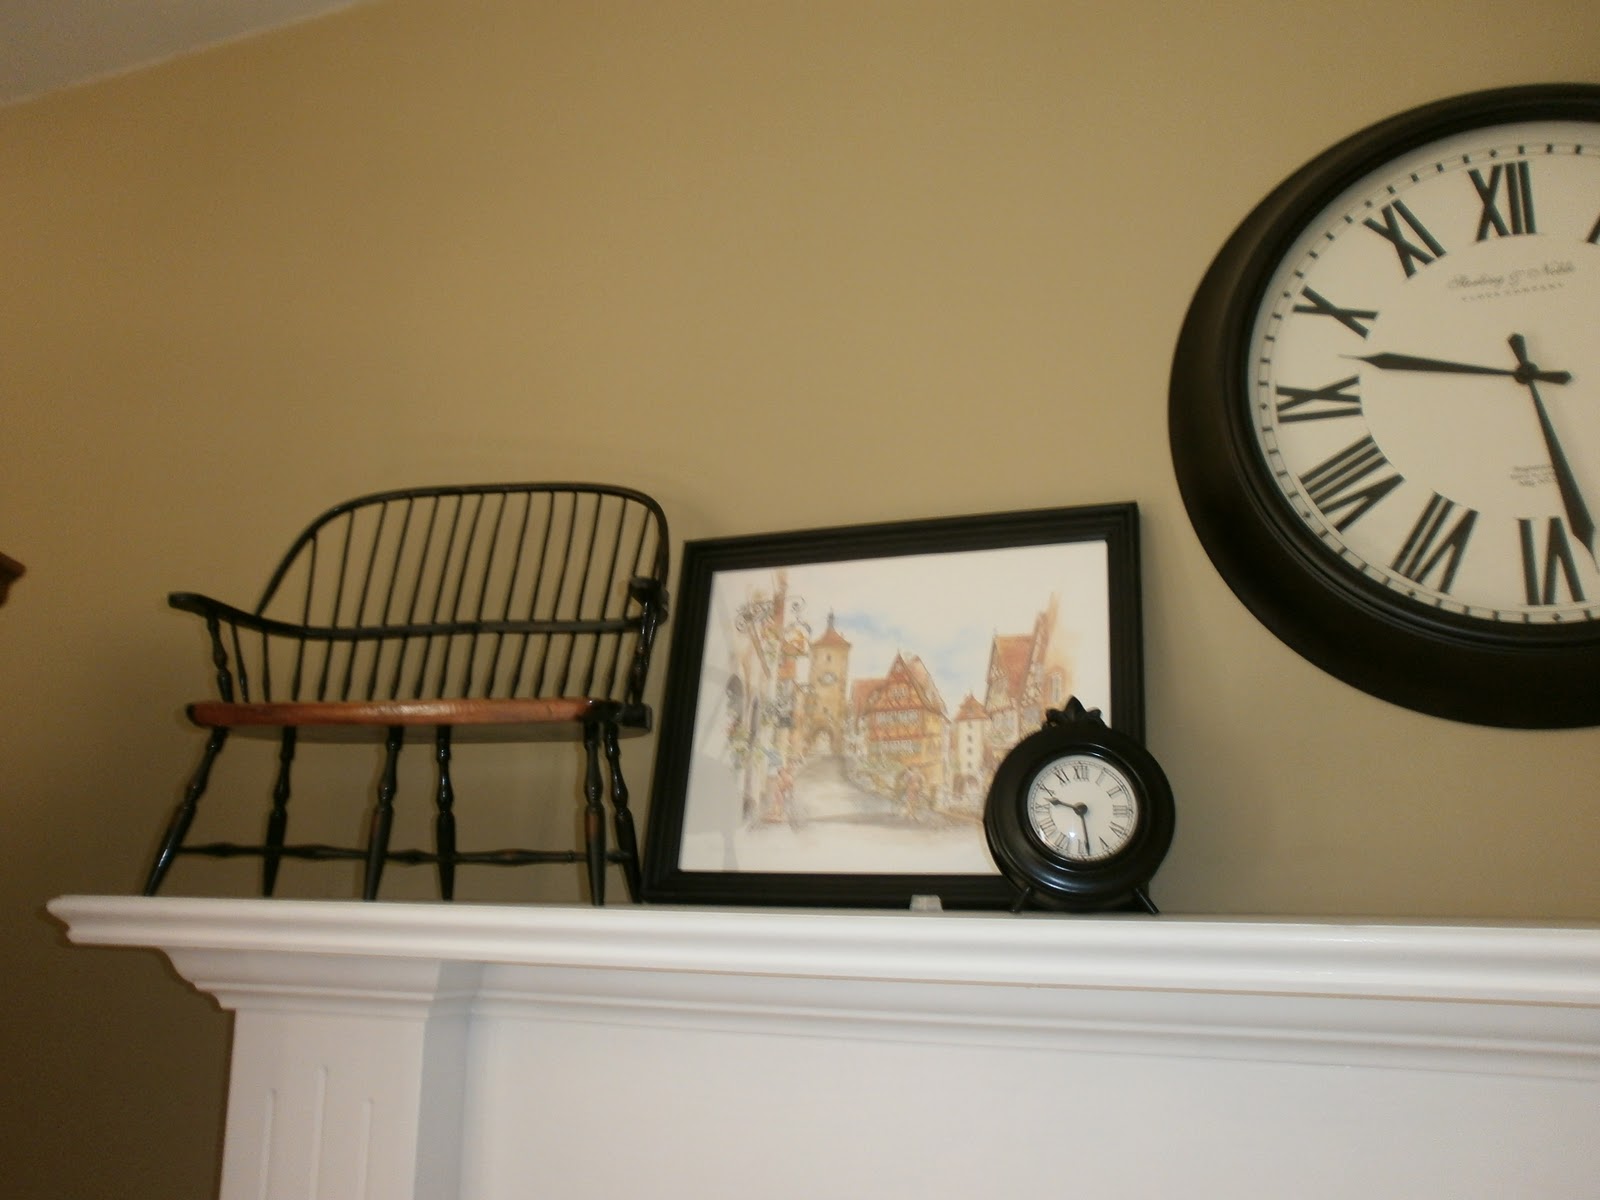
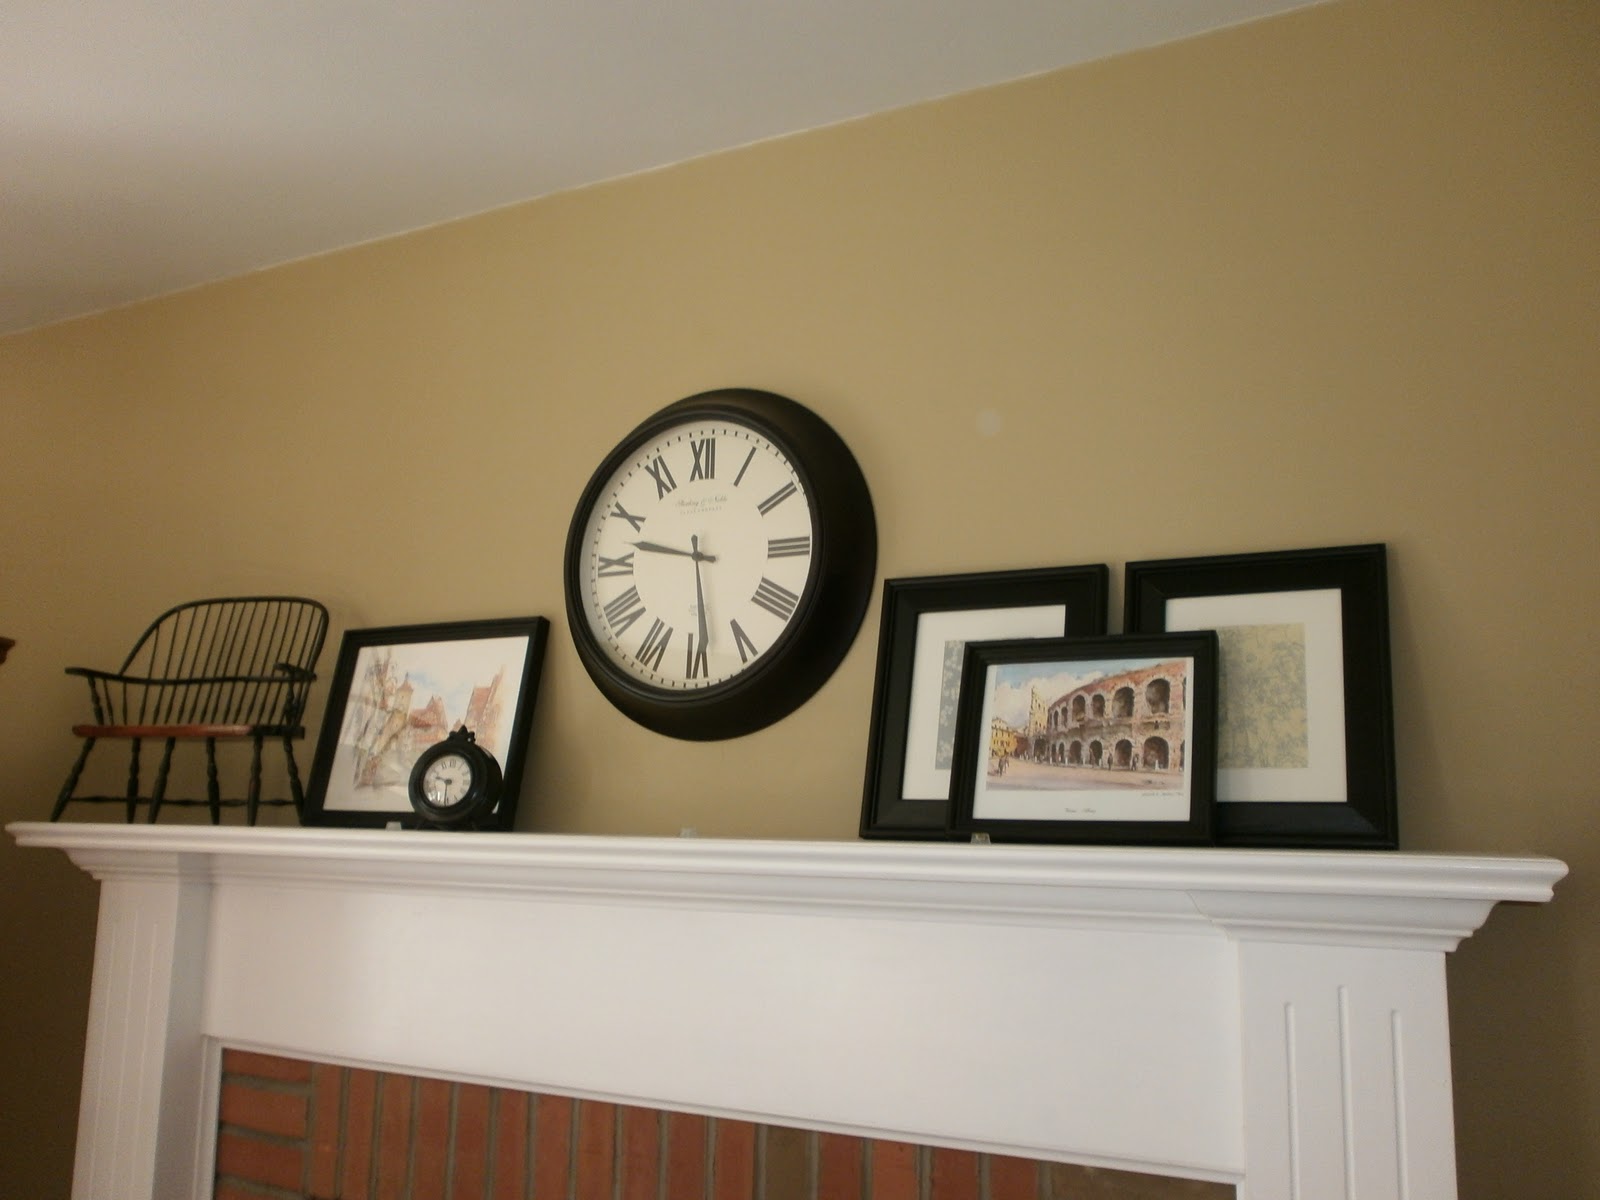
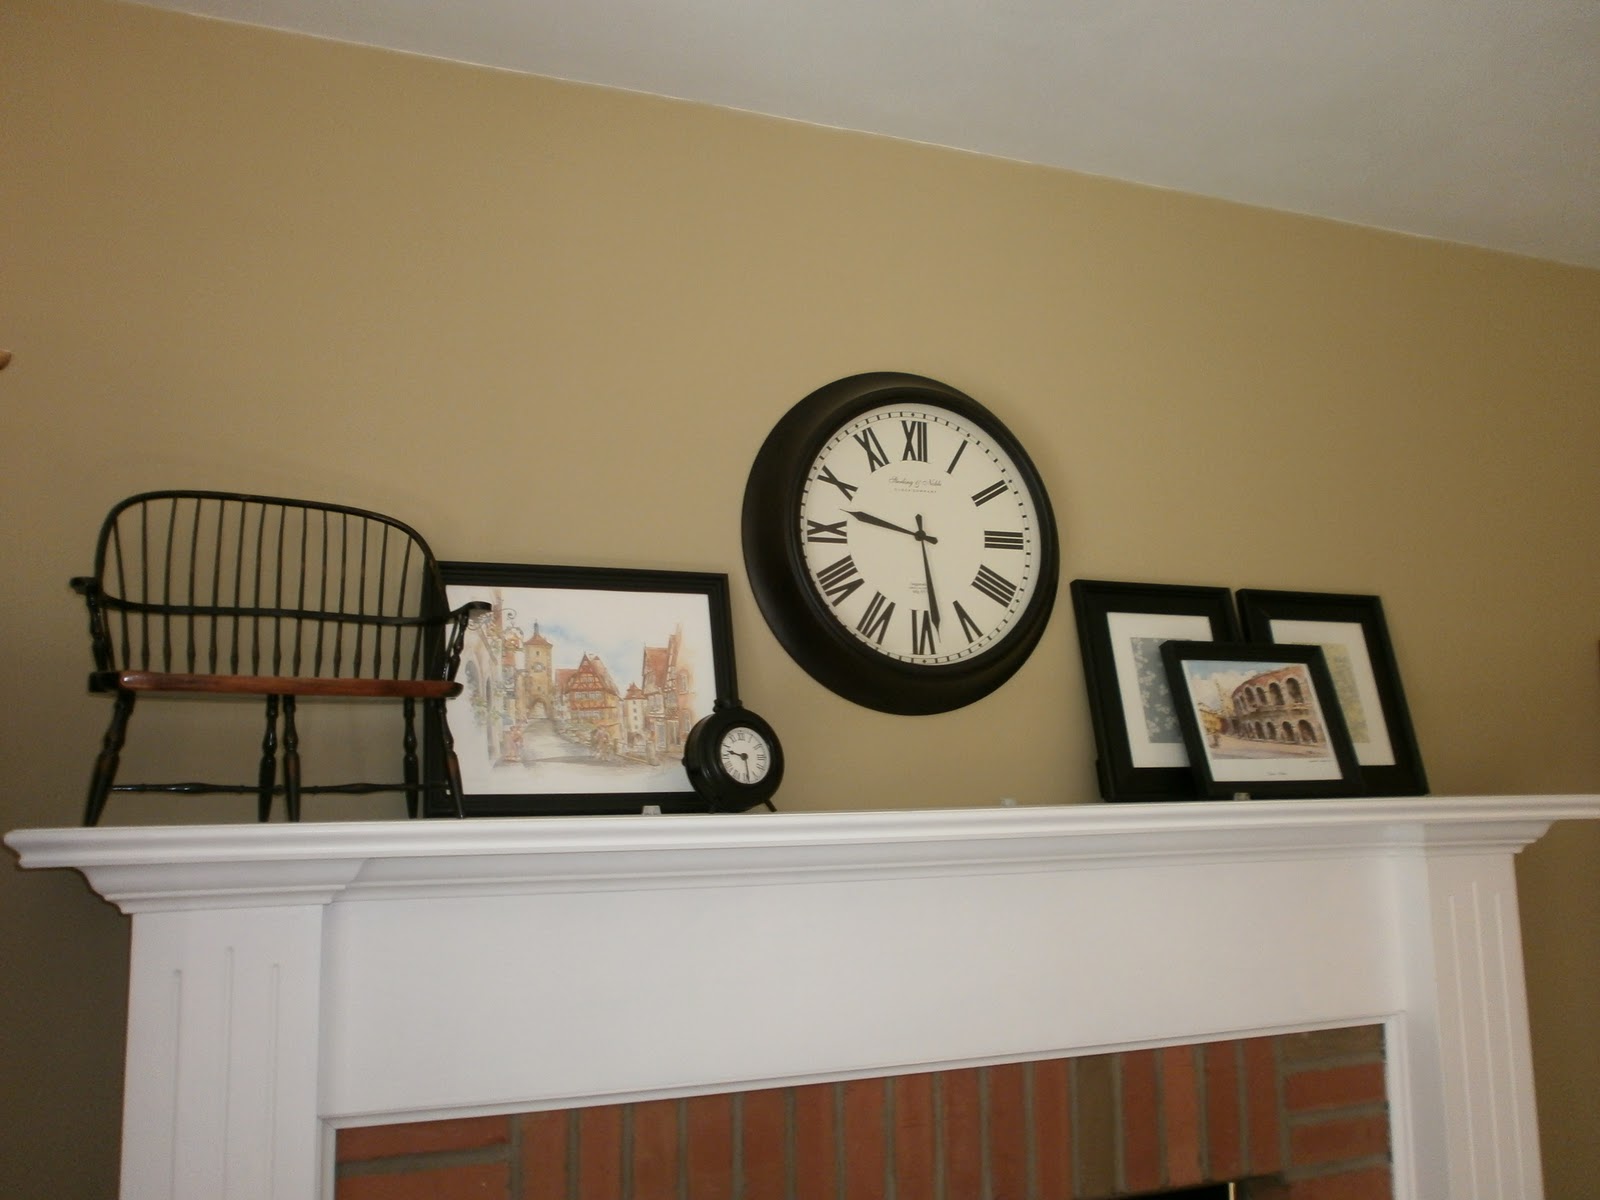
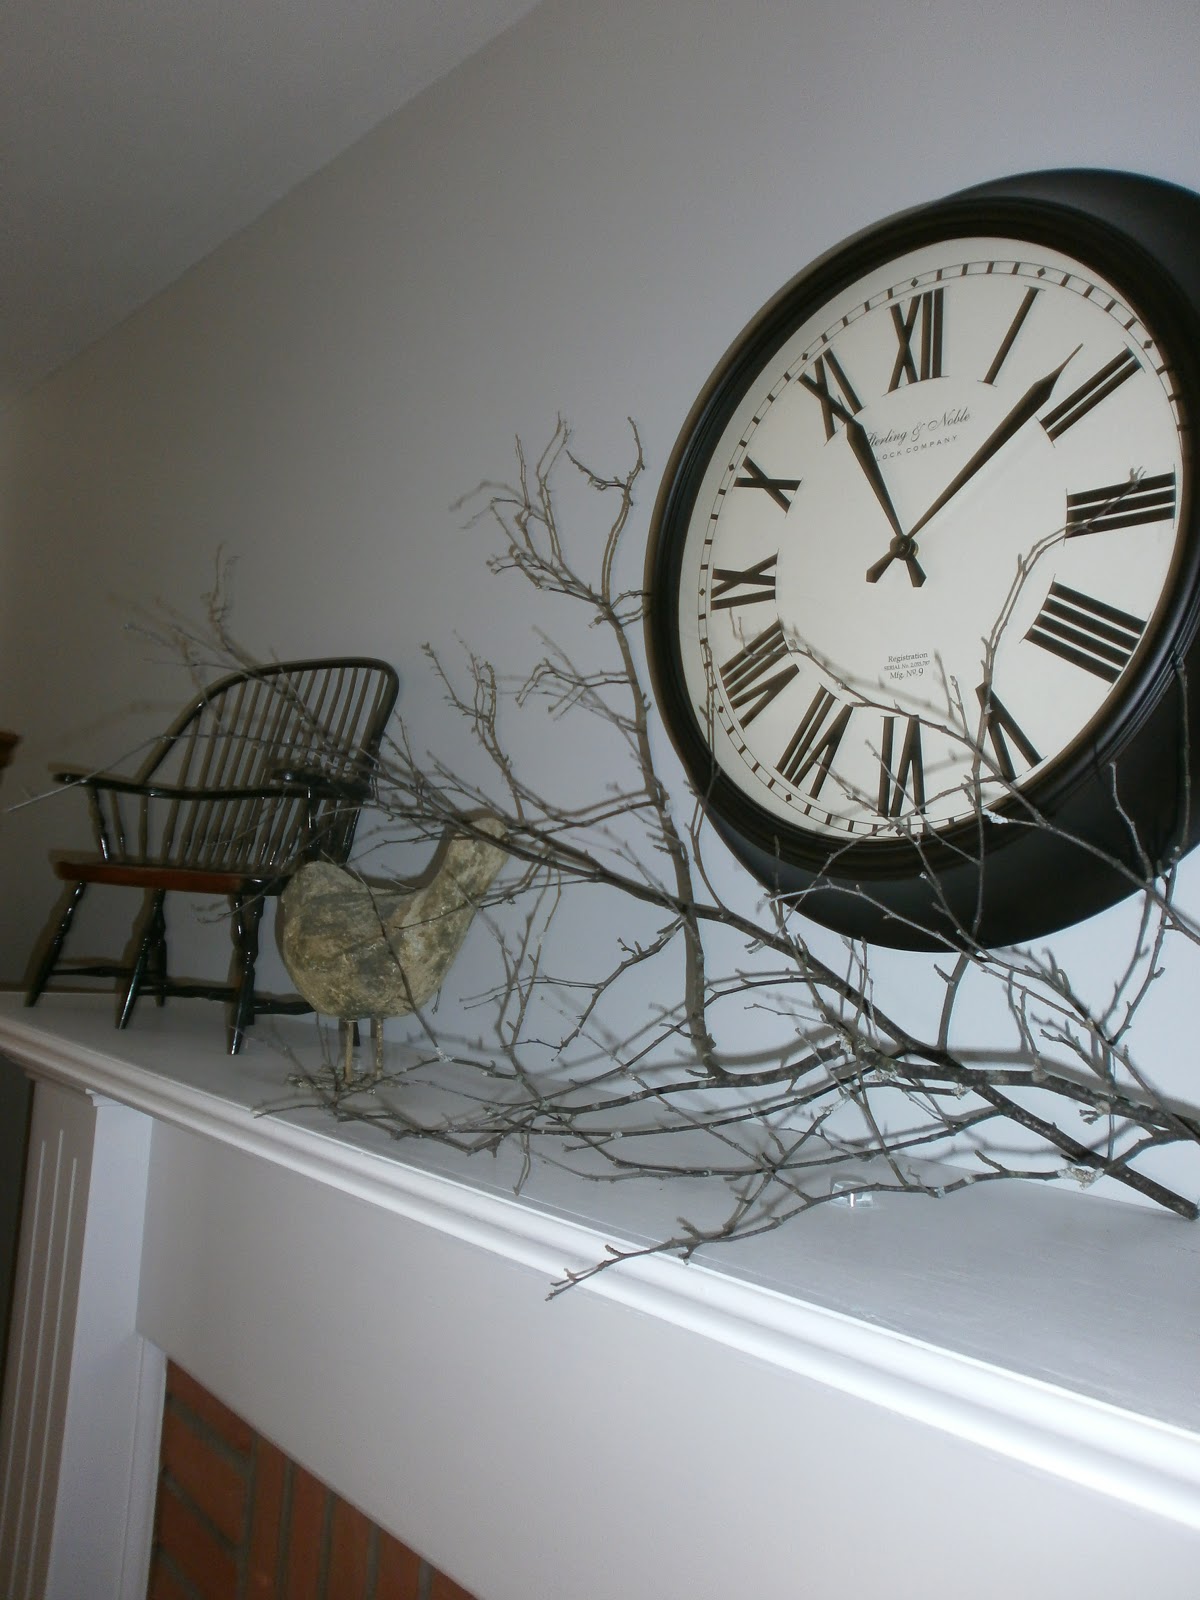
As promised, here are the pictures of our fall mantel. I kept some of the things as is… the wall clock, the windsor chair and ‘B’ candle. The new changes include branches from our front yard birch tree, a leaf plate and a mossy stone bird. Here is our nature inspired, fall mantel…

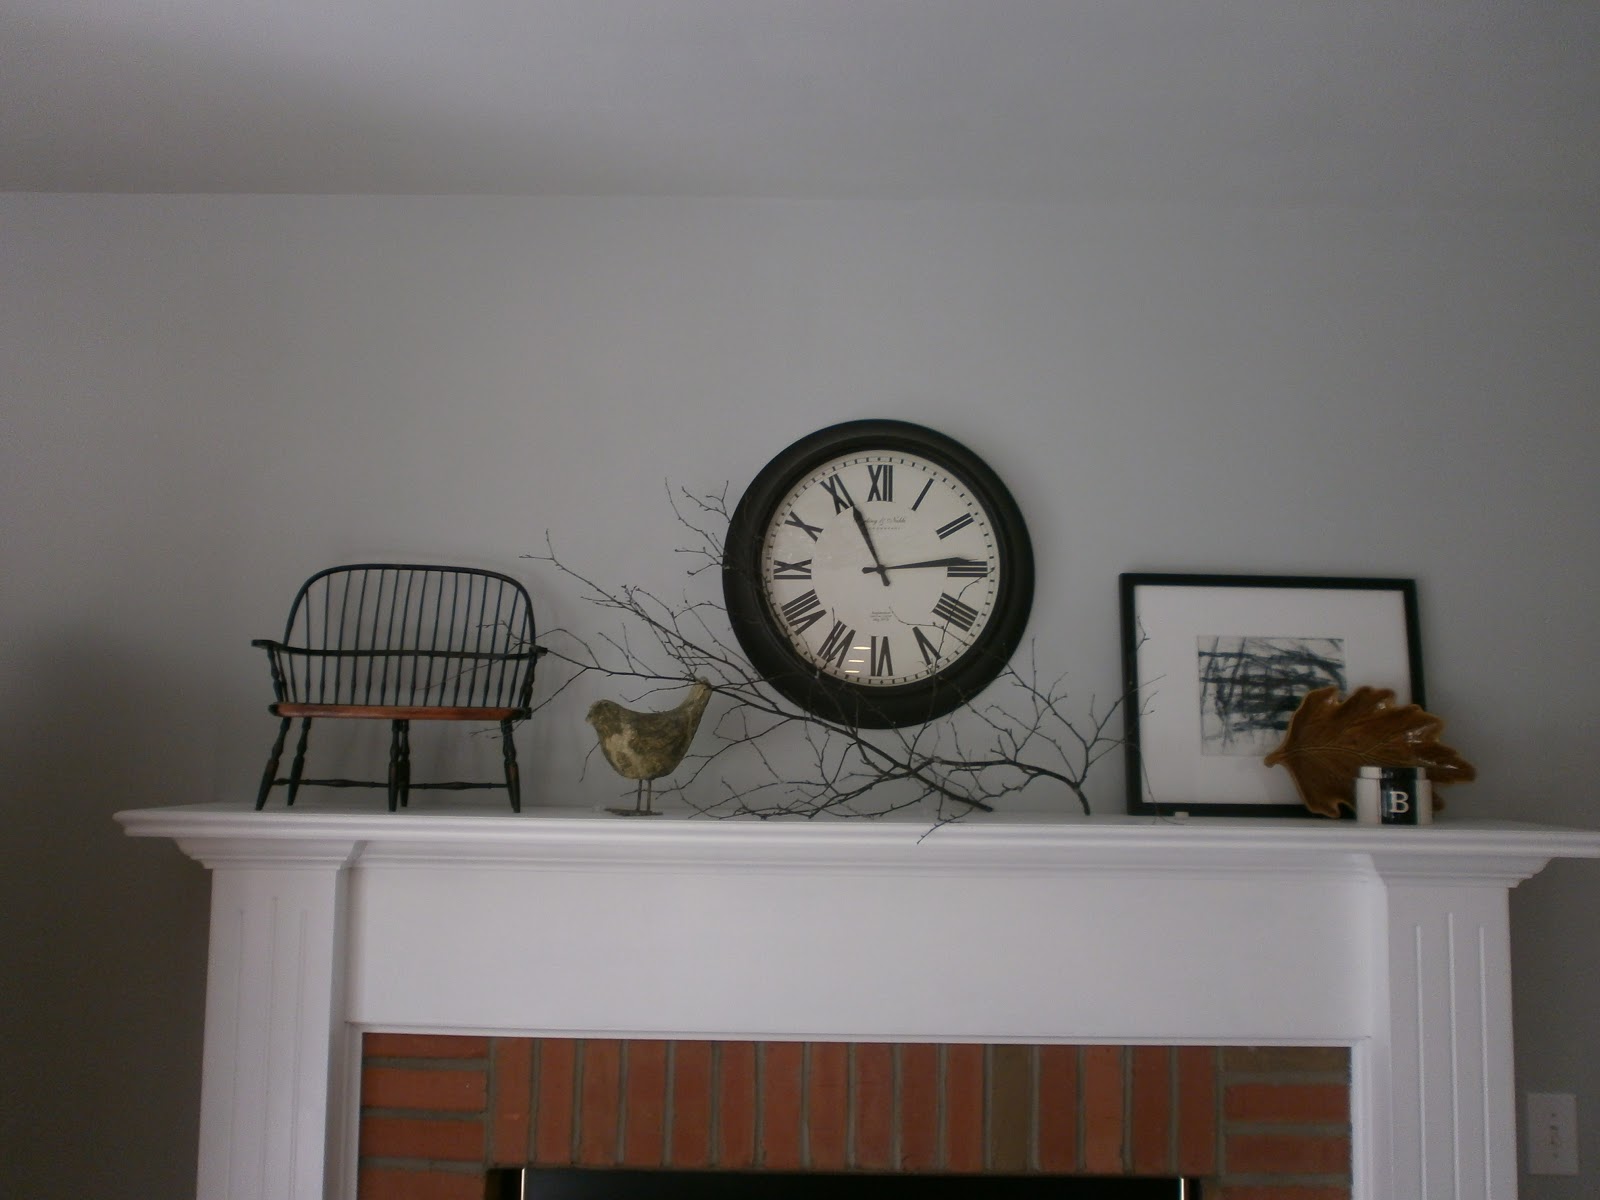
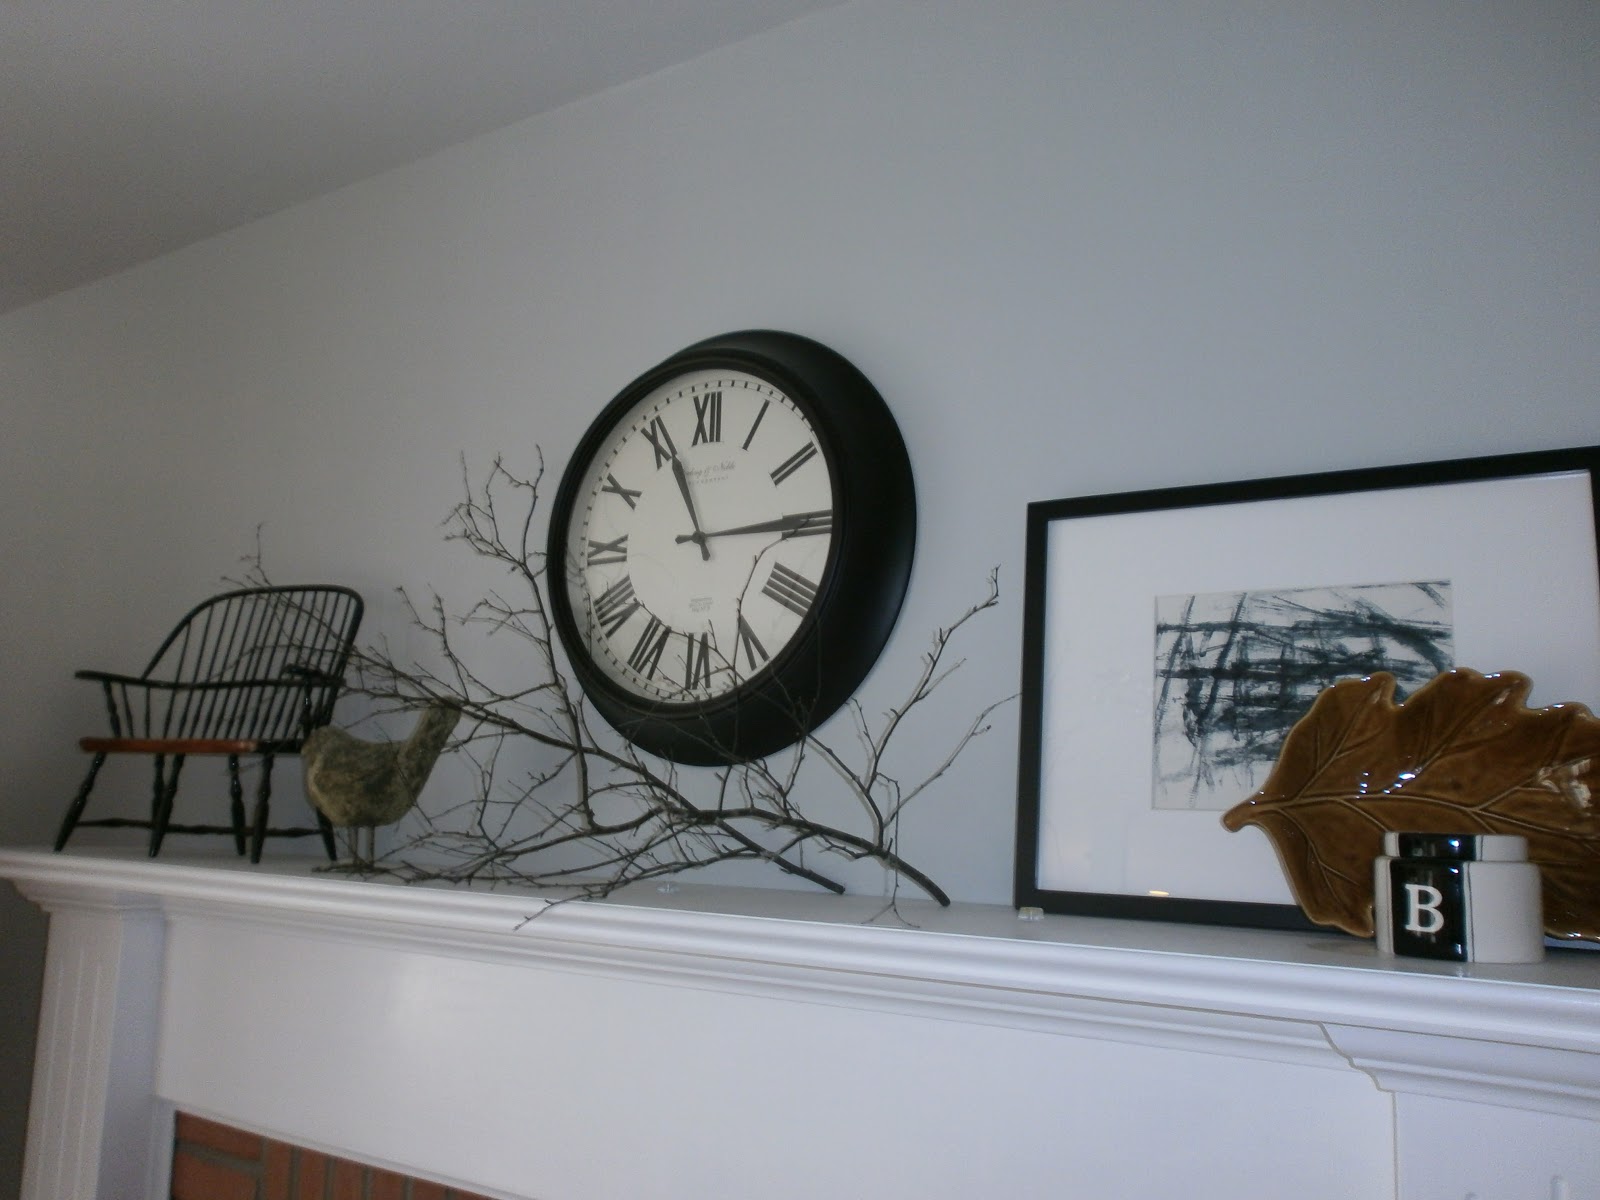
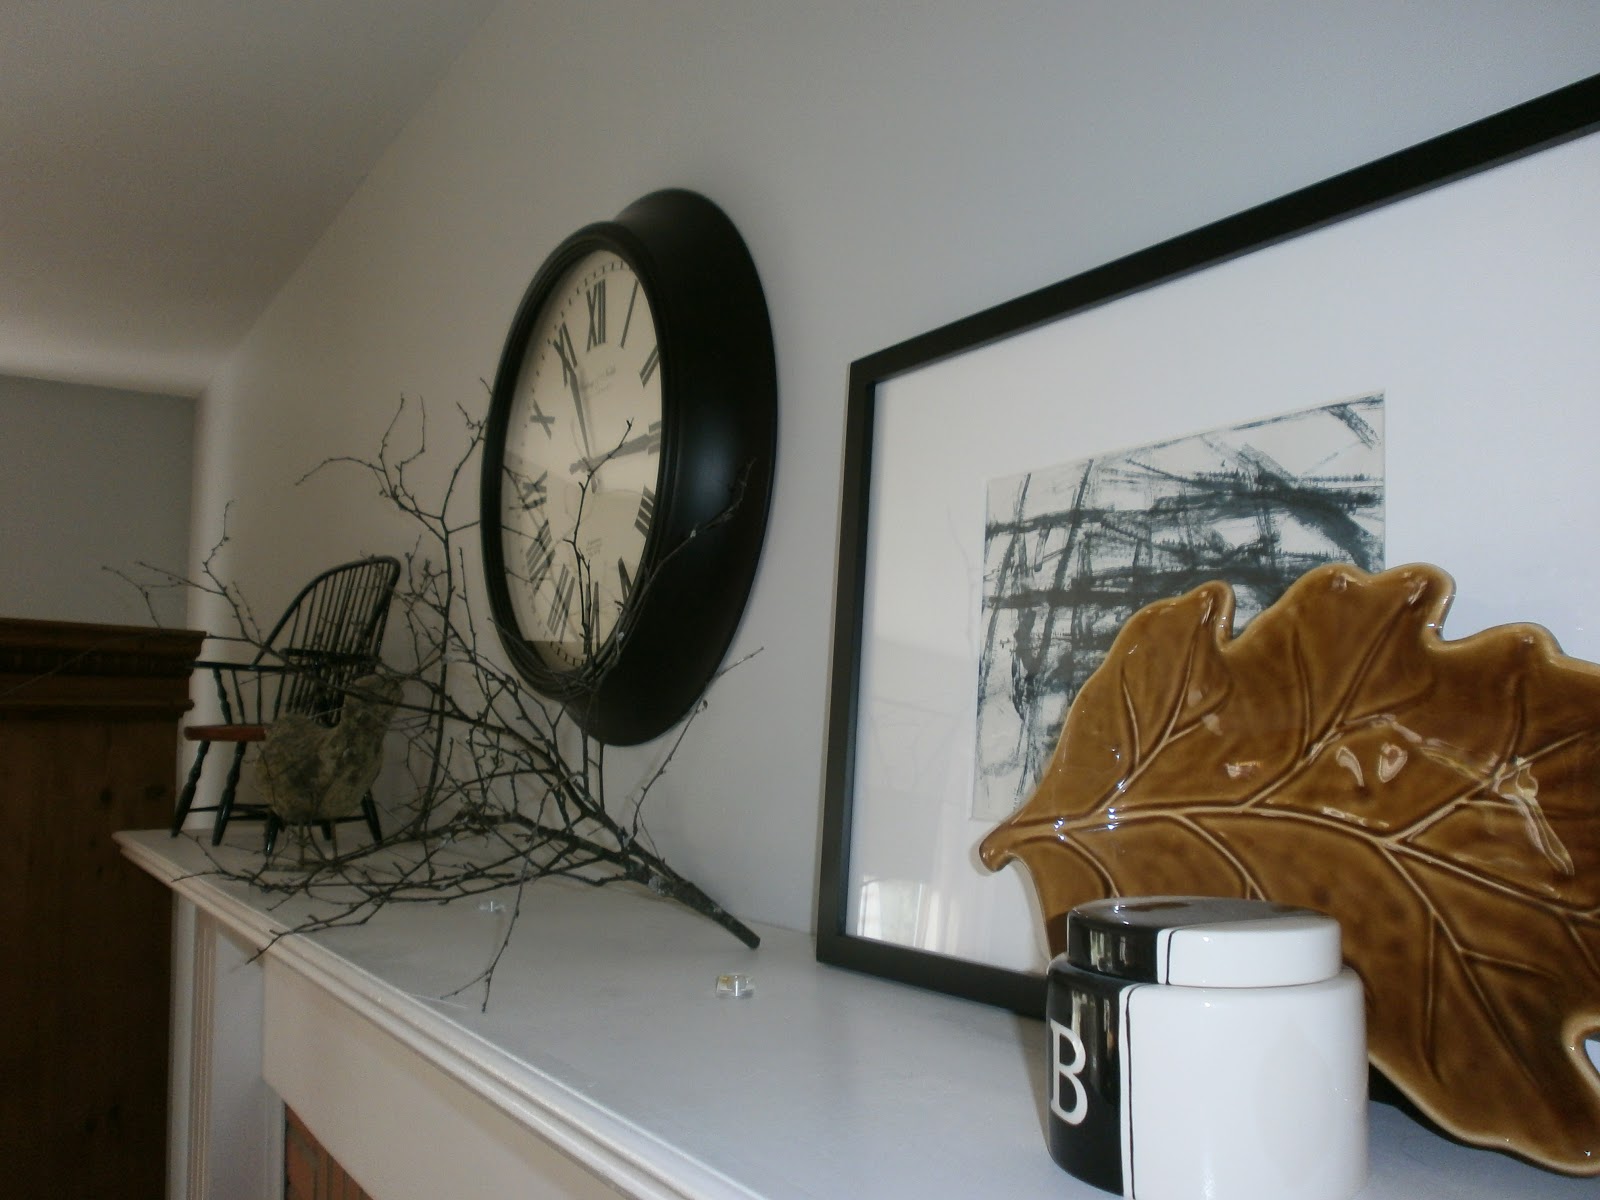
I also switched around some art and moved the graphic art piece from our wall to the mantel. I think it adds a modern touch to the natural, traditional elements. You may also notice the little plastic sticky pieces that are on the top of the mantel. A while back, I had a huge mirror on this mantel, and those sticky pieces were there to prevent the mirror from sliding. I should take them down, since I don’t need them anymore. Should have done that before the pictures…  🙂

I love it when I can decorate using free things from around the house. The branches were easy to clip down from the tree, were free and instantly add a nature inspired accessory to the mantel.

Do you change out your mantel with the seasons?

Our DIY Painted Pumpkins

September 28, 2012 by Amber Filed Under: DIY, fall fix ups, pumpkin topiaries Leave a Comment

Every year in the fall, I love to put out my painted pumpkins! I have been doing these topiary pumpkins for a few years now, and they are still going strong! They are artificial pumpkins that I decorate with paint and sponge brushes. Through the weather changes, they need some touch ups every now and then. Here is what the front porch looks like this year:

What I love about these pumpkins, is that I can keep them up throughout the fall season, including Thanksgiving! When I change out the wreath and take off the spider/webs, it becomes a great festive porch for the entire season! I love decorating for this time of year, and I smile when I pull into the driveway. To see what the pumpkins looked like last year and for the full DIY tutorial, go HERE.

Fall in Love With Fall

September 27, 2012 by Amber Filed Under: design, fall colors, fall fix ups, seaons Leave a Comment

This is my favorite time of year! I love the crisp air, warm sweaters and the leaves turning colors. Why not put together some of my favorite images of fall to inspire us all to decorate for the season?!? Enjoy!

Source: aplaceforusblog.com via Amber on Pinterest
Source: etsy.com via Katie on Pinterest
Source: classy-in-the-city.tumblr.com via Shannyn on Pinterest
Source: classy-in-the-city.tumblr.com via Edna on Pinterest
Source: google.com via Amber on Pinterest
Source: heatherbullard.typepad.com via Marie on Pinterest

What a pretty season! Make sure to check back later this week to see how I decorated our front porch for fall!

Look What I Did – Stencil Alert!!

November 14, 2011 by Amber Filed Under: diy stencil, fall fix ups Leave a Comment

Happy Monday! I am so excited to share this project with you today. I just wrapped up my first stencil project on a wall in our dining room. I have wallpapered before, as you can see here, but never stenciled. I was very excited when I was contacted by Royal Design Studios to do a stencil review, where I could choose my own pattern and create the project however I choose! I was definitely ready to try it, as I have always wanted to see what a large, graphic stencil would look like on my wall! I chose a main wall in our dining room for the stencil treatment. The bones of this space are traditional, and I wanted to infuse some modern elements. So when searching for the right stencil, I know I wanted a large, bold print that read more modern in style. I chose a moroccan print called Large Chez Sheik. This print looked beautiful on the computer and even more amazing in person! Here is what the space looked like before:

Before:

  Another before with newer accessories:

And now for the afters: (Get ready- there’s a lot!!)

I am so appreciative to this amazing company for giving me the courage to try my hand at stenciling! Now, let’s get to the details of this project and my honest opinion on stenciling! Truthfully, I am soooo glad I tried it! It was time consuming, but so worth it in the end! For me, stenciling is definitely doable for a partial wall. It gave the space a focal point that it didn’t have before. For those that might not want to tackle a wall, stenciling is great for details, like dressers, tables, behind bookcases and drapery. Here are some during shots of this project:

During:

What I used for this project:

– Creamy white semi-gloss paint that I already had for the room’s trim work.
– A stencil brush for the smaller patterns and a small paint brush for the larger patterns.
– Blue painter’s tape. (You could also used spray adhesive, but I already had the tape and it worked great!)
– Drop cloth (just in case!)
– Small bowl for paint.
– Lots of paper towels for rubbing off extra paint on brushes.

I started at the top of the wall, so I could get my initial stencil patterns straight and lined up with the crown molding. I added the painter’s tape to the edges of the stencil and began with only the small stencil brush. I wanted to make sure I wasn’t using too much paint in the beginning. You can always add more paint later, but it’s much harder to remove it! Once I was confident in the amount of paint I needed on the brush, I began to add the small paint brush for the larger patterned areas. This made the project move along much quicker. Just make sure you take off as much of the paint as you can, from the brush! If it bleeds through the stencil, you have a bigger problem on your hands!

When stenciling, I would try to paint from the outside of the stencil in, helping to keep the pattern in place. If I was going to move my stencil to the right for the next set, I always made sure to stencil that side first. That way, the paint would be dry when I had to overlap. The stencil comes with pre-cut dotted lines, so you are always on track for matching up your stencil. It leaves no margin for error! I left the corners and trickier areas for the end of the project, to make sure the back of the stencil was completely dry when I had to move and bend the stencil. I just took a break at that time! I only used one coat for this stencil. The shading does look darker in some areas, but that just adds to the character of the treatment. (Hopefully) it gives the wall some depth and character. With a bit of the darker wall color showing through, it almost gives the white paint a silvery effect, which shimmers when the lights are on! In time, I will do some touch ups, but they are very minimal and can be done at some point! Overall, it was pretty easy to use!

Thanks so much to Royal Design Studios for their generous idea! Their site also has very helpful tips for your stencil projects! And stay tuned… there will be a chance for you to win your very own stencil soon!

I’m linking this up to the wonderful blog, Savvy Southern Style, for her Wow Us Wednesdays!

Photobucket

DIY Fall Pumpkin Topiaries

October 10, 2011 by Amber Filed Under: fall fix ups, pumpkin topiaries Leave a Comment

I was inspired by some painted pumpkins I saw a couple years back in an issue of Country Living, and I had to try it out! That same fall when my mom and I visited a local decor boutique, I fell in love with the way the shop owner stacked her pumpkins from small to large, creating a topiary effect. So… I combined the two ideas and voila… pumpkin topiaries were made! Here they sit on our front porch, along with some other fall decor:

And here is how to recreate these pumpkin topiaries:

– I purchased (2) small, (2) medium and (2) large orange artificial pumpkins from my local craft store.

– I used a small utility knife to cut a hole on the top and bottom of all pumpkins, except the tops of the 2 small pumpkins. Those decorative stems had to stay in tact for appearance purposes.

– I bought some spray paint and craft paint to decorate my pumpkins. I used black spray paint for the two bottom pumkins and silver and gold craft paint for the others. I wanted to give them different looks, so some had stripes applied with a brush, while others I applied polka dots with a flat, circle craft sponge. To apply the stripes and dots, I used craft paint. In order for the design to last and not wash off with the rain and harsh weather, I applied a shiny clear coat of spray paint to all pumpkins.

– To keep the pumkpins connected and not fall off, I purchased a dowel (craft stick) from the craft store and cut it to size. I wanted to make sure that the dowel would go to (at least) the middle of the smallest pumpkin, for stability and also leave room on the bottom, for the dowel to stand in the planter. I placed the dowel in a planter half filled with dirt, to stay in place. I then stacked my pumpkins in their topiary shape!

What fall ideas do you have up your sleeve??

I am linking this post up to the wonderful blog, Savvy Southern Style:

Photobucket

Changes to My Mantle

September 27, 2011 by Amber Filed Under: fall fix ups, mantle Leave a Comment

After a few years of looking at the same set up on my mantle, I was ready for a change! I love the layered look and I know I wanted to layer some prints for added depth. I cannot believe I forgot- but I didn’t take before pictures! What kind of a blogger am I? Here is what I came up with:

Most of the pieces are sentimental and carry meaning, while a couple are just for fun and were inexpensive art solutions! Starting from the left, the mini windsor bench was a flea market find when we lived in Germany that I bought for 15 euros! I always smile when I see it and remember our fond memories living in Europe. The sketch drawing next to that was also a purchase in Germany and shows one of the fun cities we lived near. The two clocks were gifts from the hubby! I always love and cherish the gifts that were bought as a complete surprise, with no help from me. He’s got great taste! (Well helllloooo- he chose me, right! ha just kidding!) Ok, back to it- the sketch drawing on the right shows a colliseum in Italy’s beautiful city of Verona. It still stands today, and we were able to walk around inside. The framed “art” pieces behind that are actually just decorative scrapbook paper that I bought and framed as art! Scrapbook paper can be an inexpensive art solution and look pretty good when matted and framed. And the frames with matting are from wal mart for only $10 each!  (As a side note- the little rubber stoppers can be seen in these images, but not when looking at them from the floor. They are just there to hold the pictures in place!)

This is the to do list for this room:

– paint the walls Alaskan Husky by benjamin moore. It’s a very light, gray/blue color. It can almost appear white at certain times of the day. I am so excited for this project!

– add two wide horizontal stripes to this one wall and use one shade lighter on the color swatch for the stripes. I will wait a couple months after painting to add stripes, because the paint needs time to cure. If I do it right away, the painter’s tape will likely take off the new paint on the walls. (And I have no problem waiting a couple months- it takes forever for me to complete a project, anyway!)

What fall projects will you tackle???

Welcome!

Hi, I'm Amber... a wife, mom and interior decorator. I am the writer of Simple Dwellings and the designer behind Amber B Design. Blog topics are all things design, with the occasional DIY attempt! Thanks for stopping by.Read more...

  • Bloglovin
  • Email
  • Facebook
  • Instagram
  • Pinterest
  • Twitter

@amberbdesign

amberbdesign

Umbrella update… after two years, this @target f Umbrella update… after two years, this @target find still looks brand new! It has been through wind, rain and lots of sunshine and still has that beautiful navy blue color. I wasn’t able to find the exact one, but my Like to Know It page has two very similar options! And if you need me, I’ll be here all weekend! #amberbdesignathome #coastalliving #poolside
Enjoying those ‘not rushing out the door, spring Enjoying those ‘not rushing out the door, spring break mornings’ #amberbdesignathome #coastalliving #sharemygrandin #yespb #myballardstyle #howyouhome #bhghome #hgtv #livingroom
A full recap of my visit to this year’s Kips Bay A full recap of my visit to this year’s Kips Bay Show House in Palm Beach is up on the blog! Link to my site in my bio. Enjoy all of this inspiration, including @katieridderinc Primary Bedroom design! #kipsbaypalmbeach #kipsbayshowhouse #coastalliving
I love every space to have at least a touch of bra I love every space to have at least a touch of brass and rattan! #amberbdesignathome #coastalliving #howyouhome #bhghome #sharemygrandin #yespb #myballardstyle
Show houses are so fun to visit to gain inspiratio Show houses are so fun to visit to gain inspiration. I could probably write a whole blog post on the fun, new ideas I have for our home over the next few years. But I also think it’s meaningful to find joy with the changes you have already made in your spaces and to reflect on how far it’s come. When I walk into our family room, I feel at home. It makes me smile and it’s one of those spaces where I don’t want to change a thing. I think it’s worthwhile to celebrate being content and feeling joy in your home just as it is! Celebrate that corner of your room that took a while to get just right. Finding joy and contentment along the way and during the process makes the end result that much sweeter! #amberbdesignathome #coastalliving #howyouhome #loveyourhabitat
I loved this guest bedroom designed by @eneiawhite I loved this guest bedroom designed by @eneiawhiteinteriors The bed’s canopy was so unique and felt like a luxurious getaway! #kipsbayshowhouse #kipsbaypalmbeach
Load More... Follow on Instagram

Blog Posts, Straight to Your Inbox

Popular Projects

Blog Love

  • Addison’s Wonderland
  • A Thoughtful Place
  • Alison Giese Interiors
  • Amber Interiors
  • Bailey McCarthy
  • Caitlin Wilson
  • Chris Loves Julia
  • Classic Casual Home
  • Cottage and Vine
  • Design Indulgence
  • Dwell by Cheryl
  • Eddie Ross
  • Elements of Style
  • Emily A Clark
  • Emily Henderson
  • Gallery No Eight
  • Hi Sugarplum
  • House of Jade
  • Jana Bek
  • Juniper Home
  • Kate Marker Interiors
  • Lucy Williams
  • Monika Hibbs
  • Our Fifth House
  • Pencil and Paper Co
  • Rachel Parcell
  • Rambling Renovators
  • Pure Style Home
  • Sita Montgomery
  • Studio Mcgee
  • The Makerista
  • The White Buffalo Styling Co
  • the Zhush
  • Traci Zeller
  • Young House Love

Copyright Amber B Design© 2023 · Design by Britt Douglas