Happy Monday! I am so excited to share this project with you today. I just wrapped up my first stencil project on a wall in our dining room. I have wallpapered before, as you can see here, but never stenciled. I was very excited when I was contacted by Royal Design Studios to do a stencil review, where I could choose my own pattern and create the project however I choose! I was definitely ready to try it, as I have always wanted to see what a large, graphic stencil would look like on my wall! I chose a main wall in our dining room for the stencil treatment. The bones of this space are traditional, and I wanted to infuse some modern elements. So when searching for the right stencil, I know I wanted a large, bold print that read more modern in style. I chose a moroccan print called Large Chez Sheik. This print looked beautiful on the computer and even more amazing in person! Here is what the space looked like before:
Before:

Another before with newer accessories:

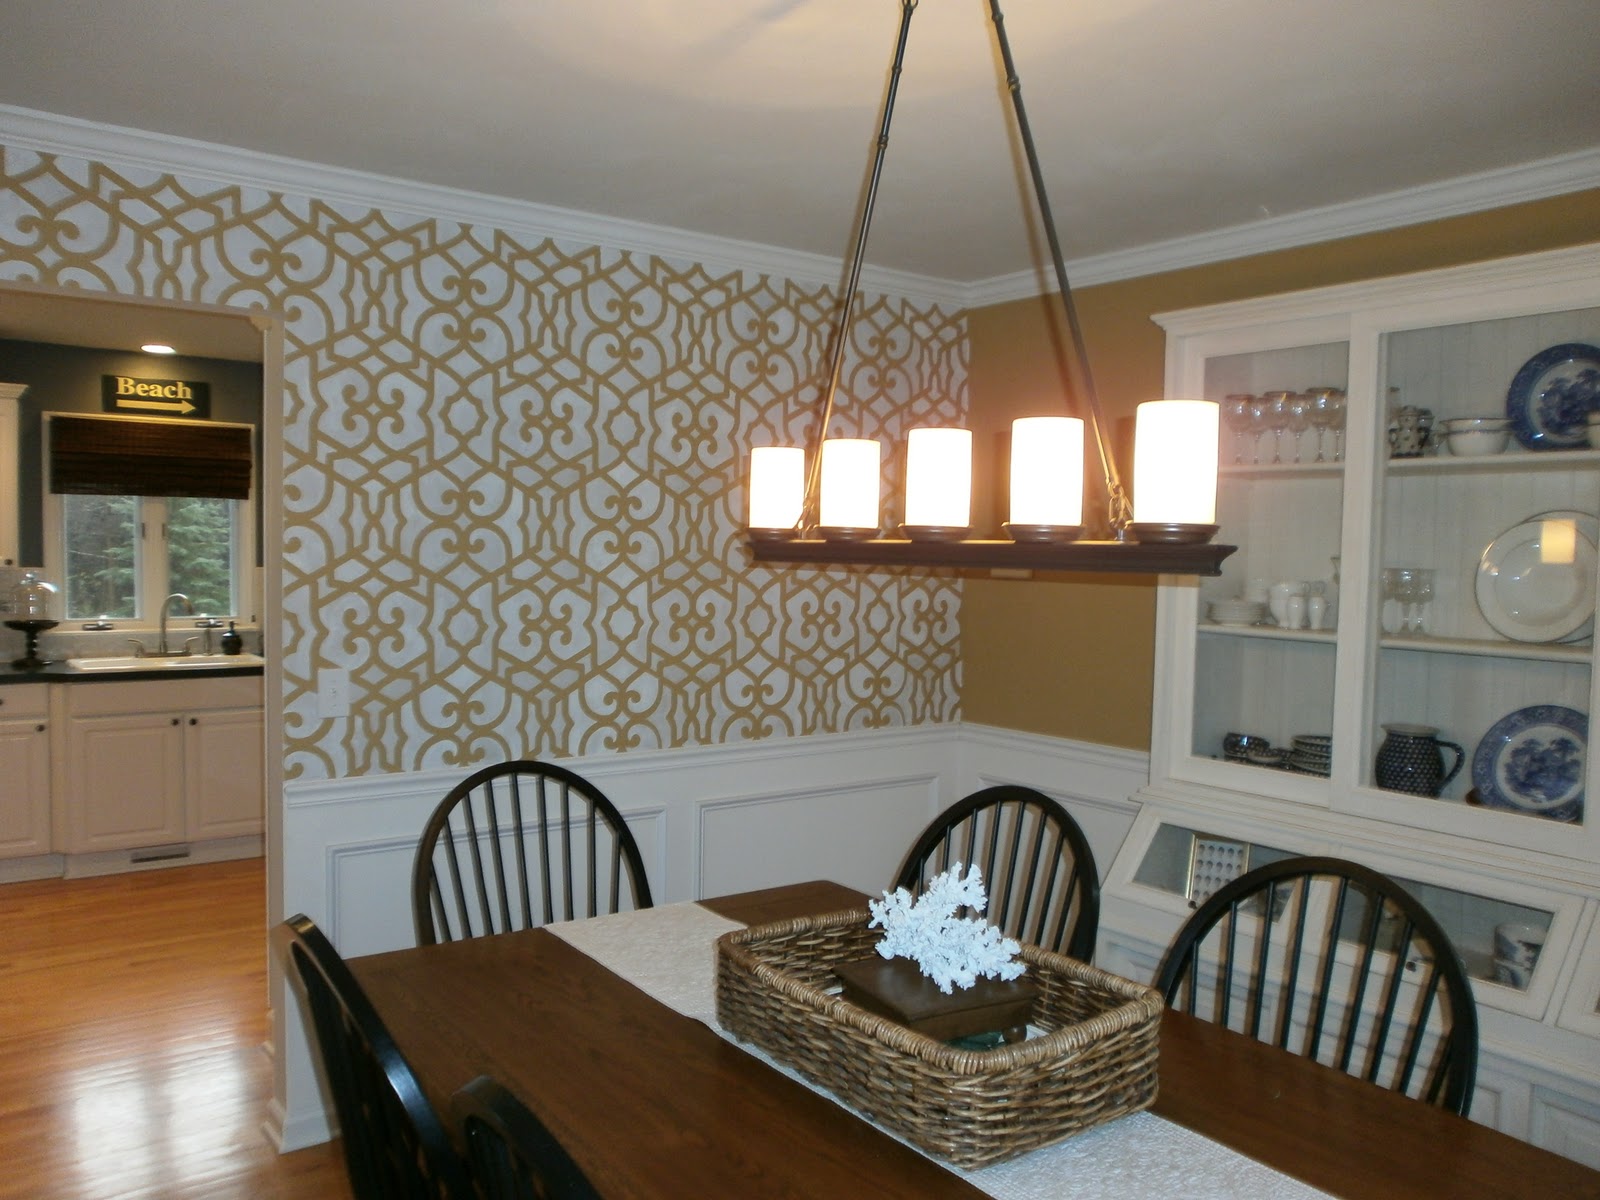
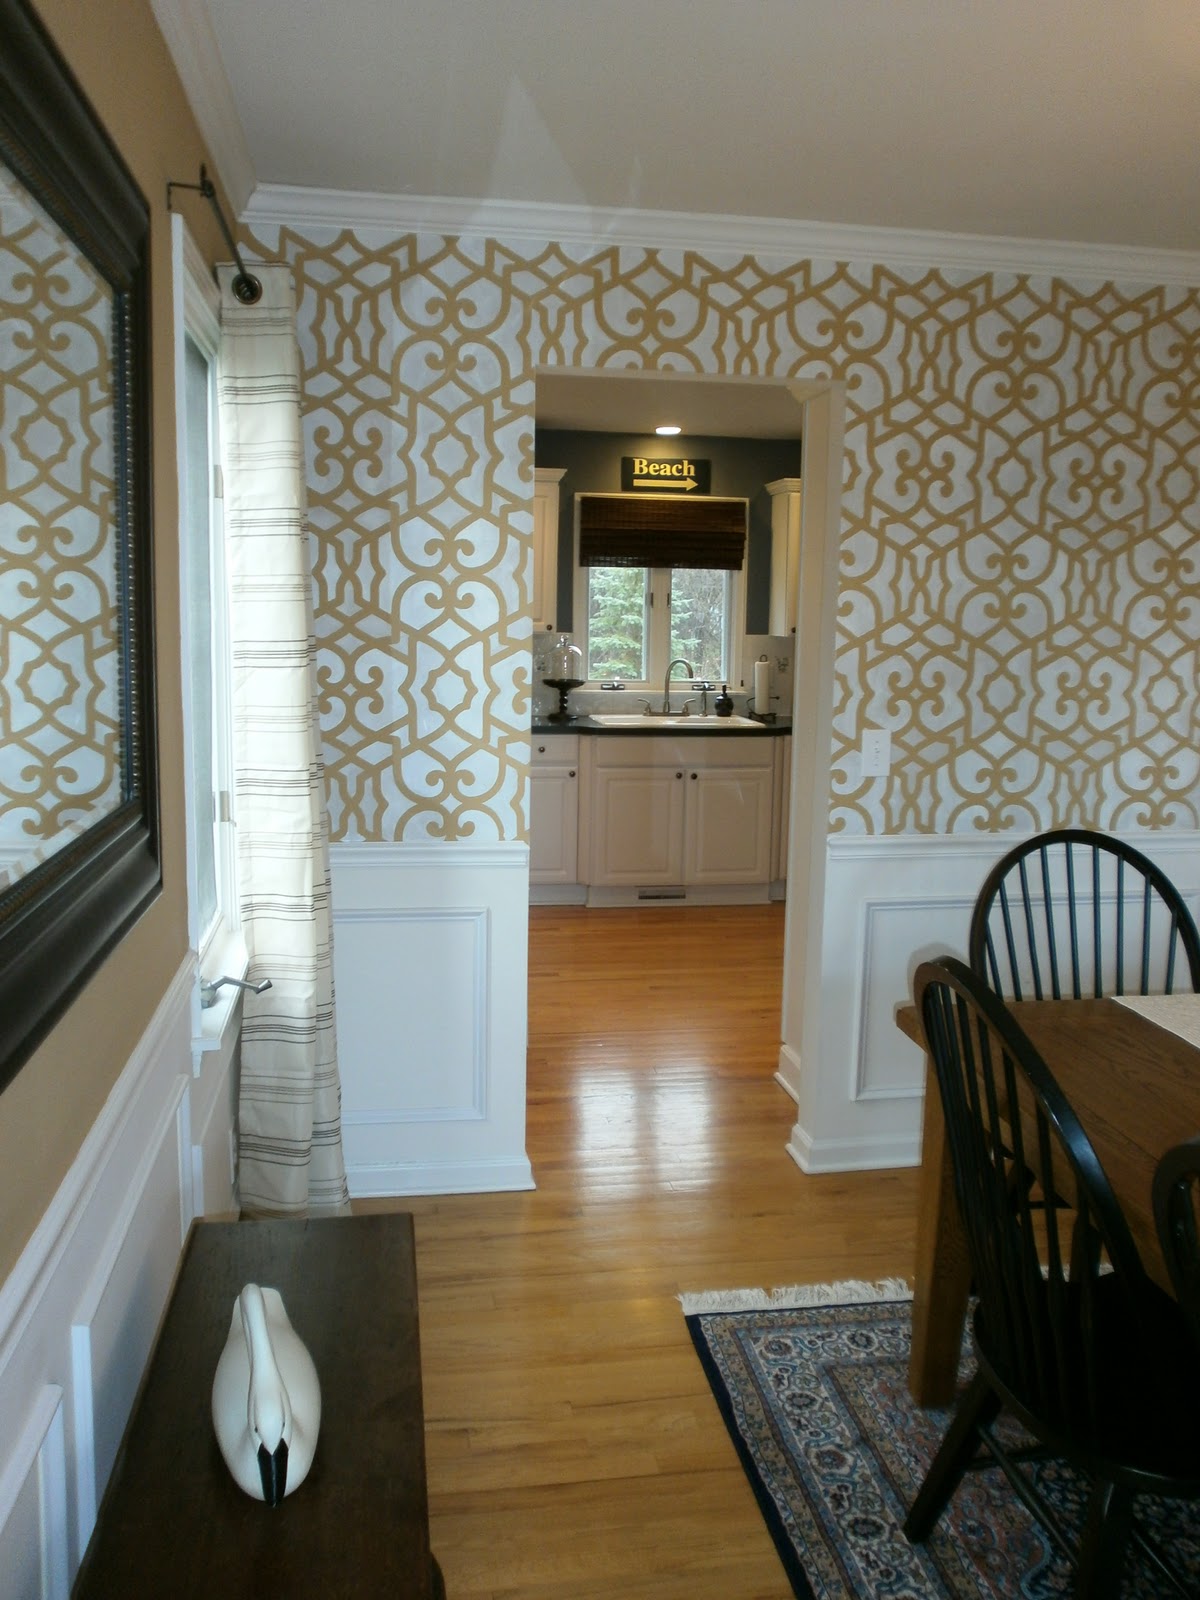
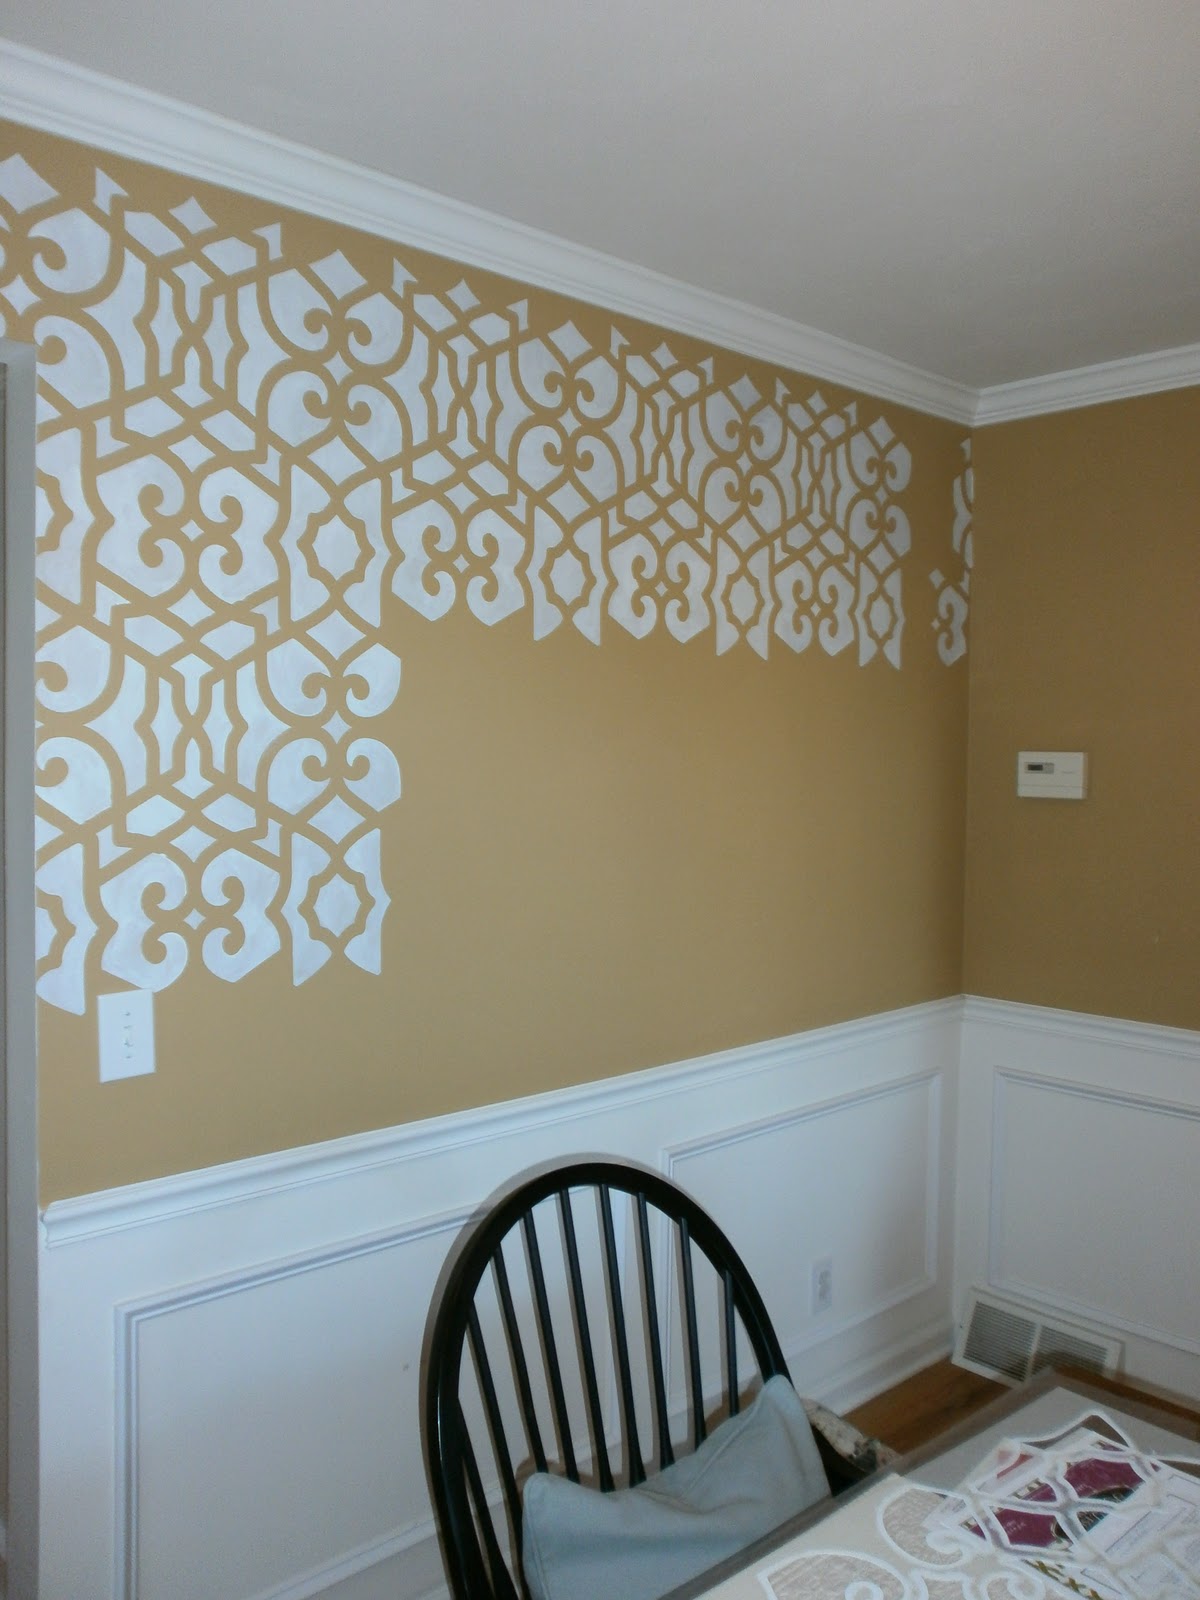
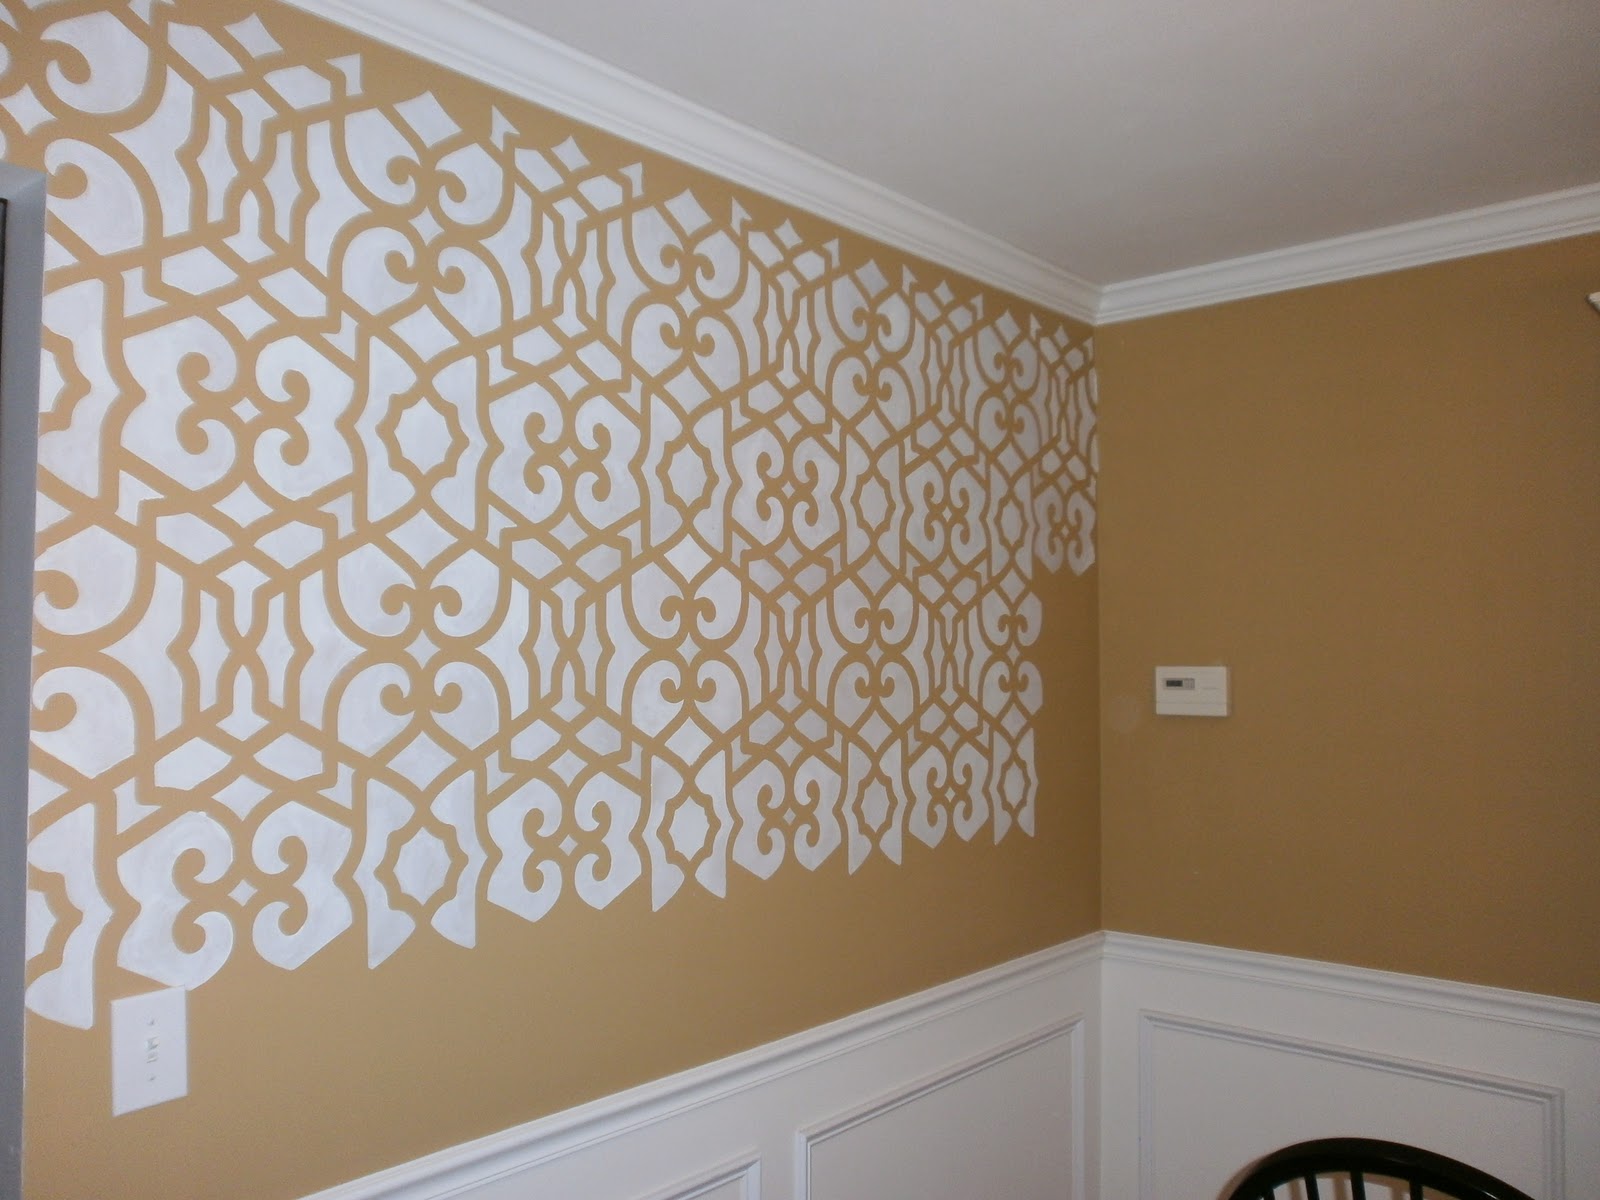
And now for the afters: (Get ready- there’s a lot!!)
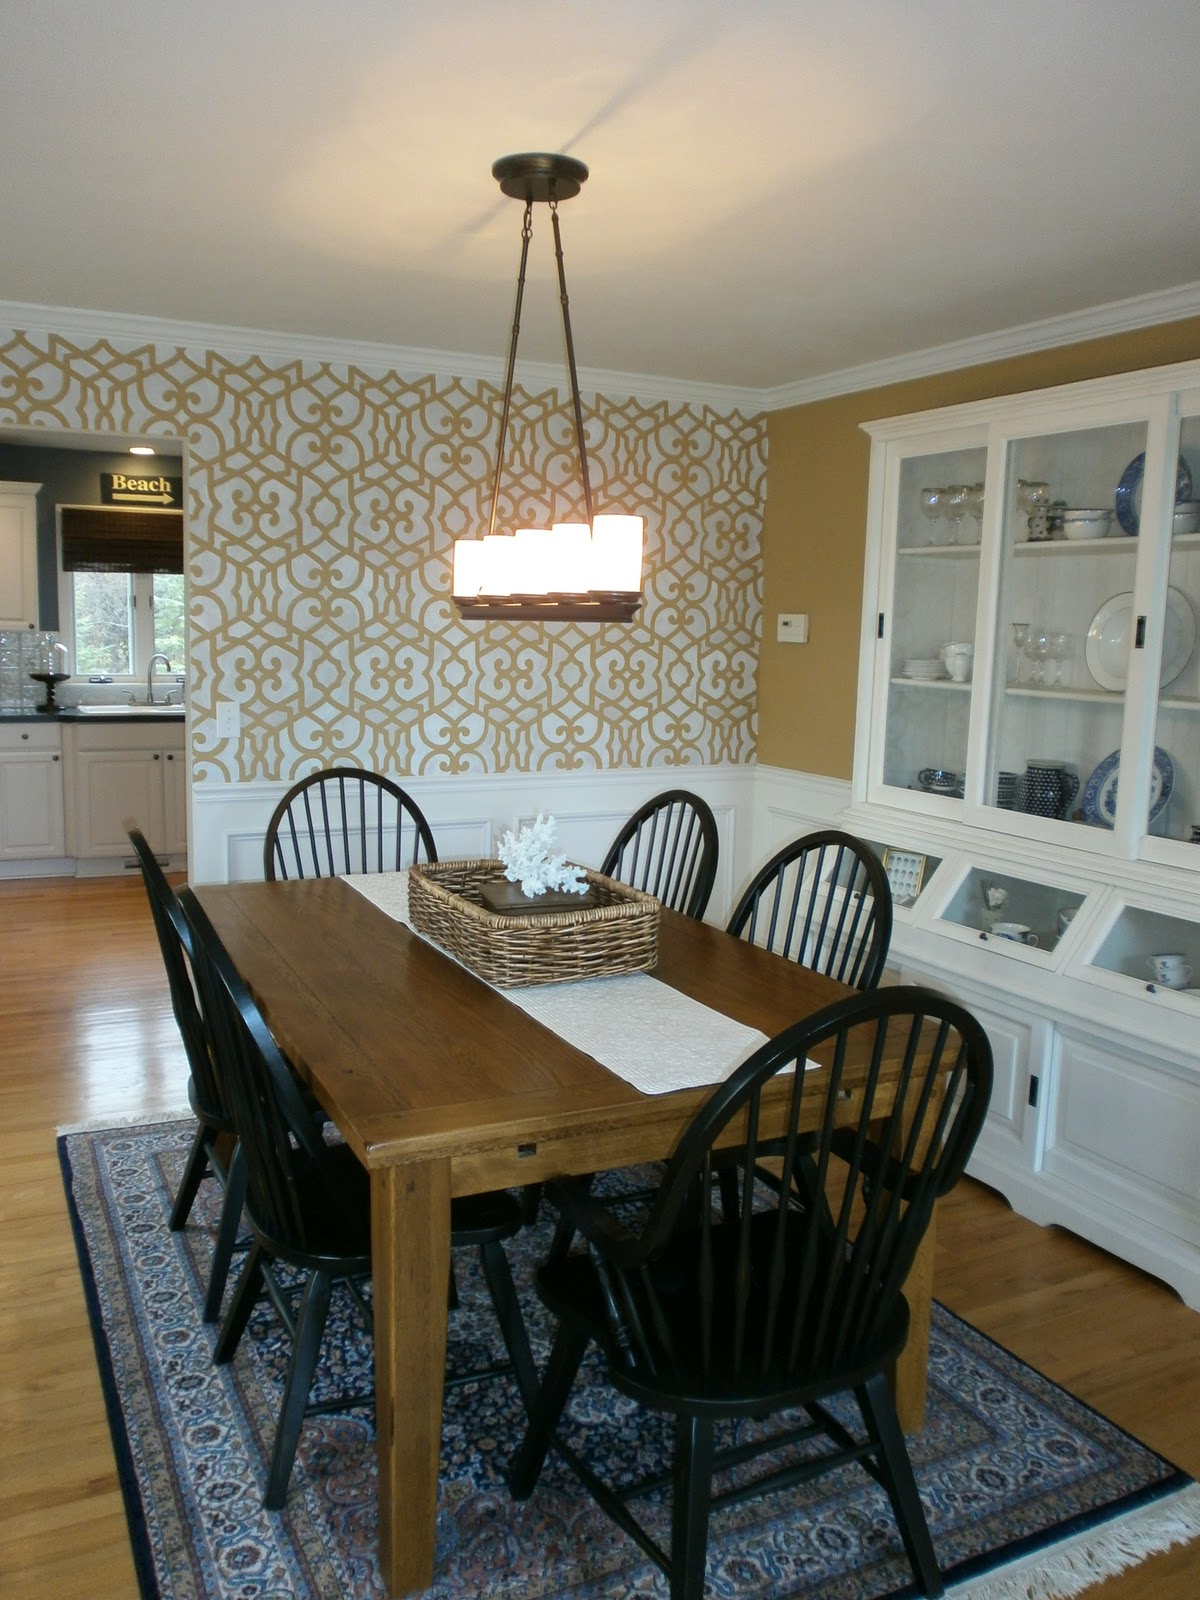


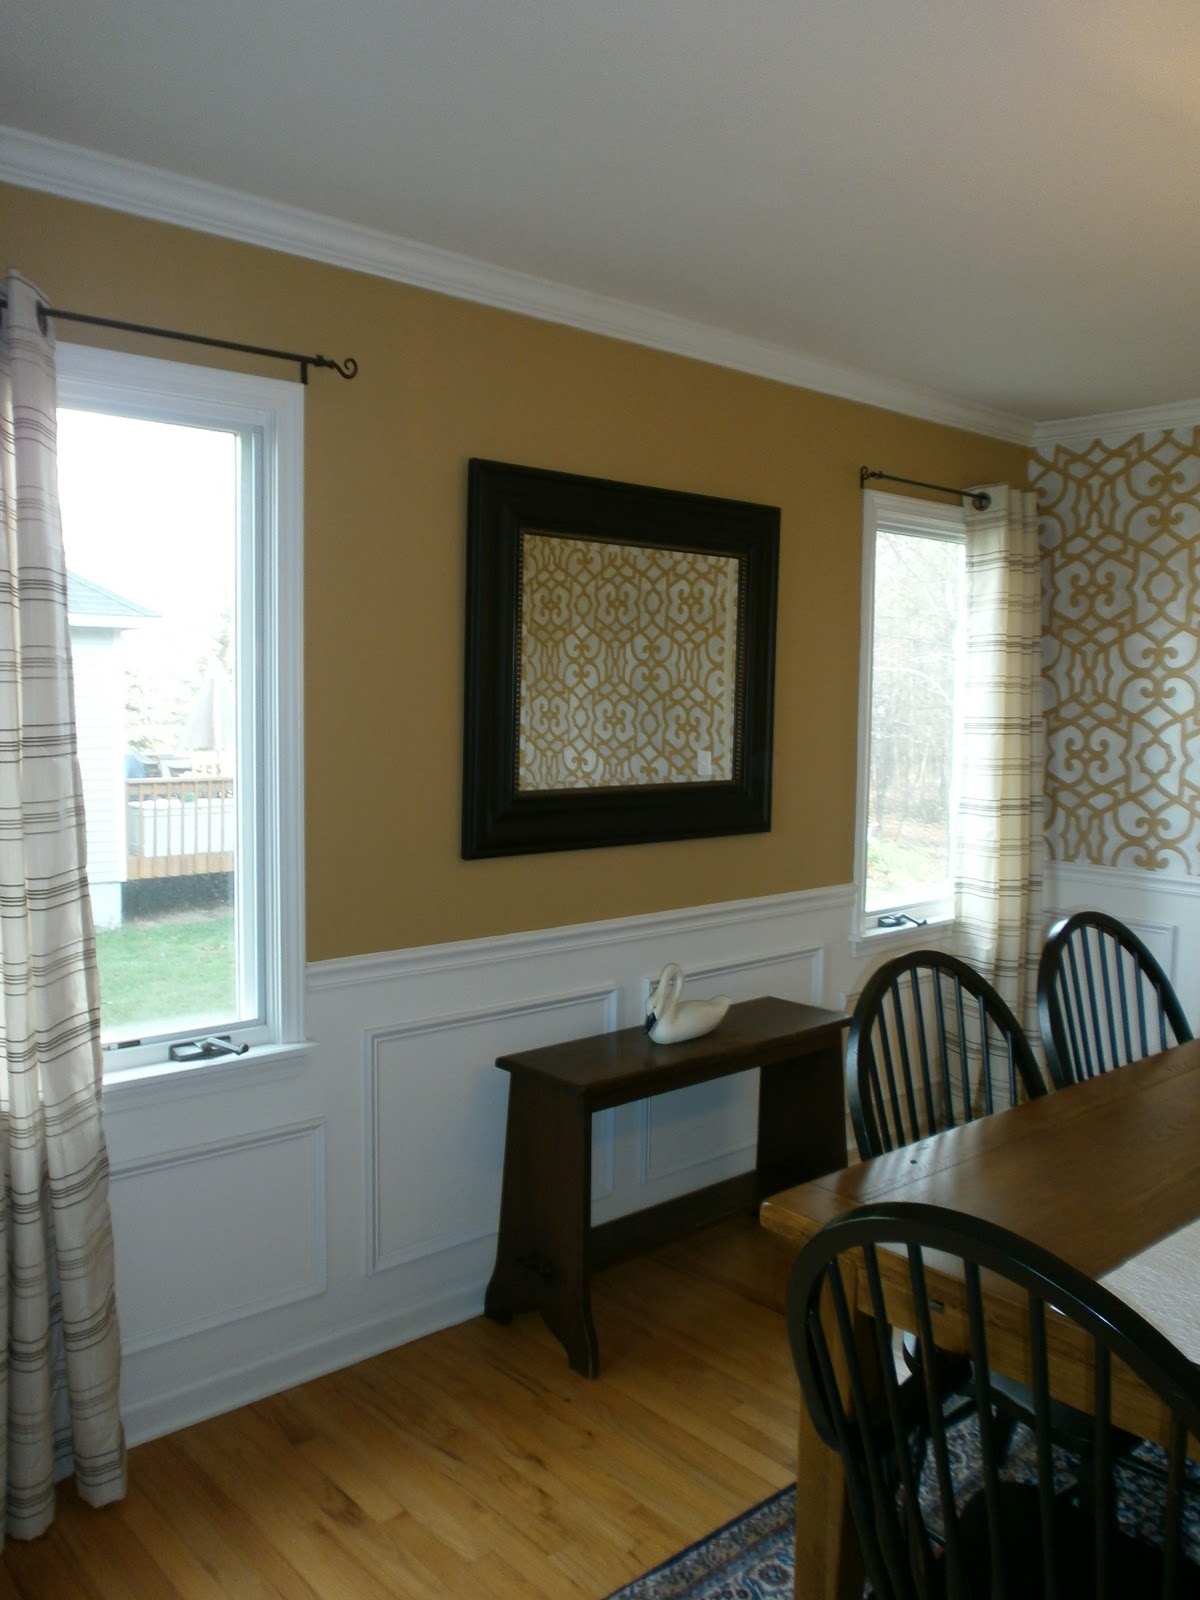

I am so appreciative to this amazing company for giving me the courage to try my hand at stenciling! Now, let’s get to the details of this project and my honest opinion on stenciling! Truthfully, I am soooo glad I tried it! It was time consuming, but so worth it in the end! For me, stenciling is definitely doable for a partial wall. It gave the space a focal point that it didn’t have before. For those that might not want to tackle a wall, stenciling is great for details, like dressers, tables, behind bookcases and drapery. Here are some during shots of this project:
During:

What I used for this project:
– Creamy white semi-gloss paint that I already had for the room’s trim work.
– A stencil brush for the smaller patterns and a small paint brush for the larger patterns.
– Blue painter’s tape. (You could also used spray adhesive, but I already had the tape and it worked great!)
– Drop cloth (just in case!)
– Small bowl for paint.
– Lots of paper towels for rubbing off extra paint on brushes.
I started at the top of the wall, so I could get my initial stencil patterns straight and lined up with the crown molding. I added the painter’s tape to the edges of the stencil and began with only the small stencil brush. I wanted to make sure I wasn’t using too much paint in the beginning. You can always add more paint later, but it’s much harder to remove it! Once I was confident in the amount of paint I needed on the brush, I began to add the small paint brush for the larger patterned areas. This made the project move along much quicker. Just make sure you take off as much of the paint as you can, from the brush! If it bleeds through the stencil, you have a bigger problem on your hands!
When stenciling, I would try to paint from the outside of the stencil in, helping to keep the pattern in place. If I was going to move my stencil to the right for the next set, I always made sure to stencil that side first. That way, the paint would be dry when I had to overlap. The stencil comes with pre-cut dotted lines, so you are always on track for matching up your stencil. It leaves no margin for error! I left the corners and trickier areas for the end of the project, to make sure the back of the stencil was completely dry when I had to move and bend the stencil. I just took a break at that time! I only used one coat for this stencil. The shading does look darker in some areas, but that just adds to the character of the treatment. (Hopefully) it gives the wall some depth and character. With a bit of the darker wall color showing through, it almost gives the white paint a silvery effect, which shimmers when the lights are on! In time, I will do some touch ups, but they are very minimal and can be done at some point! Overall, it was pretty easy to use!
Thanks so much to Royal Design Studios for their generous idea! Their site also has very helpful tips for your stencil projects! And stay tuned… there will be a chance for you to win your very own stencil soon!
I’m linking this up to the wonderful blog, Savvy Southern Style, for her Wow Us Wednesdays!
