Amber B Design Studio

Interior Design & Decoration for the South Florida region

  • Home
  • About
  • Services
  • Portfolio
  • Blog
  • Press
  • Contact

Updates in Our Living Room … Finally!

October 8, 2014 by Amber Filed Under: design, interior design, living room


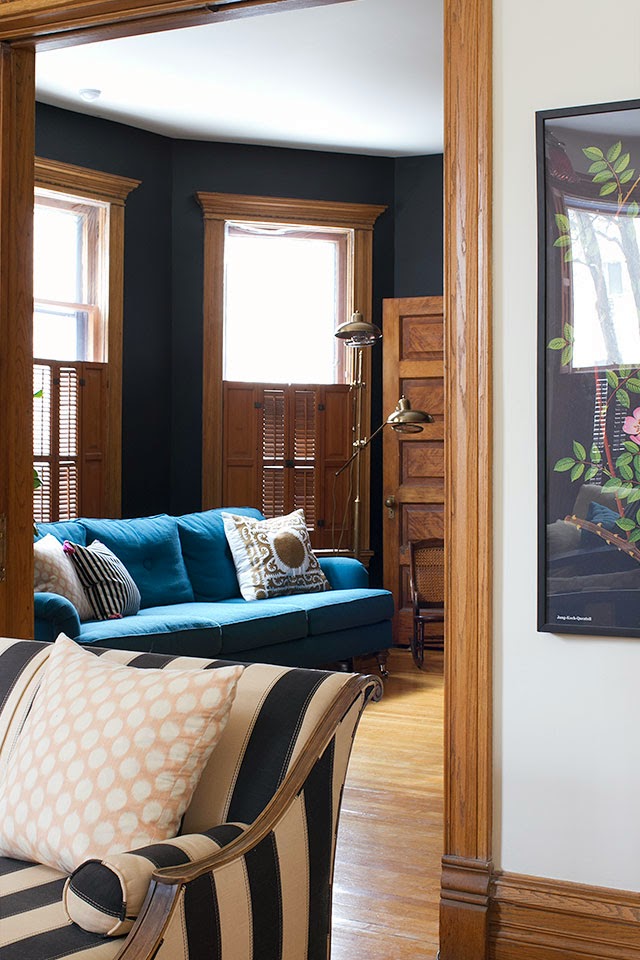
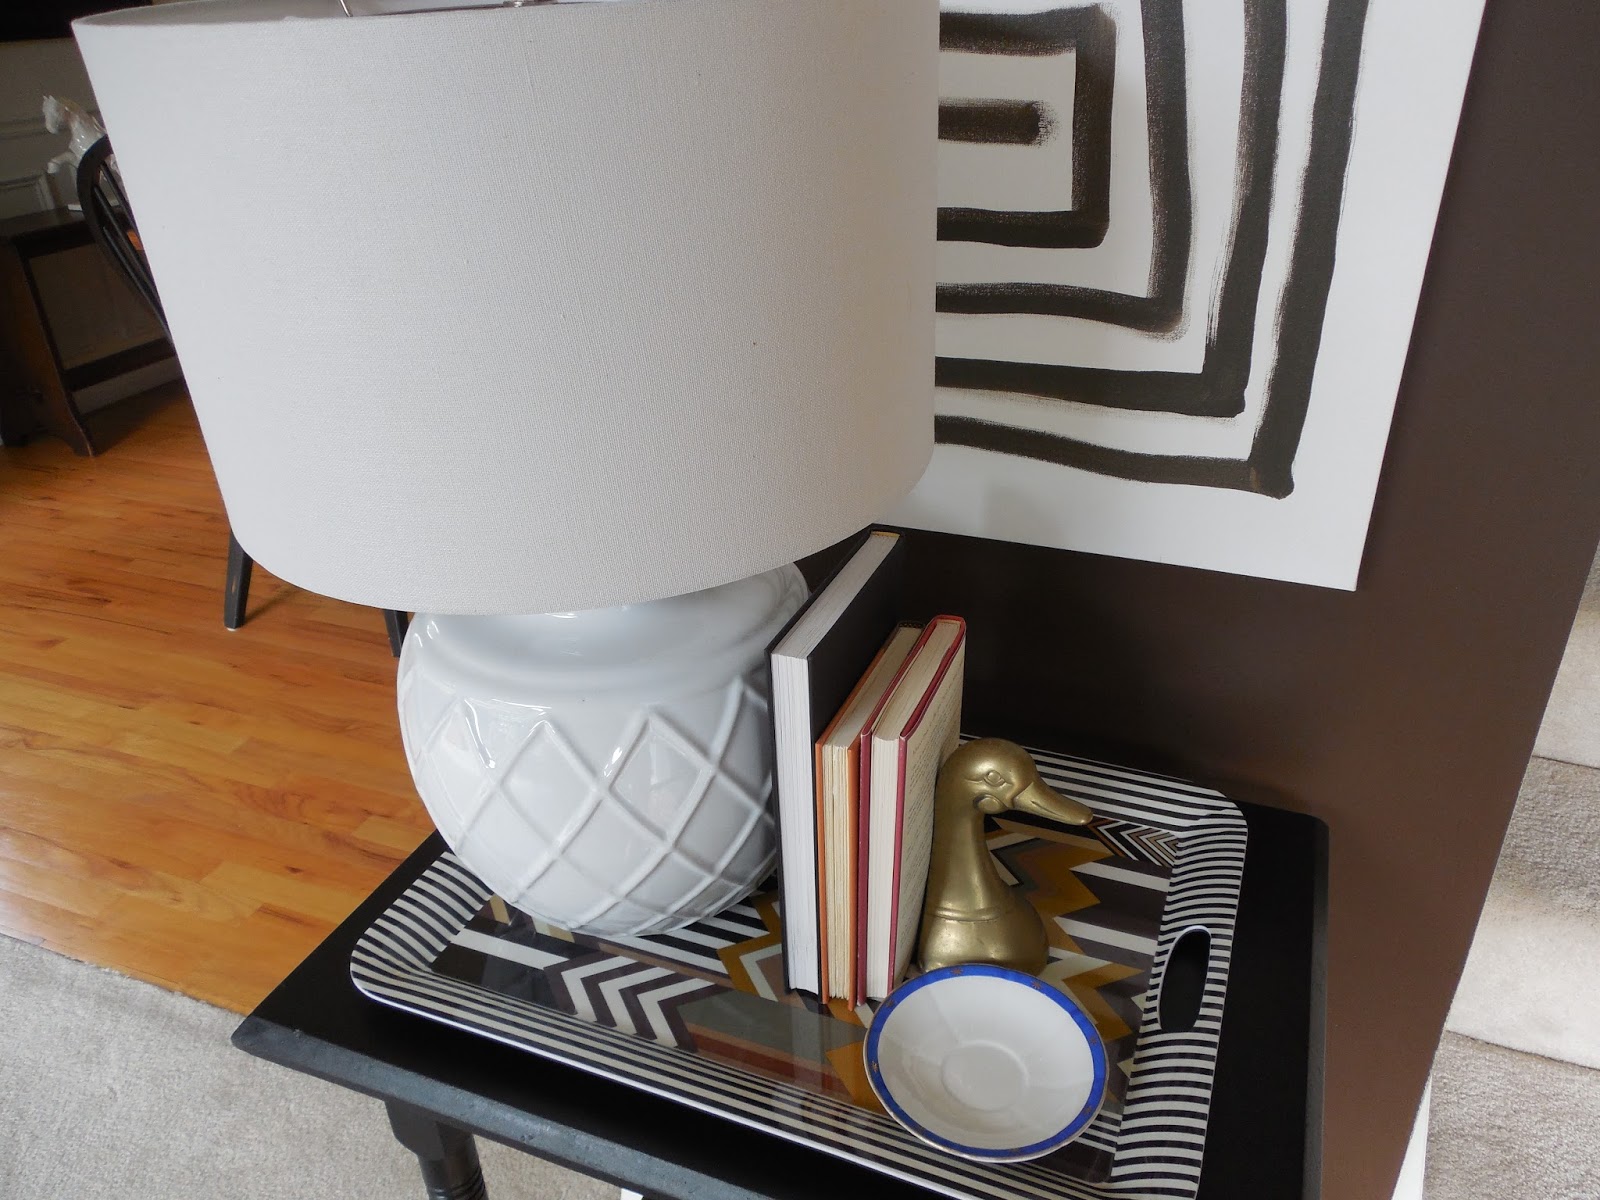
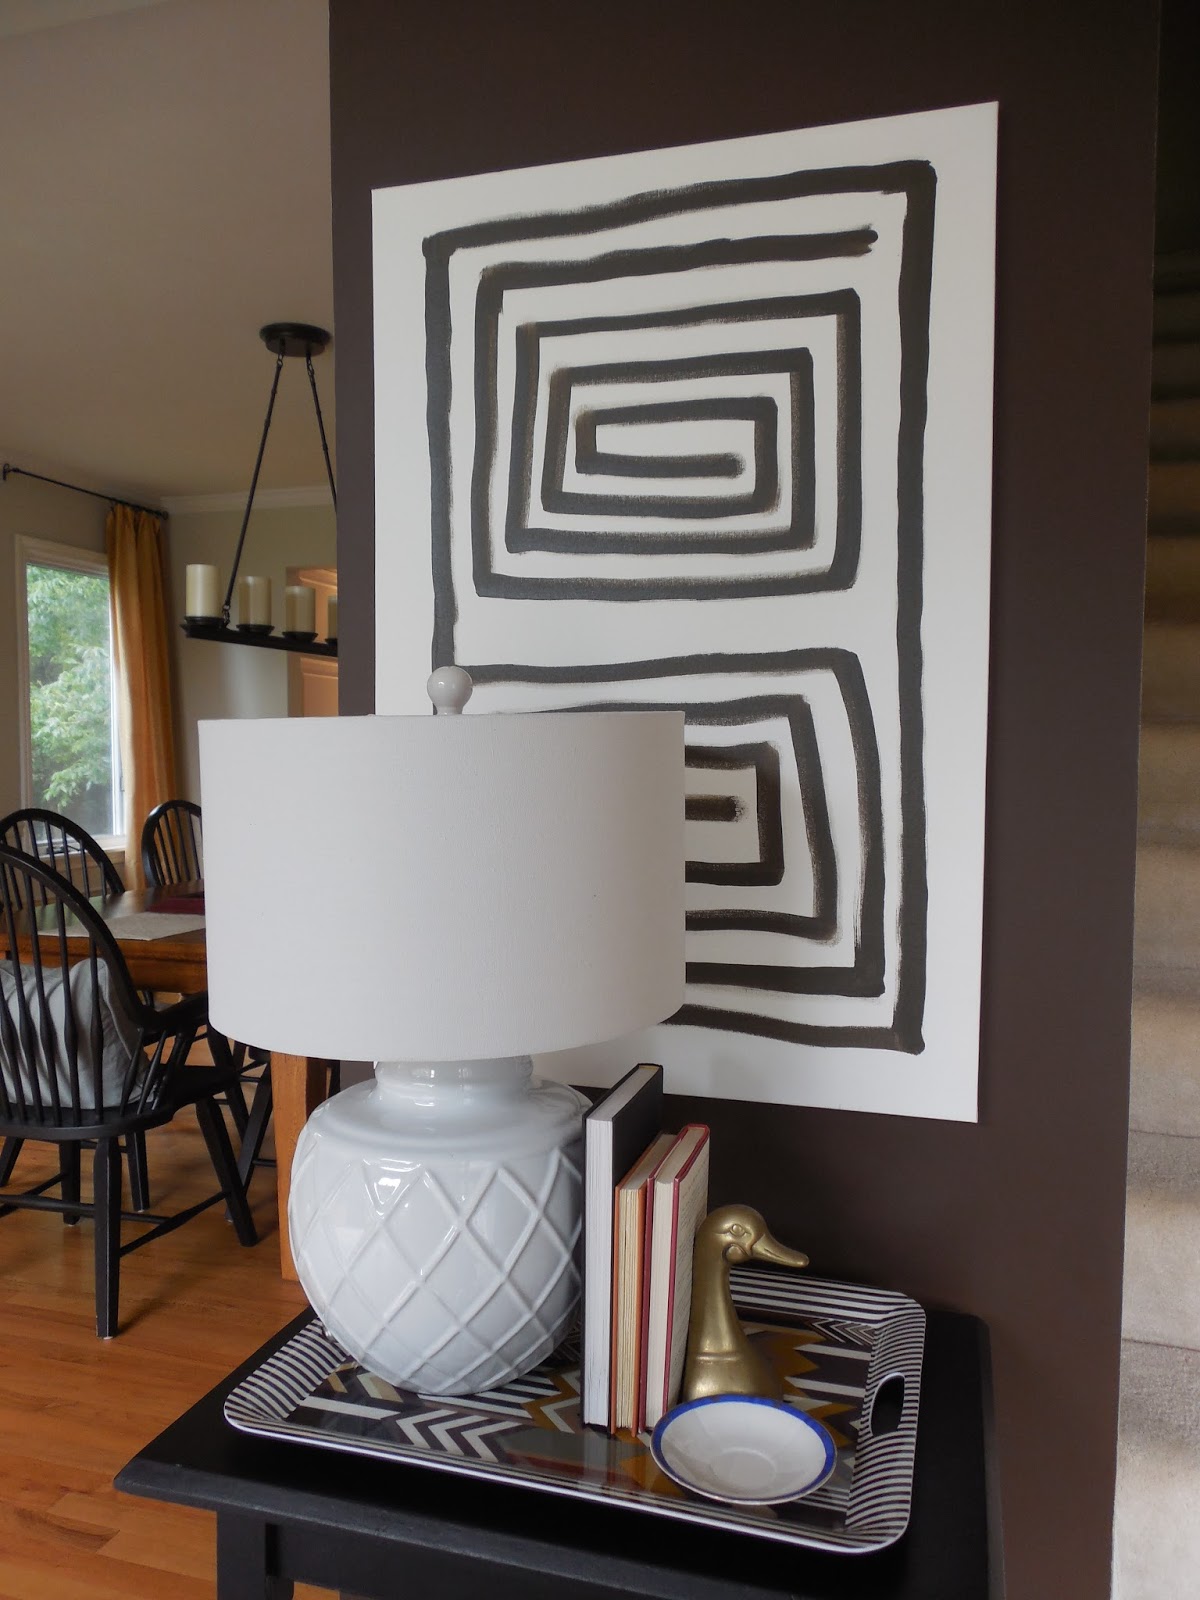
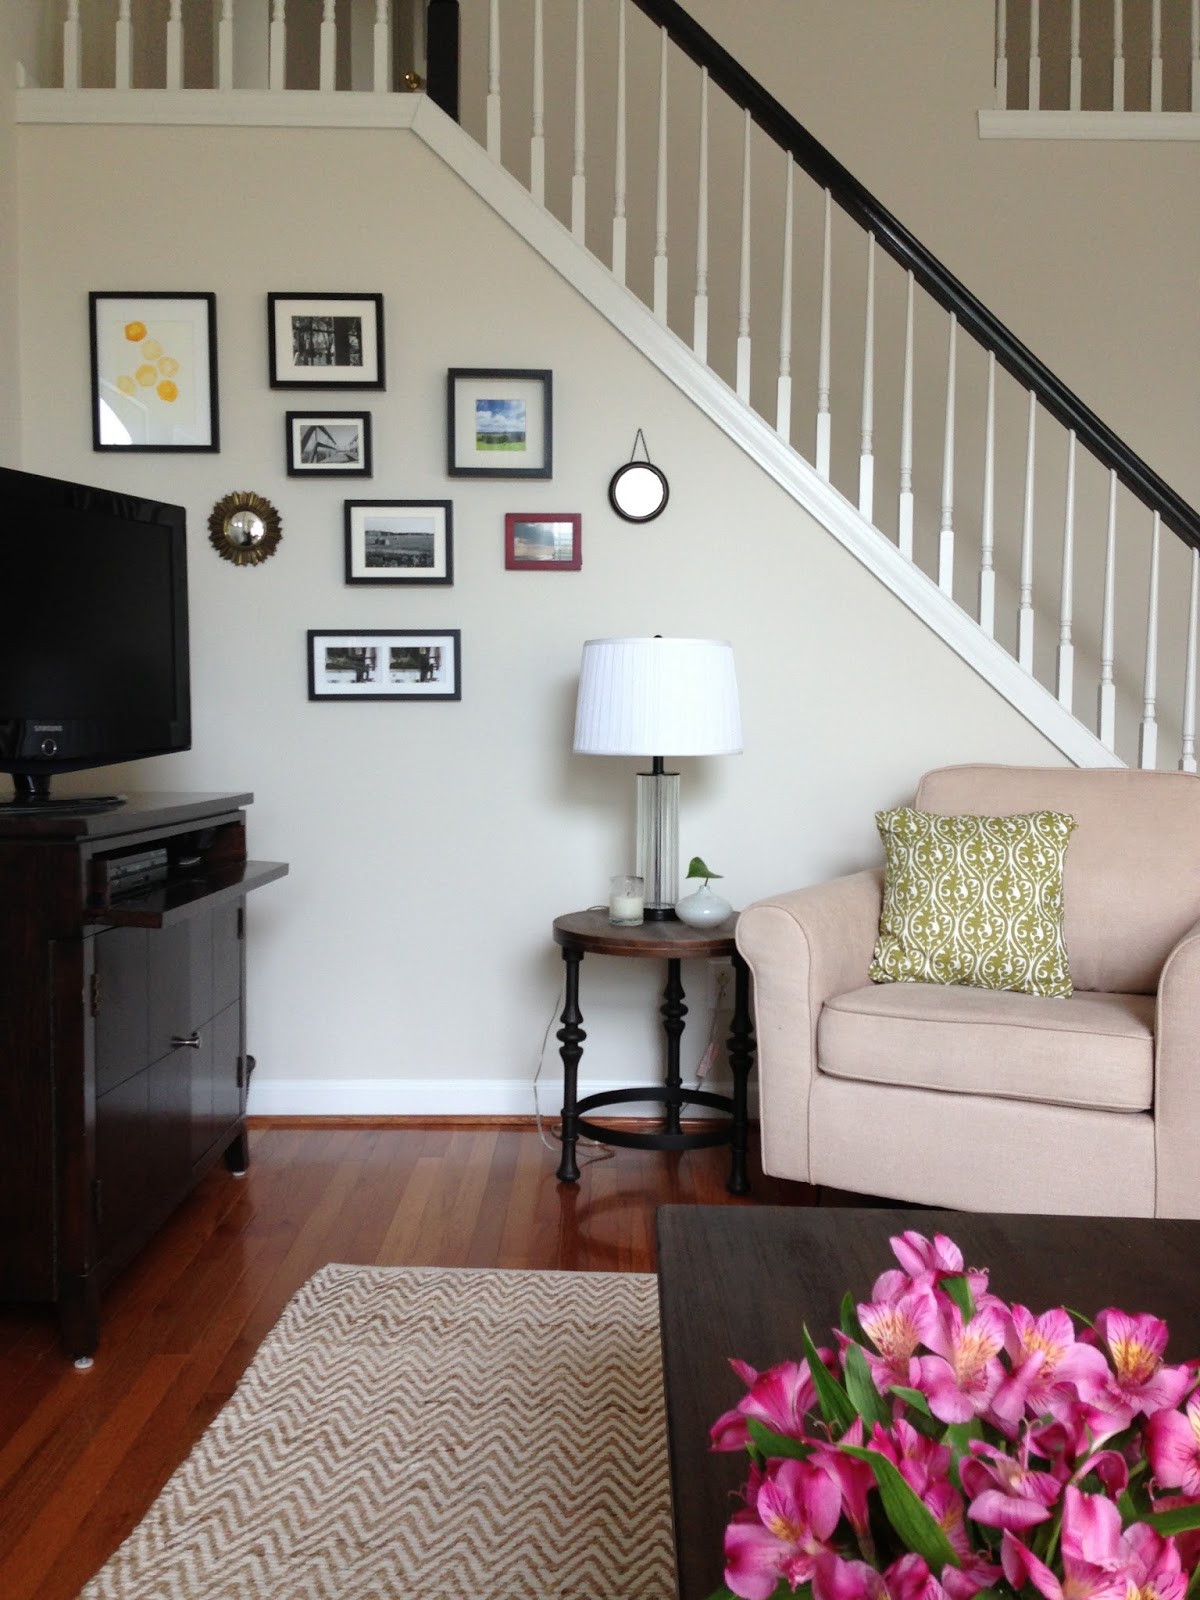
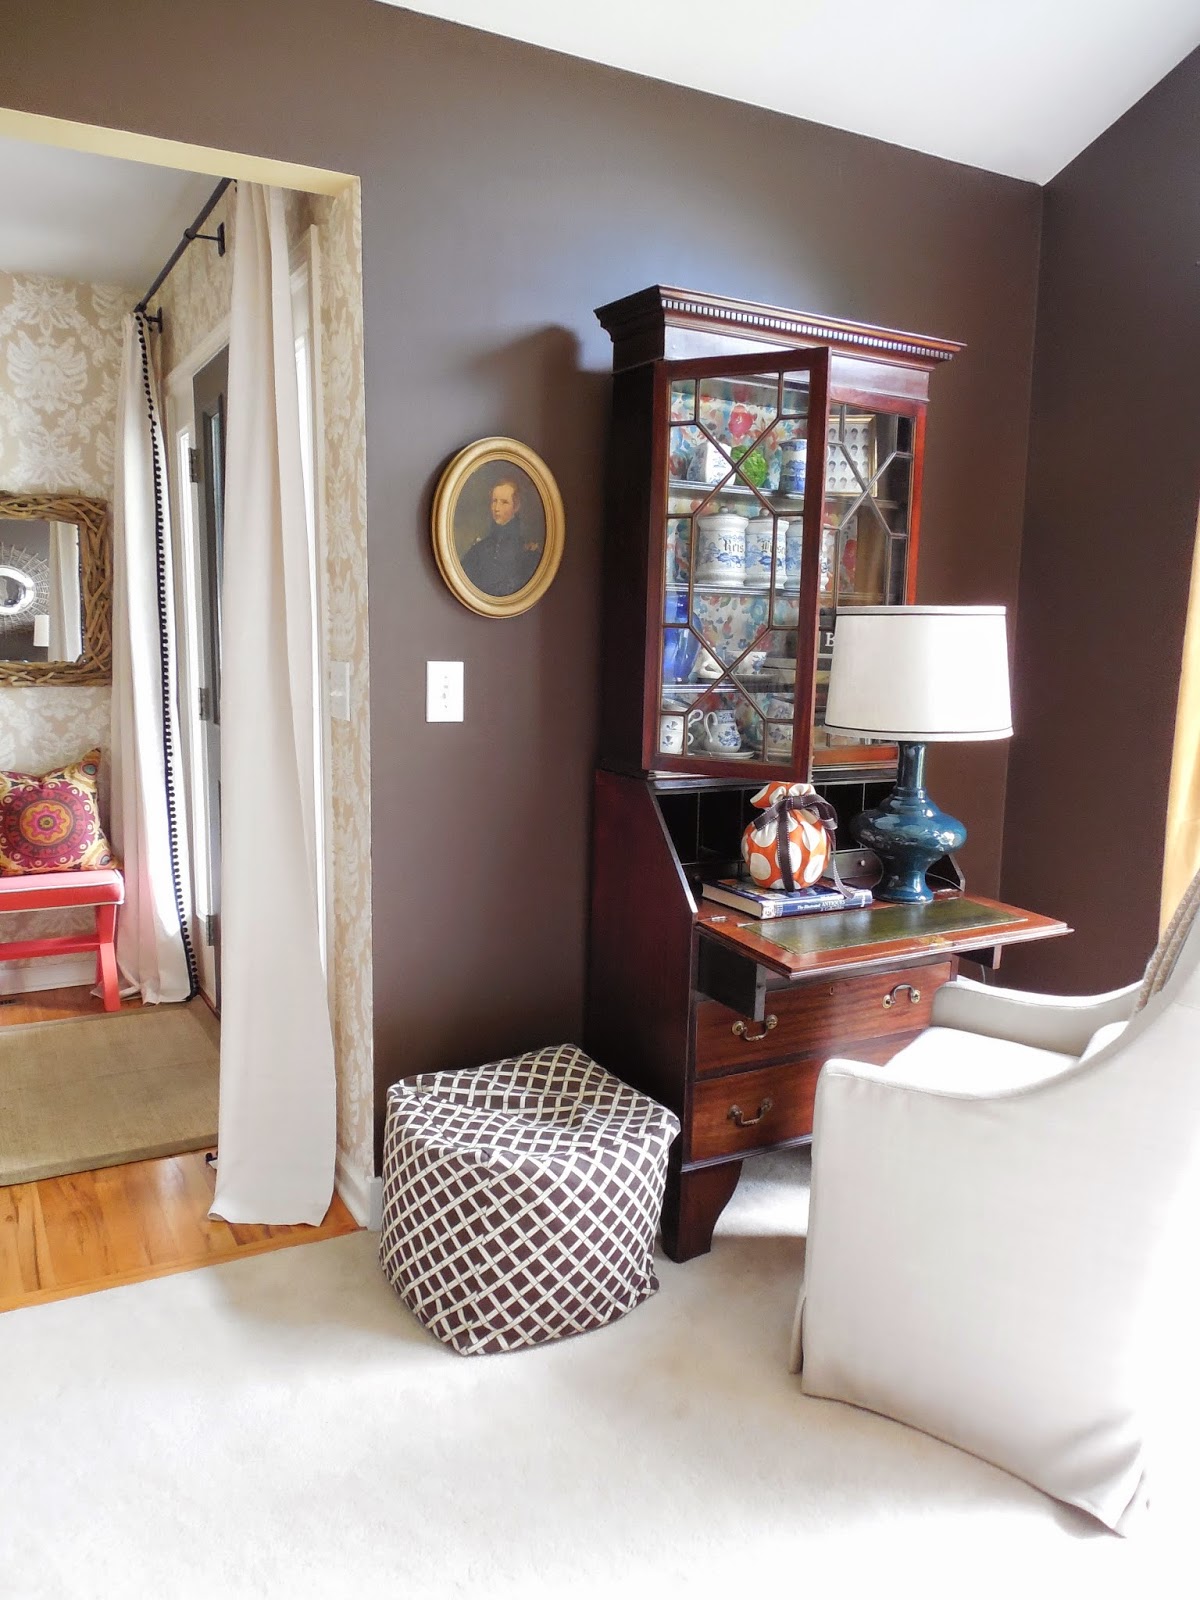
You know what they say, better late than never! About a year ago, I purchased an upholstered chair to go in our living room. It sits in front of our secretary desk and I love the juxtaposition of the upholstered chair with the wood furniture piece. Juxtaposition, huh?!? Using big words and two blog posts in two days… somebody stop me!  ๐Ÿ™‚ This chair is on casters and the kids have actually loved using it to curl up and read. Before, we just used our wooden desk chair.
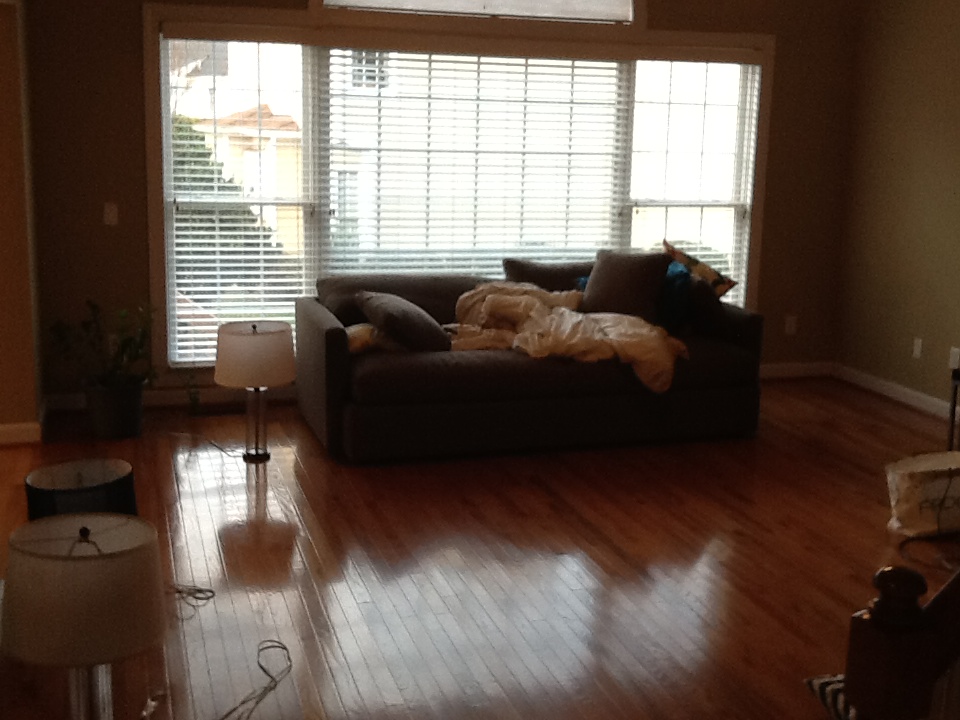
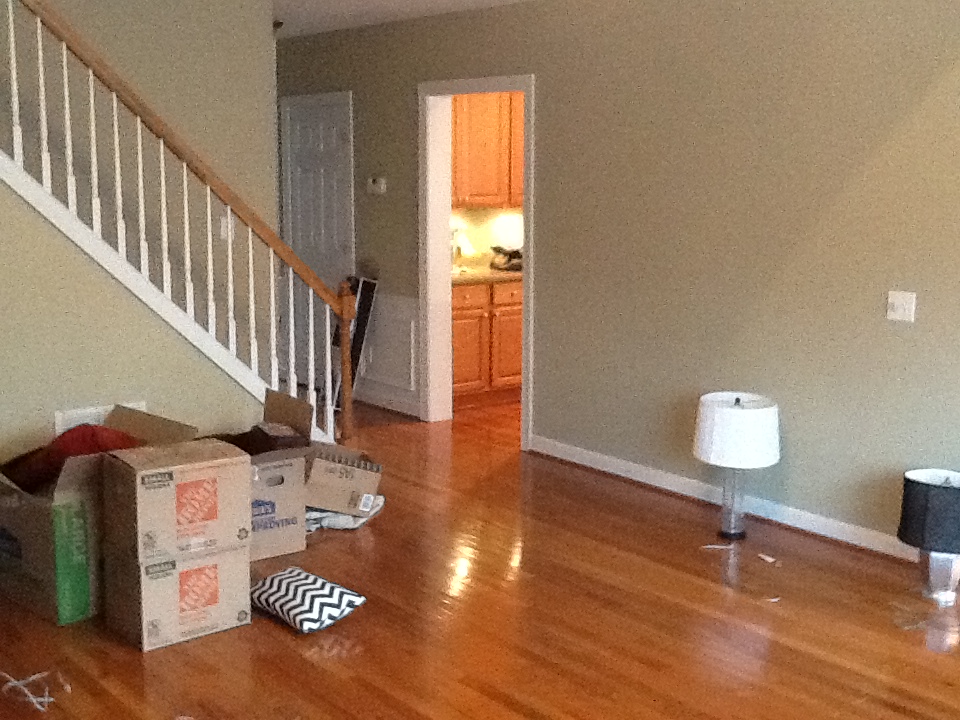
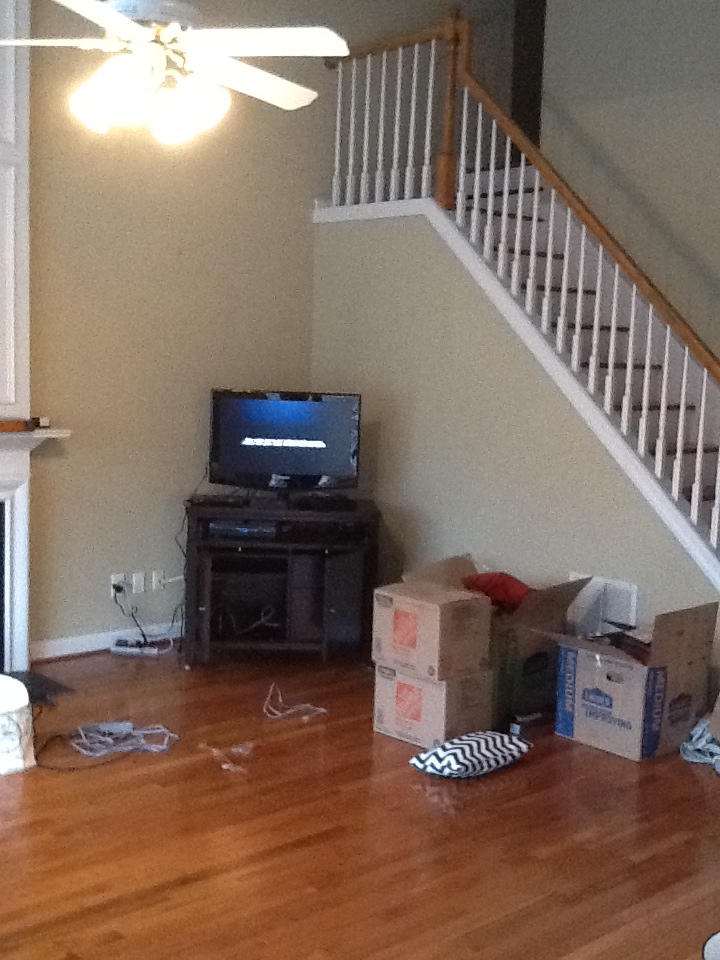
Before…


It wasn’t very comfortable and we rarely used the space. Fast forward to something more user friendly and it’s a new favorite spot!
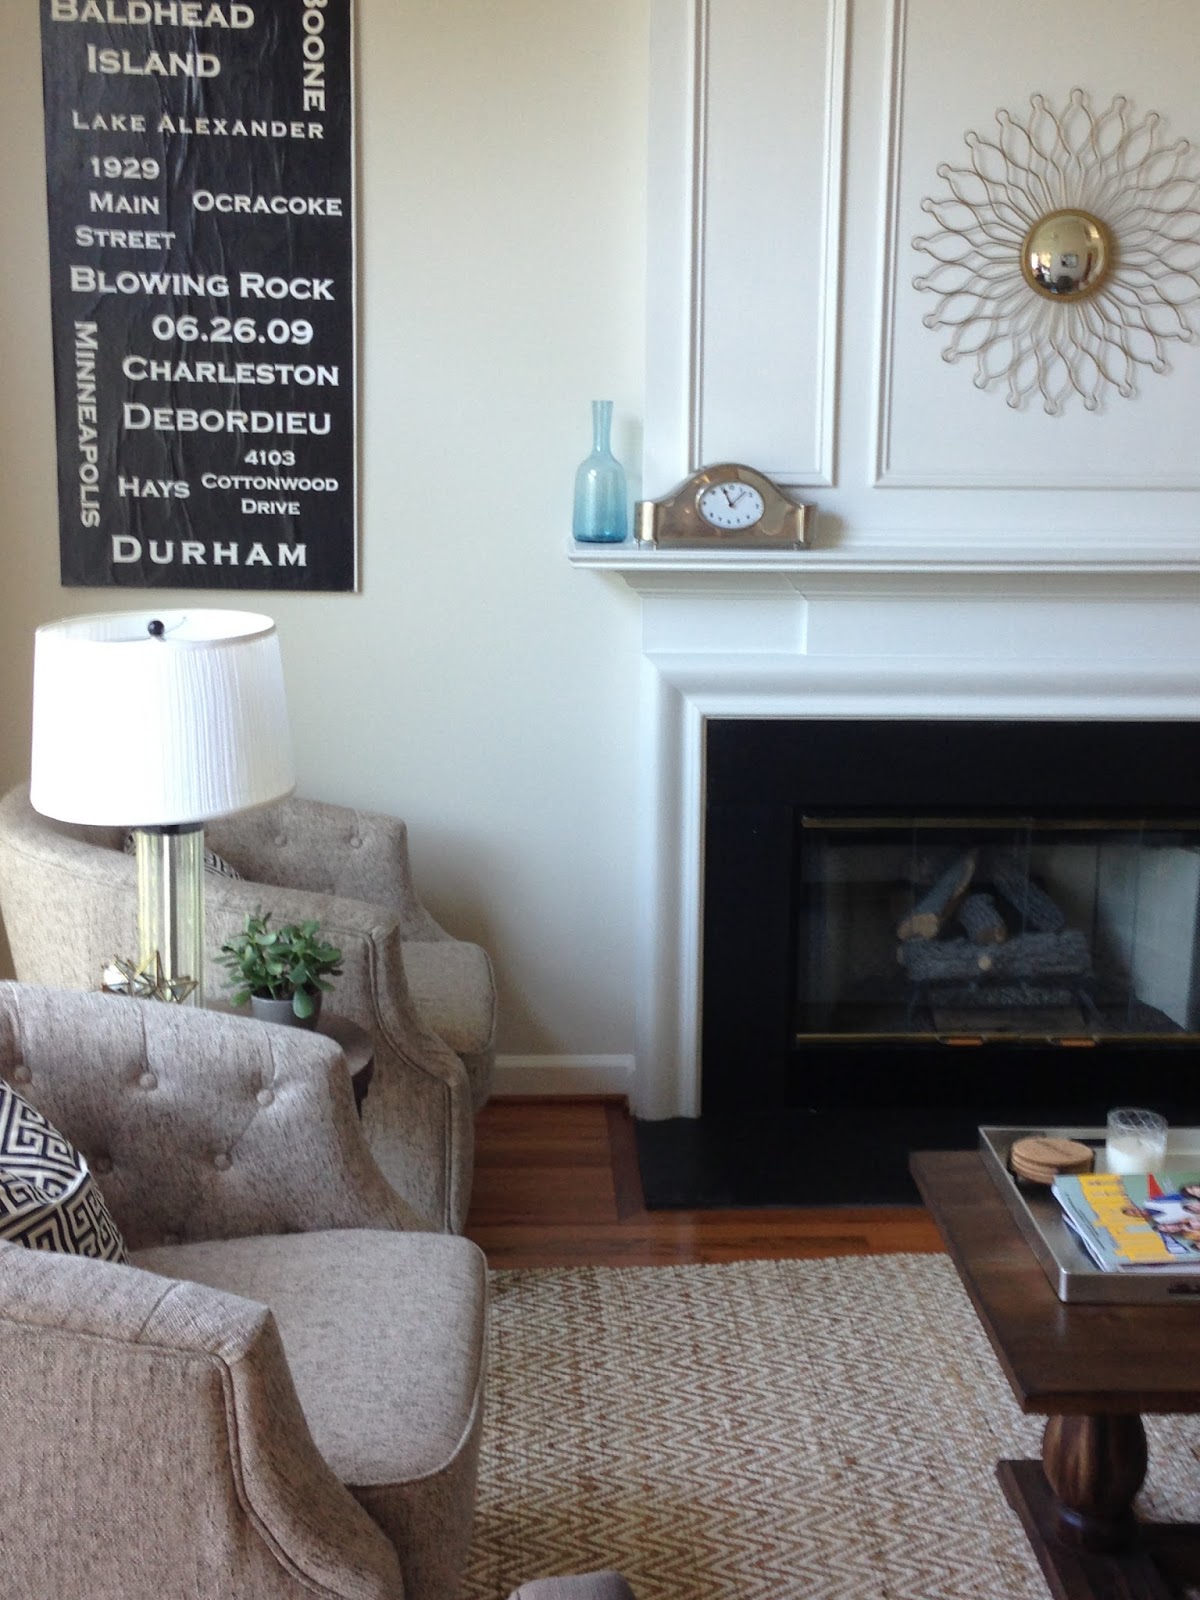
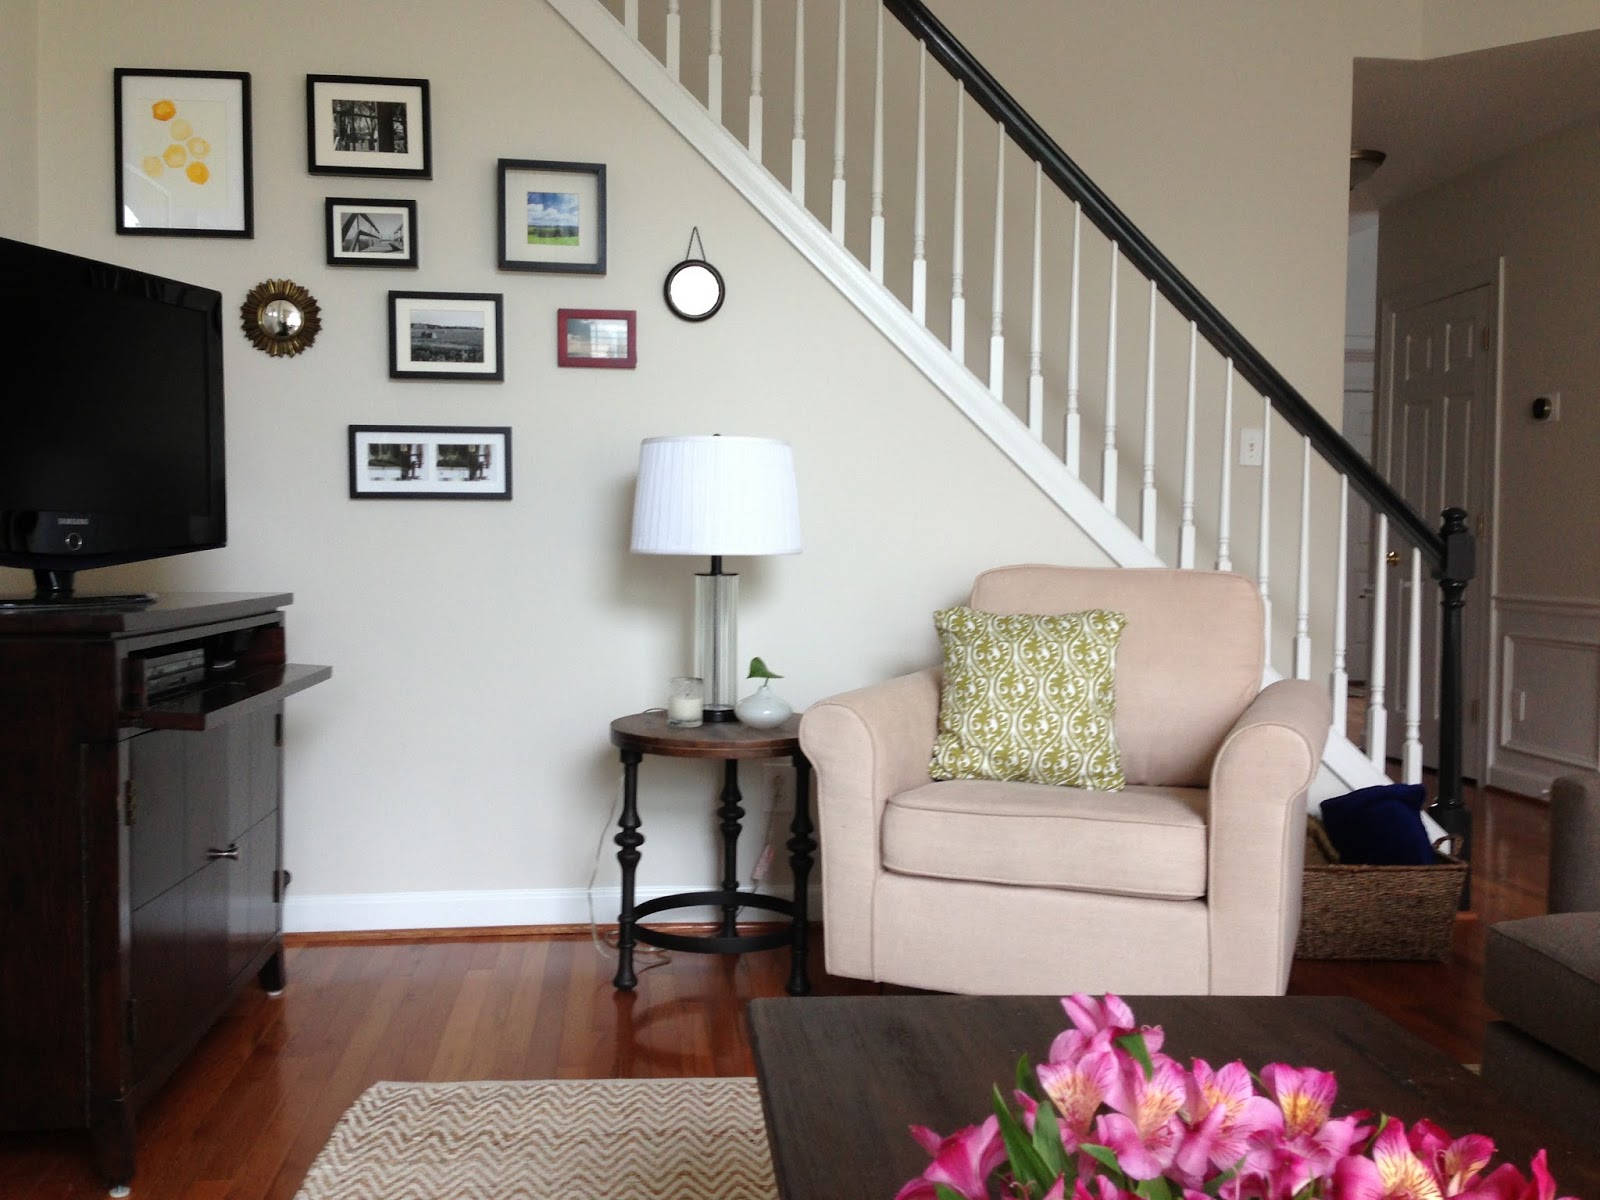
After…


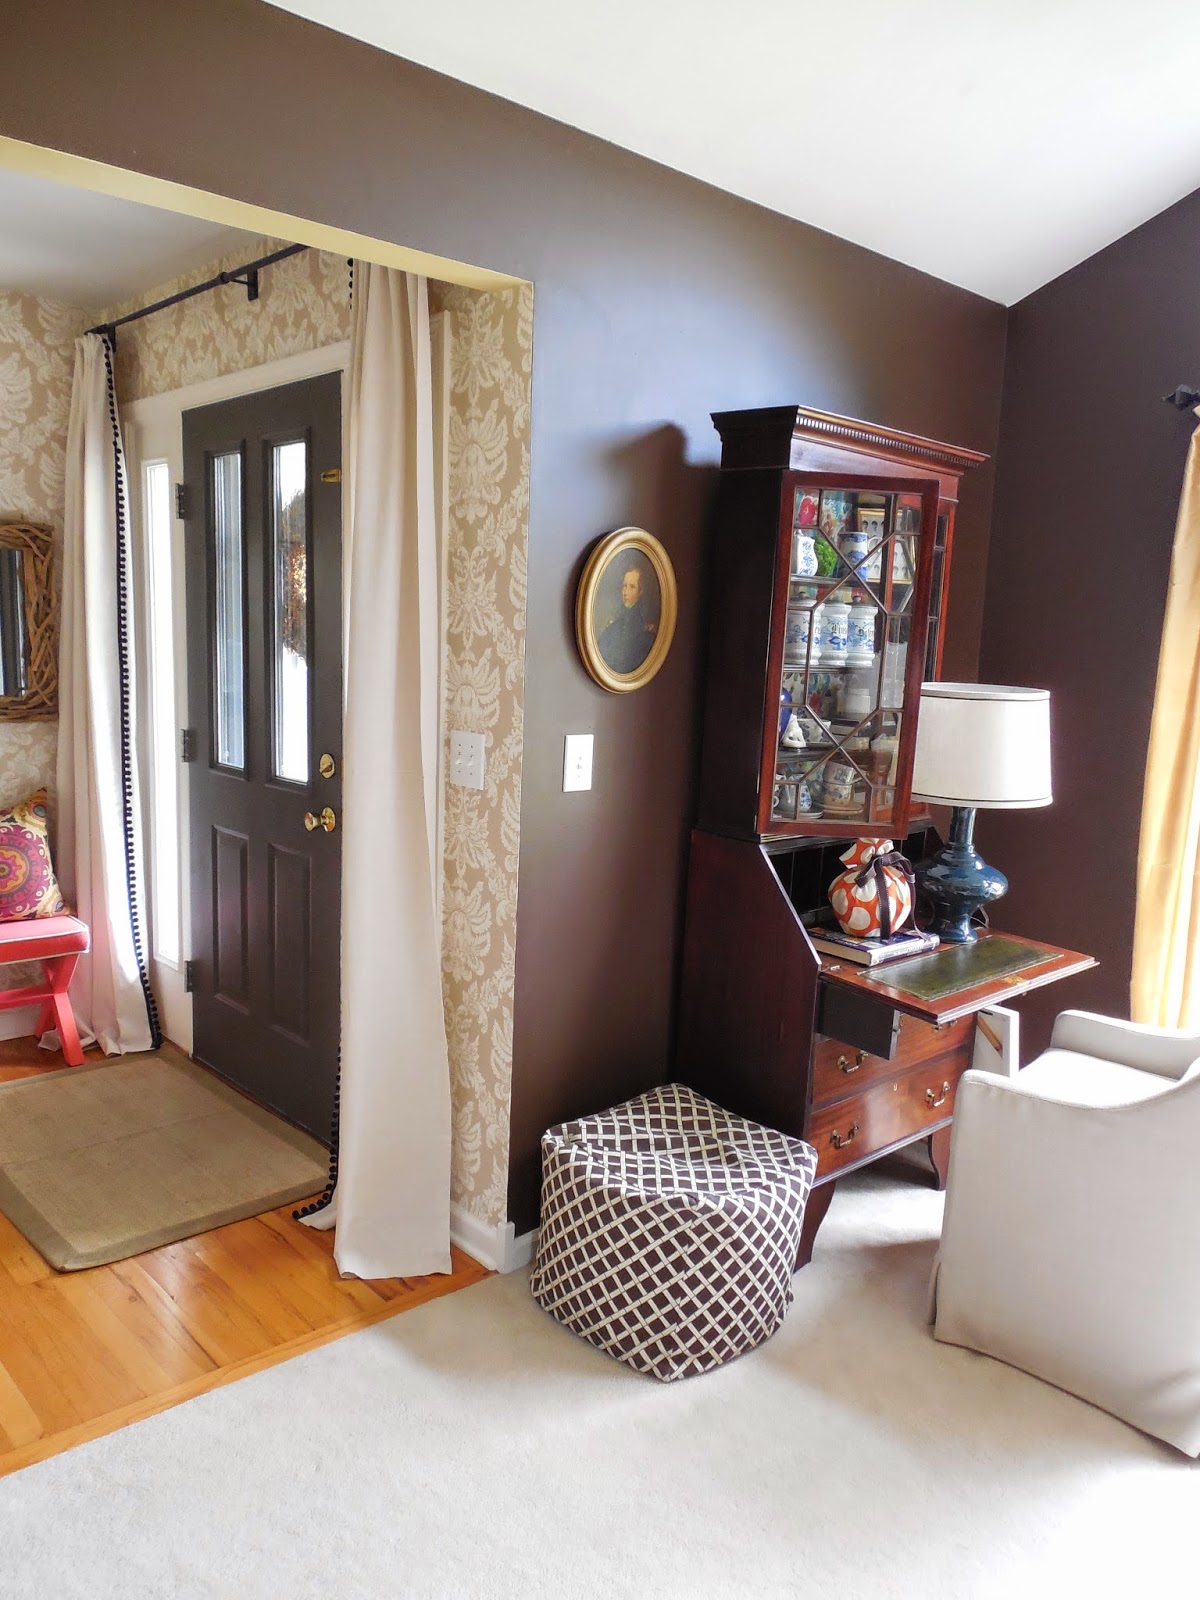
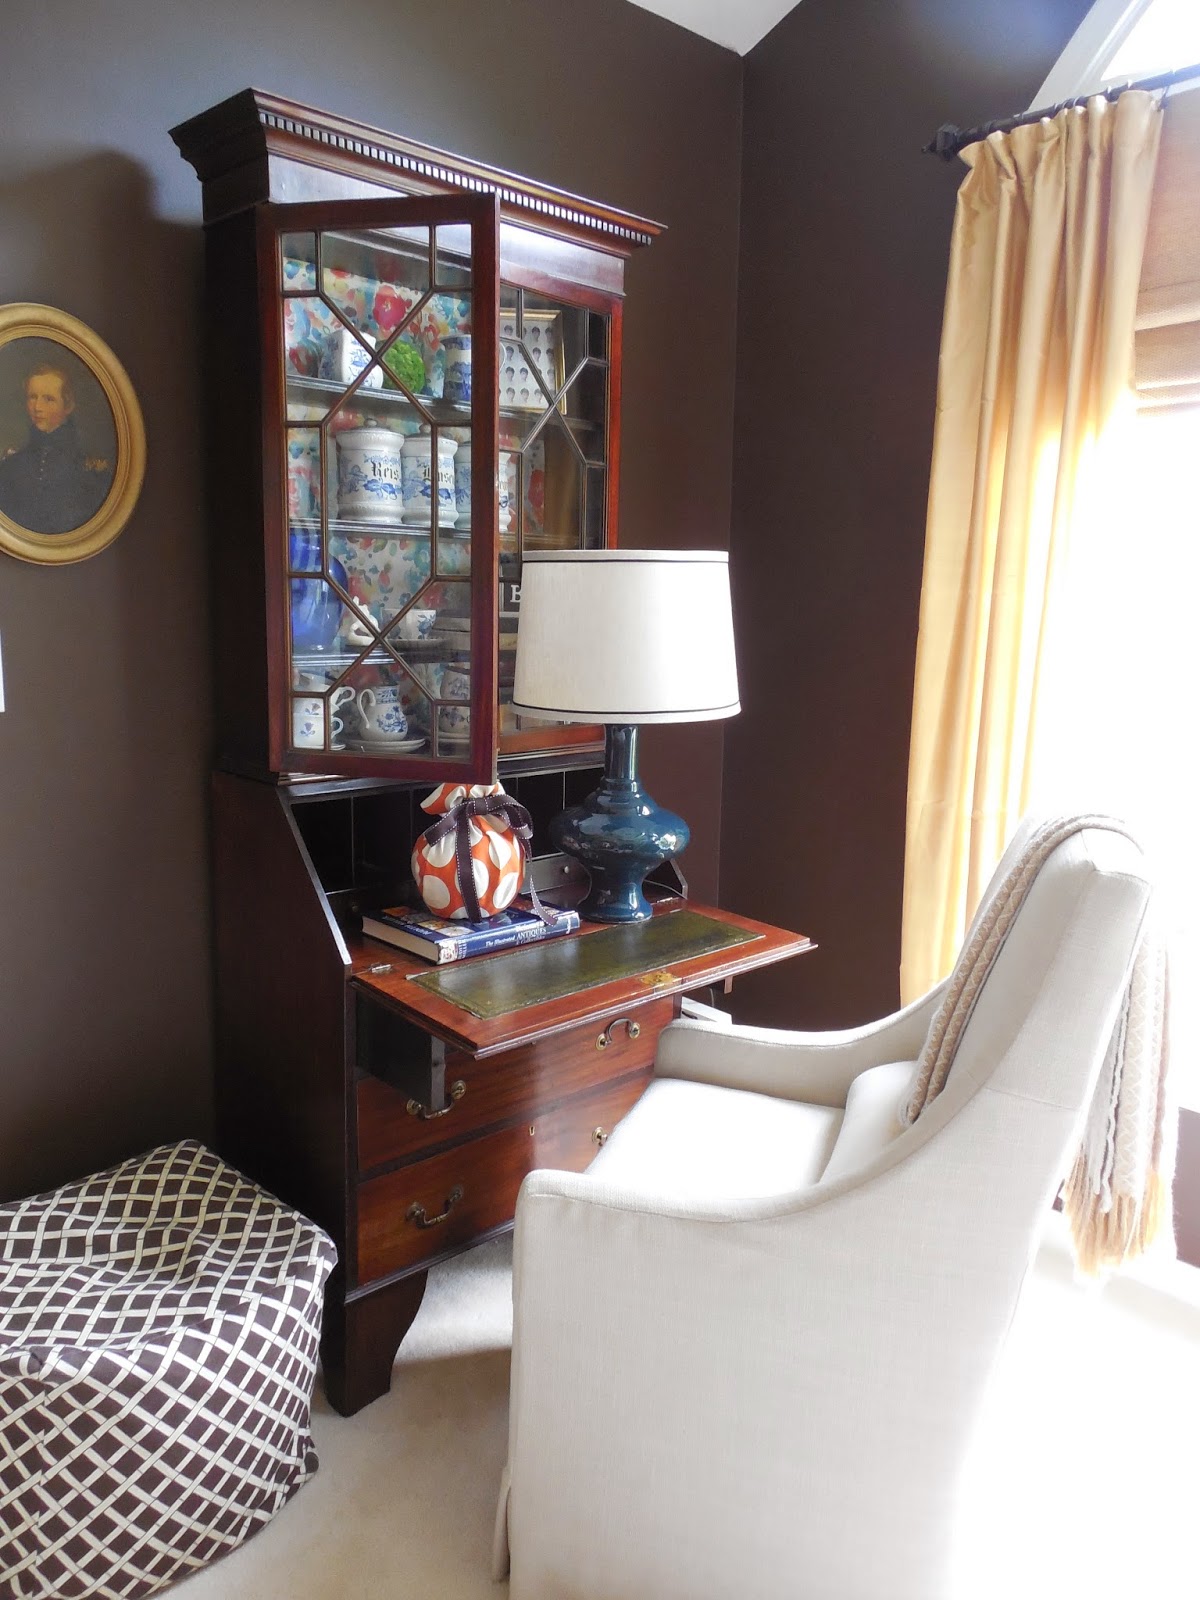
It lightens up the dark wood and I like that the space gets used more often. That’s what a home is all about, right?!? Pretty and functional. I found this chair (which is actually on casters!) at TJ Maxx. Maybe that’s why it’s popular with the kids. What kid doesn’t love to spin in a chair?!? I replaced the coral accessory with my little seasonal pumpkin I made last year. To see how I made that, visit HERE.

So that’s out little update (from last year!) How about you… any room changes you wish to share???
Even if it’s from last year, I won’t judge!  ๐Ÿ™‚

How I Built A Room Around One Chair

July 28, 2014 by Amber Filed Under: chair love, chairish, design, interior design, living room, personal design style


Where do you find inspiration when decorating a room in your home? Do you start with a fabric, some art or a color scheme? Maybe, you begin by finding an eclectic, must have chair and build the entire room around that one piece of furniture. I was recently asked by Chairish to do just that. Chairish, an on line site that sells curator approved treasures for your home, reached out to me to participate in a fun challenge… I had several vintage chairs from their site to choose from and I had to build an entire design around that one piece! I knew right away that I wanted to select a chair that had character on its own, was a bit of a break from my norm {to make this a true challenge for me!} and a show stopping piece with some color. Below is the mid century modern gem that I chose…

Arne Jacobsen Red Leather Chair & Ottoman
This iconic Arne Jacobsen style Egg Chair and Ottoman is a fun, chic addition to any space when looking to add some modern flair. I knew I wanted to design a living room space that didn’t take itself too seriously, was eclectic and fun, while also staying true to modern roots. If you know my style, I always like to mix things up. My spaces tend to have several design styles tie in together. To me, it makes a room feel collected over time and unique. So a collected space that reads both modern and eclectic, fun and whimsical, was the direction I tried to go with. I hope you like it!
The Design


The egg chair was the jumping off point for this whole design and encouraged me to have some fun with color. Once this chair was chosen, I knew that the pillows needed to be fun, vibrant and full of pattern. Since the bright pops of color come in through the egg chair, pillows and art, I stayed more neutral with the area rug and the soft green drapes. The walls will also be a soft gray, almost white color, which allows the bright pieces to shine. I also selected some other pieces from Chairish, such as the Brass Bamboo Coffee Table and the Tripod Floor Lamp. I always love to mix metal finishes in a space, so these two accessories do just that. The stunning sunburst mirror in the brass finish adds a hint of glamour to the room, while the dipped wooden stool brings a rustic touch. For me, it’s about creating that balance between different styles, textures and finishes. This iconic egg chair is a statement piece on its own and I hope that I brought it to life in this living room design. Make sure to check out Chairish for your next vintage find. To view more amazing vintage chairs on their site, click HERE. To find out where all sources are from the design board, click on the links below.
Sources: Paint Color Gem Objects Sunburst Mirror Wing Chair Dipped Stool Floor Lamp Abstract Painting Hustle Print Hair Bun Print Pipe Shelving Chiang Mai Aquamarine Leopard Pillow Navy Deco Pillow Tray Styling Drapery Fabric Spindle Accent Table Egg Chair Bamboo Coffee Table Sofa Rug    

E-Design Before and After {A Client’s Gallery Wall}

July 23, 2014 by Amber Filed Under: before and after, e-decorating, e-design, gallery walls, interior design, living room


You may have read some of my previous posts about my love for gallery walls… especially asymmetrical layouts around a television. Not only does it allow you to bring in color and pattern to a space, it’s also a great trick of the eye to help conceal the TV. One of my wonderful e-design clients recently completed an arrangement on her media wall and I can’t wait to show you the impact it made! Here is the before picture of the television wall…

Before…


Here is the design plan I came up with for the whole space…

And here is the media wall mock up I made for the gallery wall…

We incorporated her taxidermy art and her lamp, but added some fun new art pieces and a hint of brass in the mirrors. Here is the after…

After


I am so proud of the progress she has made!! You can even see a glimpse into her foyer on the left, with the gorgeous wall stencil. The boot umbrella stand, shown on the right side of the last picture, will go in the foyer. She is almost finished with the spaces, so there will be another reveal coming in the future. Thank you so much to my amazing client for allowing me to share these pictures here. She always has the sweetest things to say and it has been my pleasure helping her enjoy her spaces that much more! We also recently wrapped up her kitchen and dining space, so more designs to show, soon.

Working with What You Have {Living Room E-Design}

April 15, 2014 by Amber Filed Under: design, e-decorating, e-design, living room, personal design style


When designing a space, there are things we may want to change, but working with what you have is often more of a priority. I recently wrapped up a living room e-design project where we worked around the oak stained beams, window trim and fireplace surround. Often times, my first inclination is to paint that all out, to create dramatic, updated change. When that is not an option, it’s on to plan B. Plan B doesn’t always have to be the lesser option… it’s just a matter of selecting colors and fabrics that compliment the oak stained wood work, as opposed to competing with it! Since the space has a lot of warm wood tones (also including oak stained floors), the name of the game has to be to bring in some cool colors. Grays, blues and greens will be your friend and balance well against the warm woods. Here is the design board I created for them, where cooler tones reigned supreme…

Can I please have that blue chair all to myself?? By adding the blues, greens and grays, The warm woods will feel more welcome and will bring that mix of traditional with modern. The walls will be the soft gray color on the top left corner of the board and we will whitewash their brick with the color to the right of that. When showing my client this whitewash idea, I came across this blog post that showed an amazing before and after of their fireplace. I included a shot of the after on the bottom right side of the board. They also painted the brass fireplace insert black, which I also recommended to my client! It will be an instant modern update. They love the plans and I can’t wait to see their progress!

By the way, when researching rooms with stained oak trim, I came across the amazing parlor room of Nicole Balch, from the blog Making it Lovely. Her space is proof that stained oak trim can be chic…

via
It’s all in the mix of adding cool colors!

How about you… what have you had to ‘work with’ in your home??

{E – Design} A Chic, Fun Playroom

March 17, 2014 by Amber Filed Under: design, e-decorating, e-design, kids and design, living room


Happy St. Patrick’s Day!! I wanted to check in and show you an e-design board that I recently completed. My client was looking for a fun, stylish space for her family to spend time together and relax. It will be used as a playroom, but since it is off of the upstairs hallway, they also want it to be a chic room that flows with the rest of their home. I wanted it to be fun and colorful for the kids, but also neutral with a modern/traditional mix, like my client enjoys. My client already has a sofa and bookshelves for the room. I came in and added additional furniture, accessories and paint colors.

The Design


The Floor Plan


The wall color is the soft gray on the top left corner of the board. The dark brown/black shade will be for a full wall chalkboard. The coral color is for the back of their existing bookshelves. The triptych octopus art will go above the sofa. She will be able to recreate this art piece by following this tutorial. The pillows are on the bottom of the board and really bring the color palette together. I am so excited she loves the plan and can’t wait to see after photos!

E – Design Board Reveal & A Sweet Client Note

March 3, 2014 by Amber Filed Under: design, e-decorating, e-design, living room, personal design style


I am excited to share a completed e-design board project with you today! My client was looking for a living room space that mixed traditional with modern, neutral with pops of color. She is so excited with the outcome and I have to say, I am too!!

E- Design Board Reveal…


The living room sits right off of the entry, so we incorporated the foyer into the design, as well. All of the color inspiration comes from the floral pillow shown at the bottom of the board. With that color palette, I sprinkled blues and greens throughout the space. My client really loves the quirky, whimsical art print shown at the top left side of the board. I love having fun with design. I think it’s important not to take yourself too seriously when decorating your home. Have fun with it and inject your own personality into the space. I always love walking into a space that makes you smile!

My client was so excited with the design and wanted to share her thoughts on e-design with all of you…

It was like a very close friend who happens to be a talented designer stopped by my house one day and helped design my living room.  Only Amber never physically visits, everything was done via email!  Amber was able to design a space for me that was exactly what I wanted. 
Everything Amber  picked out was something  I would have picked  out if I knew what I was doing!  When she put the design board together I was blown away by all her selections. Amber didn’t leave one thing to chance.  She stayed within the budget  I gave her. All the sources  she cited  were wonderful and very familiar to me so even the shopping has been fun.
I’ve continued to ask Amber questions and she is always pleasant with a very prompt response.
If you are on the fence with this type of service jump in – it is an extraordinary value from a very talented designer. It is money well spent.  I think I have spent 10 times the price of her service on books and magazines just trying for the look that Amber gave me. 
I loved working with Amber so much that I gifted her design service to my daughter for her living room.  We are all excited to see what Amber does for my daughter’s living room.

Wow! Thank you so much to my client for taking the time and sharing her experience with working together. I am truly lucky to have such amazing, fun clients to share this experience with! She has already begun making purchases for the room and I can’t wait to share after photos, when it’s complete.

{E-Design Project} The Living Room

December 6, 2013 by Amber Filed Under: design, e-decorating, e-design, living room, personal design style


I just completed a living room e-design project for a client I have been working with for a while. I seriously love what I do and I get a little sad when projects are over, because I truly have so much fun with my clients! With this particular client, we seem to often be on the same wavelength… we bounce ideas off of each other and it’s a refreshing, fun collaboration when we work together! We made some changes and new additions to the previous living room design and I’m excited to show you the plan, today…

The Design Plan


Some of the items on the board, the client already owned, so I wanted to present the plan in a way that showed her pieces with the new ideas. I think they work well together! I am really excited about the idea of lacquering a secretary desk in a deep navy color. I am also giddy about the eclectic mix of pillows and patterns. As long as there is a common color within the fabrics, you can mix totally different prints in the same room and pull it off well! I think it will bring an eclectic, collected over time feel to the space. My client will also choose a Persian style rug to layer over a jute rug. The suggested three options are to the right of the board. Layering rugs is also another great way to bring a collected feel to a room. It’s a perfect way to mix neutrals with some pattern. You can also use the top rug as the main piece that brings the room’s color palette together or use a complimentary color that works with some of the elements in the room.

If you would like to work together on making your house a home, visit HERE. I am currently accepting new clients for February 2014.

Creating My Own Art With Color Glide Pro

August 13, 2013 by Amber Filed Under: art, design, living room, personal design style


When expensive, original art is not in the budget, I am a big proponent of taking out the brush and trying it yourself! What’s the worst that can happen? When shopping at local craft stores, I have noticed that large pieces of canvas aren’t that expensive. In fact, I have been lucky to shop when they are 40% off! So, when a representative from Color Glide Pro contacted me about trying their brushless painting applicator, I thought this would be a great tool to use when creating my art. In the kit, you get a refillable, reusable paint applicator tube with a soft felt applicator and a paint transfer pump so you can easily transfer paint from your old paint can into the tube. I had a large amount of wall space upon entering our living room that needed something new and fresh. Once I got started painting, I could not believe how easy it was to use! In the future, I will definitely try it for its intended purpose, which is to touch up paint small areas, doors and trim. But, it’s also fun to think outside the box and try something new with it. Luckily, it worked!

Let’s back up, as I explain the process and give close up shots of the cool product!

What you will need for this project:

1. Paint can with your favorite paint color.
2. Paint stirrer
3. Canvas board
4. The Color Glide Pro!

Since I wanted the art to be dramatic, I went with a 24×36 canvas board, which is the same size as the basement art for our kid’s space. I wasn’t sure if it would be messy to use the pump when transferring the paint. It wasn’t at all! The applicator tube also shows the fill line spot, so you don’t overflow your tube.

This was after I shook the applicator tube, making sure it was well mixed before painting. The tube comes with a shake and mix ball inside, so I can reuse the paint and just shake it again, when ready to reapply! I went with my favorite dark color, Dragon’s Breath by Benjamin Moore. I am using this color on all of our interior doors, so I had plenty extra on hand. Plus, it works well with our home’s color pallete, so it’s a win win for the art piece! When deciding on a design for the canvas art, I knew I wanted to make it modern and graphic. I tried a sample out on a paper towel, which also helped me figure out how to use the applicator tube.

I really had my fingers crossed on this one, because I didn’t want to mess up and discard the art. Luckily, the tube was so easy to use, I just went over a line again, if it needed some extra color and thickness. And here she is again, all styled up and filling the space quite nicely!

When I’m ready to take out the applicator tube and use it again, the paint will be ready! I just give it a good shake and that’s it! It stays fresh in the airtight tube and will last for a very long time. The tube even comes with a space for you to list the paint color and brand.

The above instruction list would be a great image to pin, as it gives a clear explanation of how to use the product. Scroll over the image to pin it straight to your pinterest account. (Or any image, for that matter!)

Make sure to come back on Wednesday, if you’re interested in a kit for yourself! The lovely representatives from Color Glide Pro also gave me a set to give away and use however you like!

Will Yours be for Paint Touch Ups or a Fun, DIY Project??

A New Face on Our Wall

July 22, 2013 by Amber Filed Under: art, living room, this piece has history


Recently, I went to an antique fest with my mom that we visit every summer. Vendors come from all over and stay for the weekend, bringing their unique and special treasures for us to hunt and find. I didn’t leave empty handed this year. In fact, there’s now a new member of the family on our living room wall.

Our Newest Addition…

I love the history that it brings to the room, with its stature and military background. My husband was in the army several years ago, so it also brings a meaningful quality to the space. My mom thought it would look great beside our secretary desk, which has its own special history. The decision was made, once we tried it on that wall. And here he is…

The colors on his jacket, the frame finish and even his blushed cheeks work so well with the color palette in this room. The real shocker was the price! I almost didn’t even ask, because I thought it was going to be out of my budget and too good to be true. When they told me it was $10, I couldn’t believe it! What a deal! I’m all for trying to get the best deal, but I didn’t even think I needed to negotiate this price down. And I love that I was able to hang it right up, without changing a thing. I will have to keep an eye on it, though… my mom wanted to take it off our walls when I wasn’t looking. ๐Ÿ™‚

Have you found any unique, ‘had to have’ pieces lately??

A Client’s Before and After {The Living Room}

June 7, 2013 by Amber Filed Under: design, e-decorating, e-design, living room, personal design style


To say that I am excited would be an understatement. One of my e-design clients, who I worked with over the winter, just sent me beautiful after photos of her space. I am so proud of her and the way she executed the design plan. Her and her husband had just moved into a new home and were looking to decorate and furnish their living room. They already had a beautiful brown sofa from Crate and Barrel and a few accessories, but needed to complete the space with additional accessories, art, more seating and tables. Here are some before pictures of the space…

Before

This space is beautiful and flooded with natural light. It has large, gorgeous windows and amazing ceiling height. The items that stayed were the new sofa, TV stand and table lamps. My client wanted a modern/traditional space with pops of subtle color. To keep the space interesting, I layered in texture, different metal finishes and modern accessories paired with traditional furnishings. Here is the design plan I came up with…

The Plan {click on design board to make larger}

And here are the afters, and the amazing way she brought this e-design plan together…

After

I love how my client has put this space together!! She did a great job implementing the design plan. They are still on the fence about replacing the ceiling fan with a large chandelier. I can understand that, since summers get very warm and function has to take priority. So, we are in the process of thinking of new sleek ceiling fan options. I will indlude another post soon, with descriptions of the layout and how she brought this amazing space to life.

Happy Weekend !!

  • « Previous Page
  • 1
  • 2
  • 3
  • Next Page »
Welcome!

Hi, I'm Amber... a wife, mom and interior decorator. I am the writer of Simple Dwellings and the designer behind Amber B Design. Blog topics are all things design, with the occasional DIY attempt! Thanks for stopping by Read more...

  • Bloglovin
  • Email
  • Instagram
  • Pinterest
  • Twitter

Blog Posts, Straight to Your Inbox

Popular Projects

A dining room with white walls and wooden table.
A black door with white curtains and a red chair
A staircase with black and white chevron pattern on the steps.

Blog Love

  • Addison’s Wonderland
  • A Thoughtful Place
  • Alison Giese Interiors
  • Amber Interiors
  • Bailey McCarthy
  • Caitlin Wilson
  • Chris Loves Julia
  • Classic Casual Home
  • Cottage and Vine
  • Design Indulgence
  • Dwell by Cheryl
  • Eddie Ross
  • Elements of Style
  • Emily A Clark
  • Emily Henderson
  • Gallery No Eight
  • Hi Sugarplum
  • House of Jade
  • Jana Bek
  • Juniper Home
  • Kate Marker Interiors
  • Lucy Williams
  • Monika Hibbs
  • Our Fifth House
  • Pencil and Paper Co
  • Rachel Parcell
  • Rambling Renovators
  • Pure Style Home
  • Sita Montgomery
  • Studio Mcgee
  • The Makerista
  • The White Buffalo Styling Co
  • the Zhush
  • Traci Zeller
  • Young House Love

Copyright Amber B Design © 2025 ยท Design by Britt Douglas