Amber B Design Studio

Interior Design & Decoration for the South Florida region

  • Home
  • About
  • Services
  • Portfolio
  • Blog
  • Press
  • Contact

My Top Home Accessory Picks {And Basement Sneak Peek!}

May 29, 2013 by Amber Filed Under: accessories and vignettes, basement, design, personal design style, style


A room truly does not feel complete without the accessories. They definitely make the space and take it to the next level. For me, a room feels completely finished when there are layers of pattern, art and texture. It is through the careful editing that a space fully comes together. I thought it would be fun to round up my favorite accessories and pieces that work with any home and style. Every room pretty much needs one of these pieces!  ๐Ÿ™‚

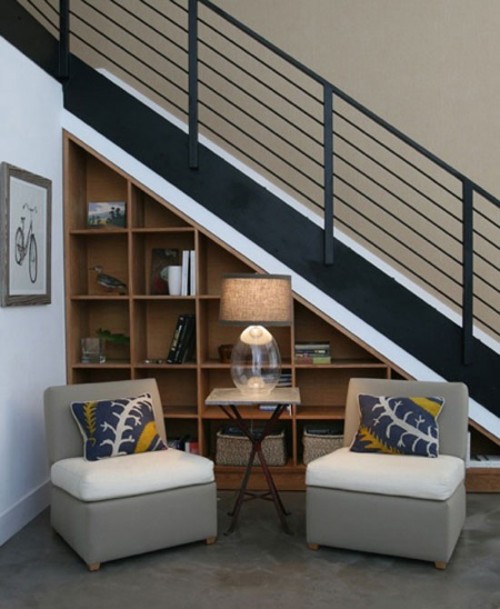
X Benches or Small Ottomans

via
via
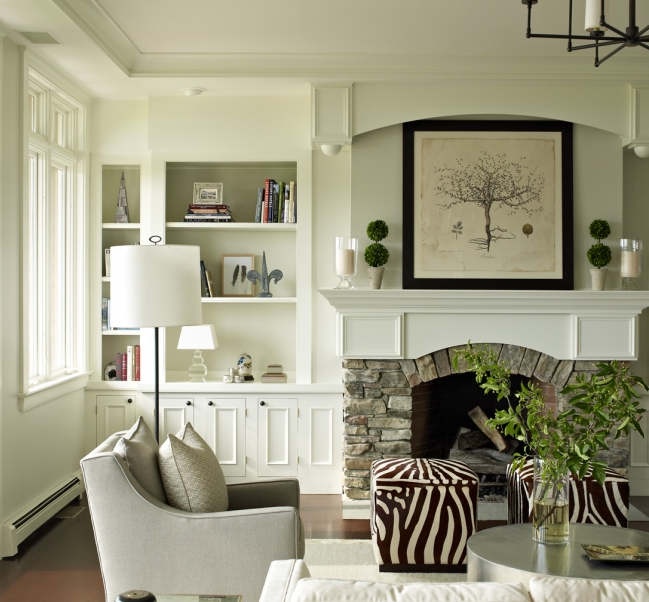
Whether by themselves or in pairs, x benches and small ottomans look great under consoles, at the foot of a bed, under a large piece of art or mirror and to use as a foot rest. They are such a chic and practical option for almost any room. Plus, you can add a pop of color to the space by upholstering them in a fun fabric.
Poufs
via
via
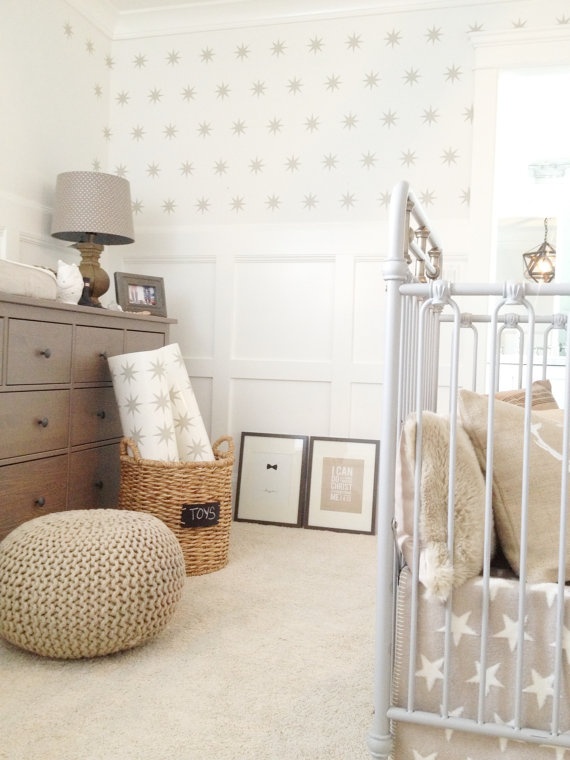
Poufs are similar to small ottomans and x benches, in that they can also go anywhere! I love seeing them in a family room or nursery. They are great for resting your feet, a small seat for playing games or a step stool for a child. The above nursery shows how they can add great texture to a room with a sweater like fabric. 
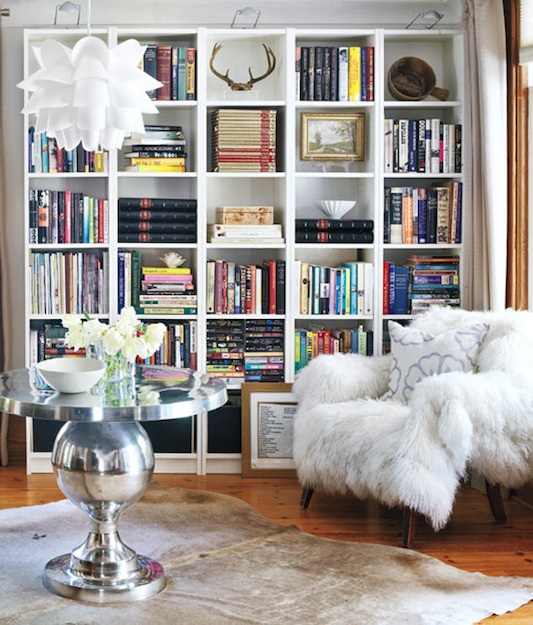
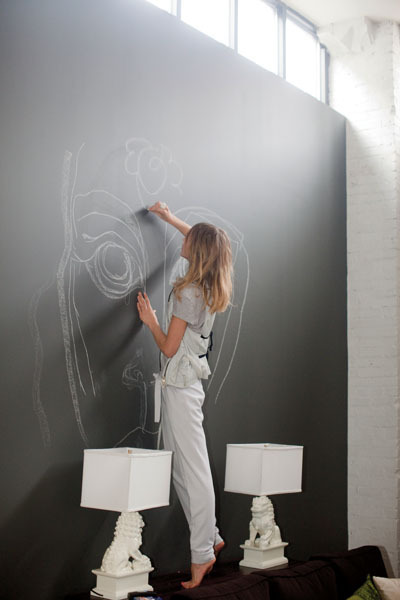
Abstract Art
via
via
Whether your home is modern or traditional, any space would look stunning with abstract art. It gives an edge to a room and shows an eclectic, fun style.
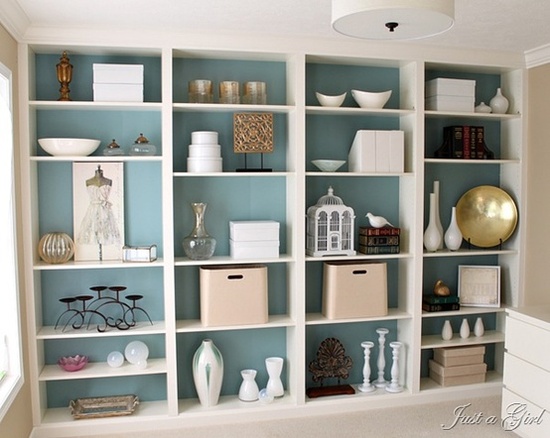
Sculptural Accessories
via
Our Living Room
Accessories with a fun shape add texture and interest to a space. They can be layered on top of a few books to add depth and dimension.
Do you have any favorite accessories to add to the list???
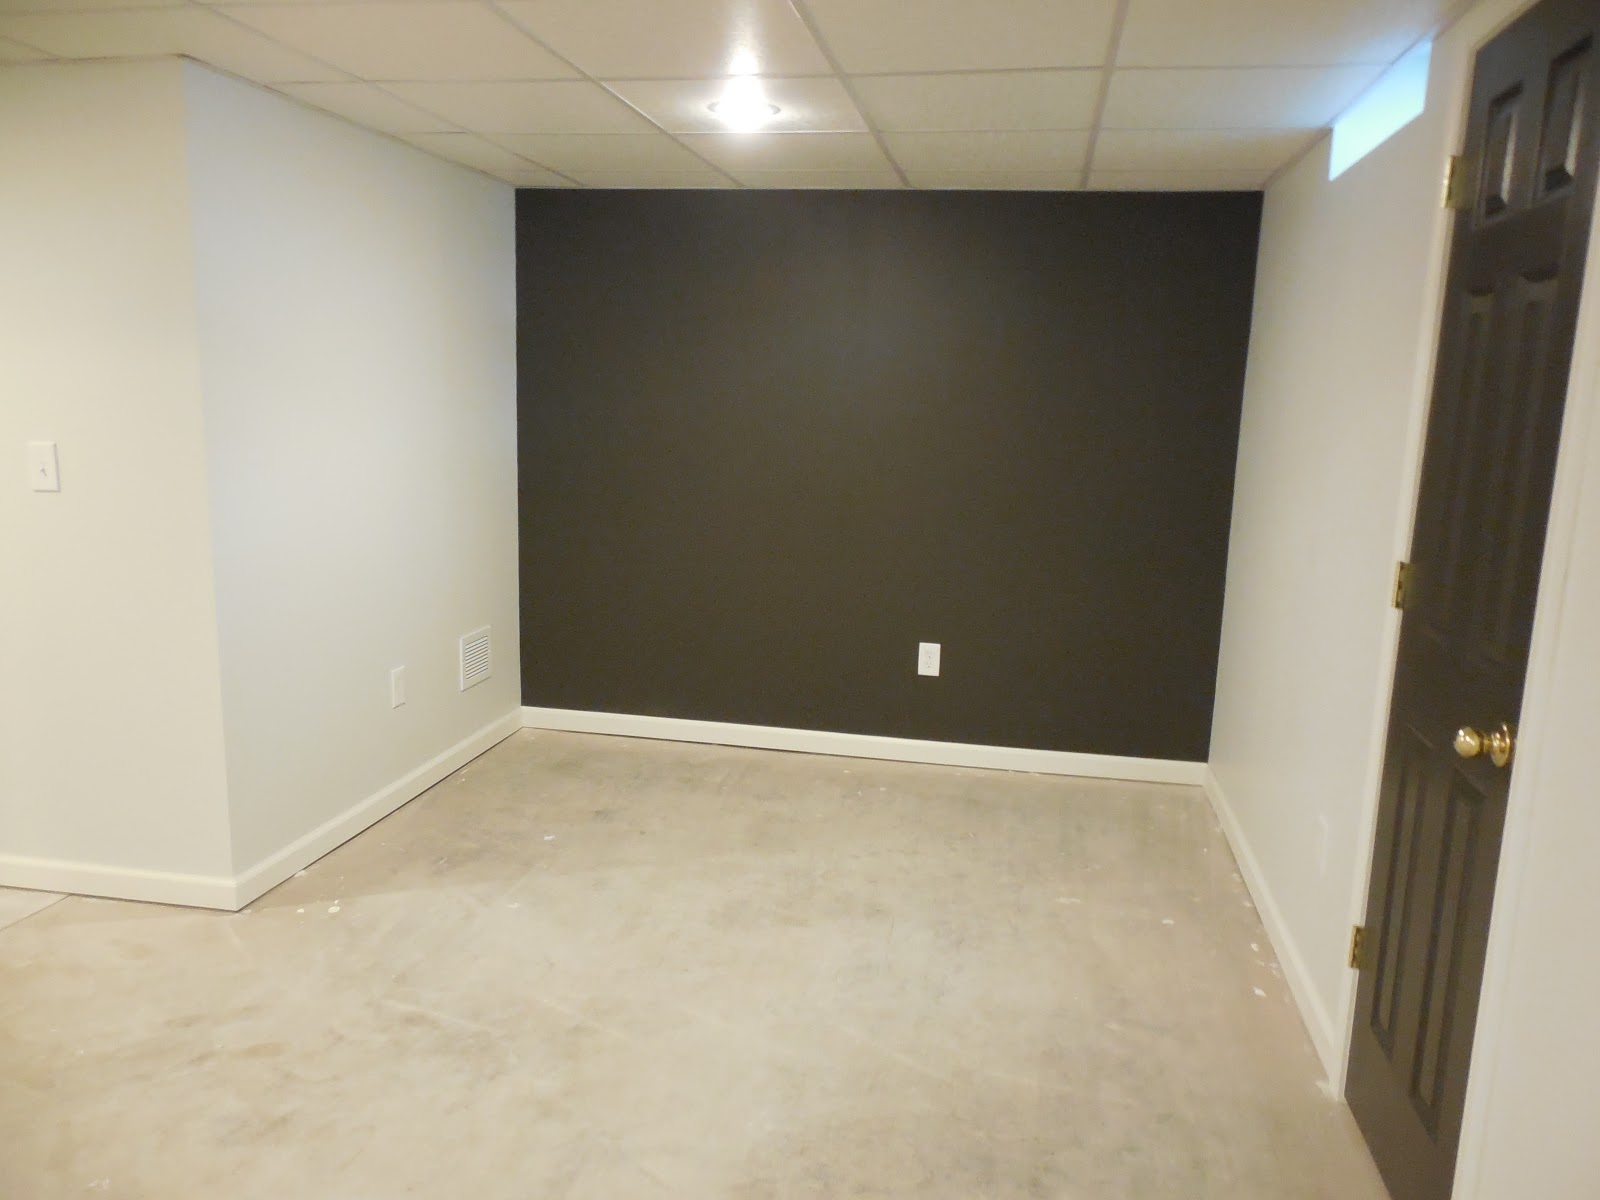
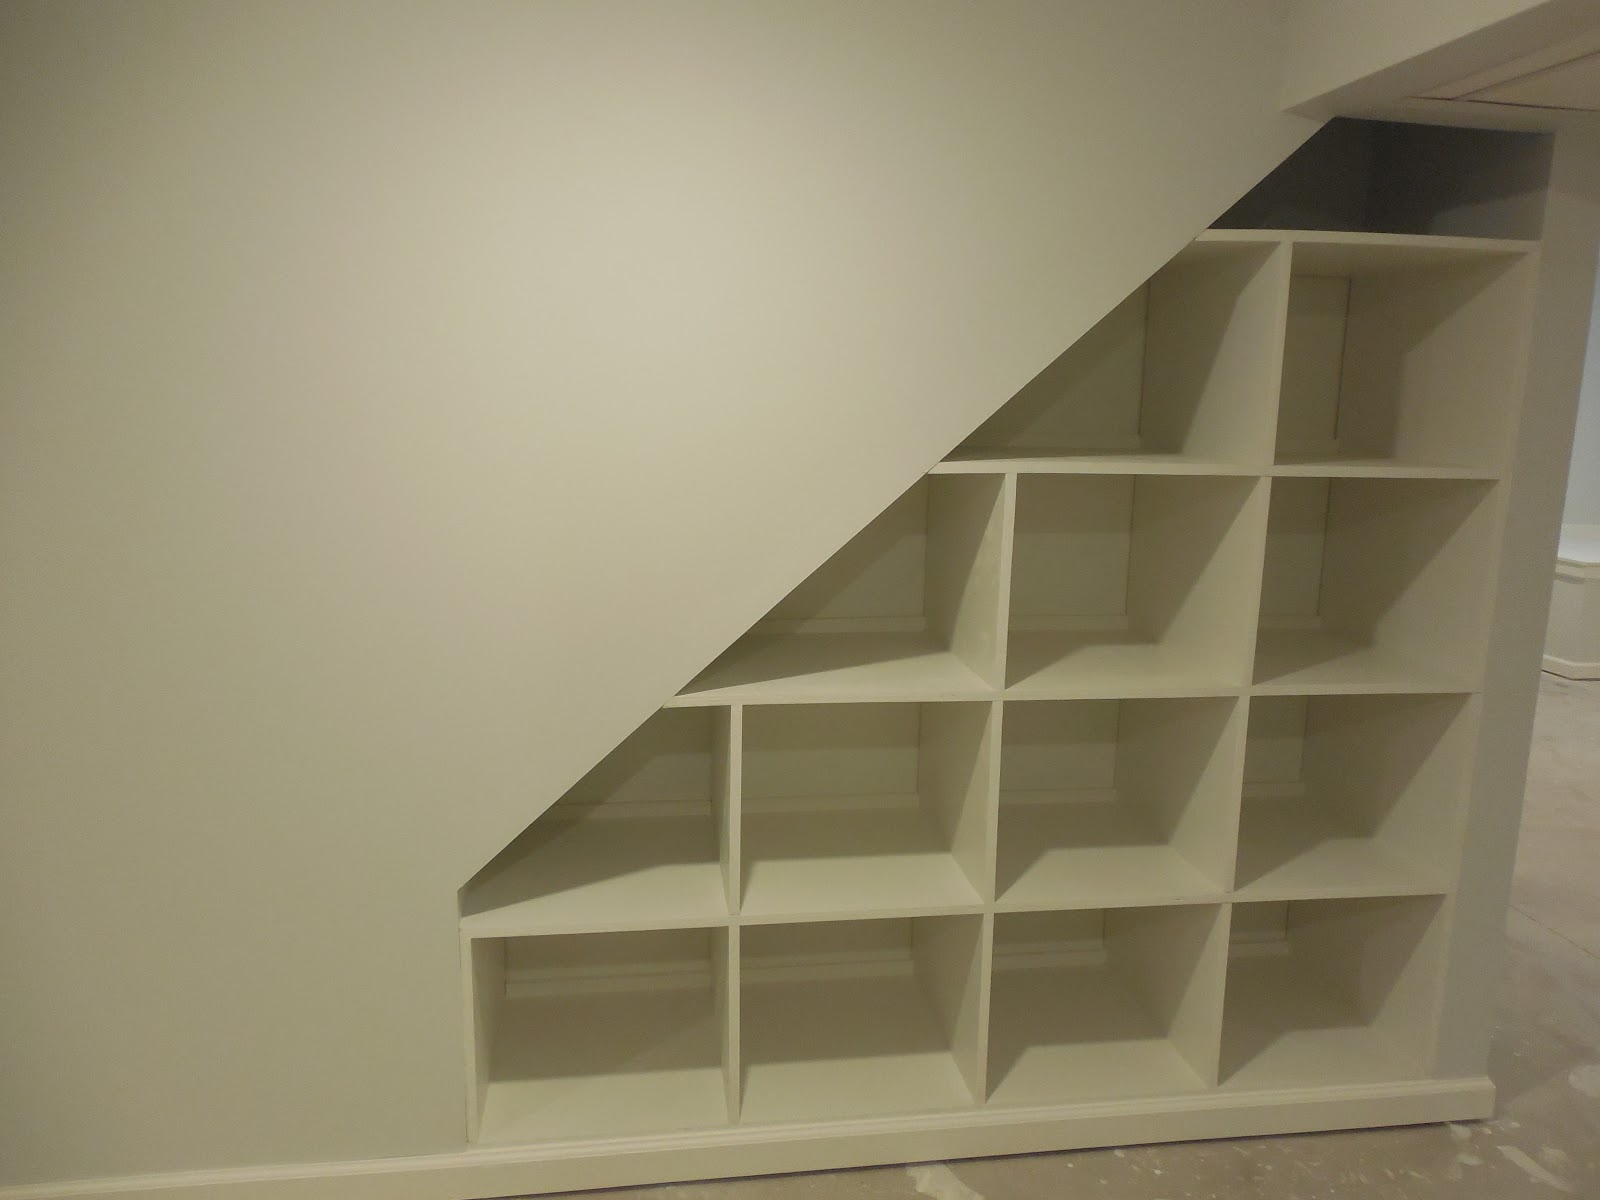
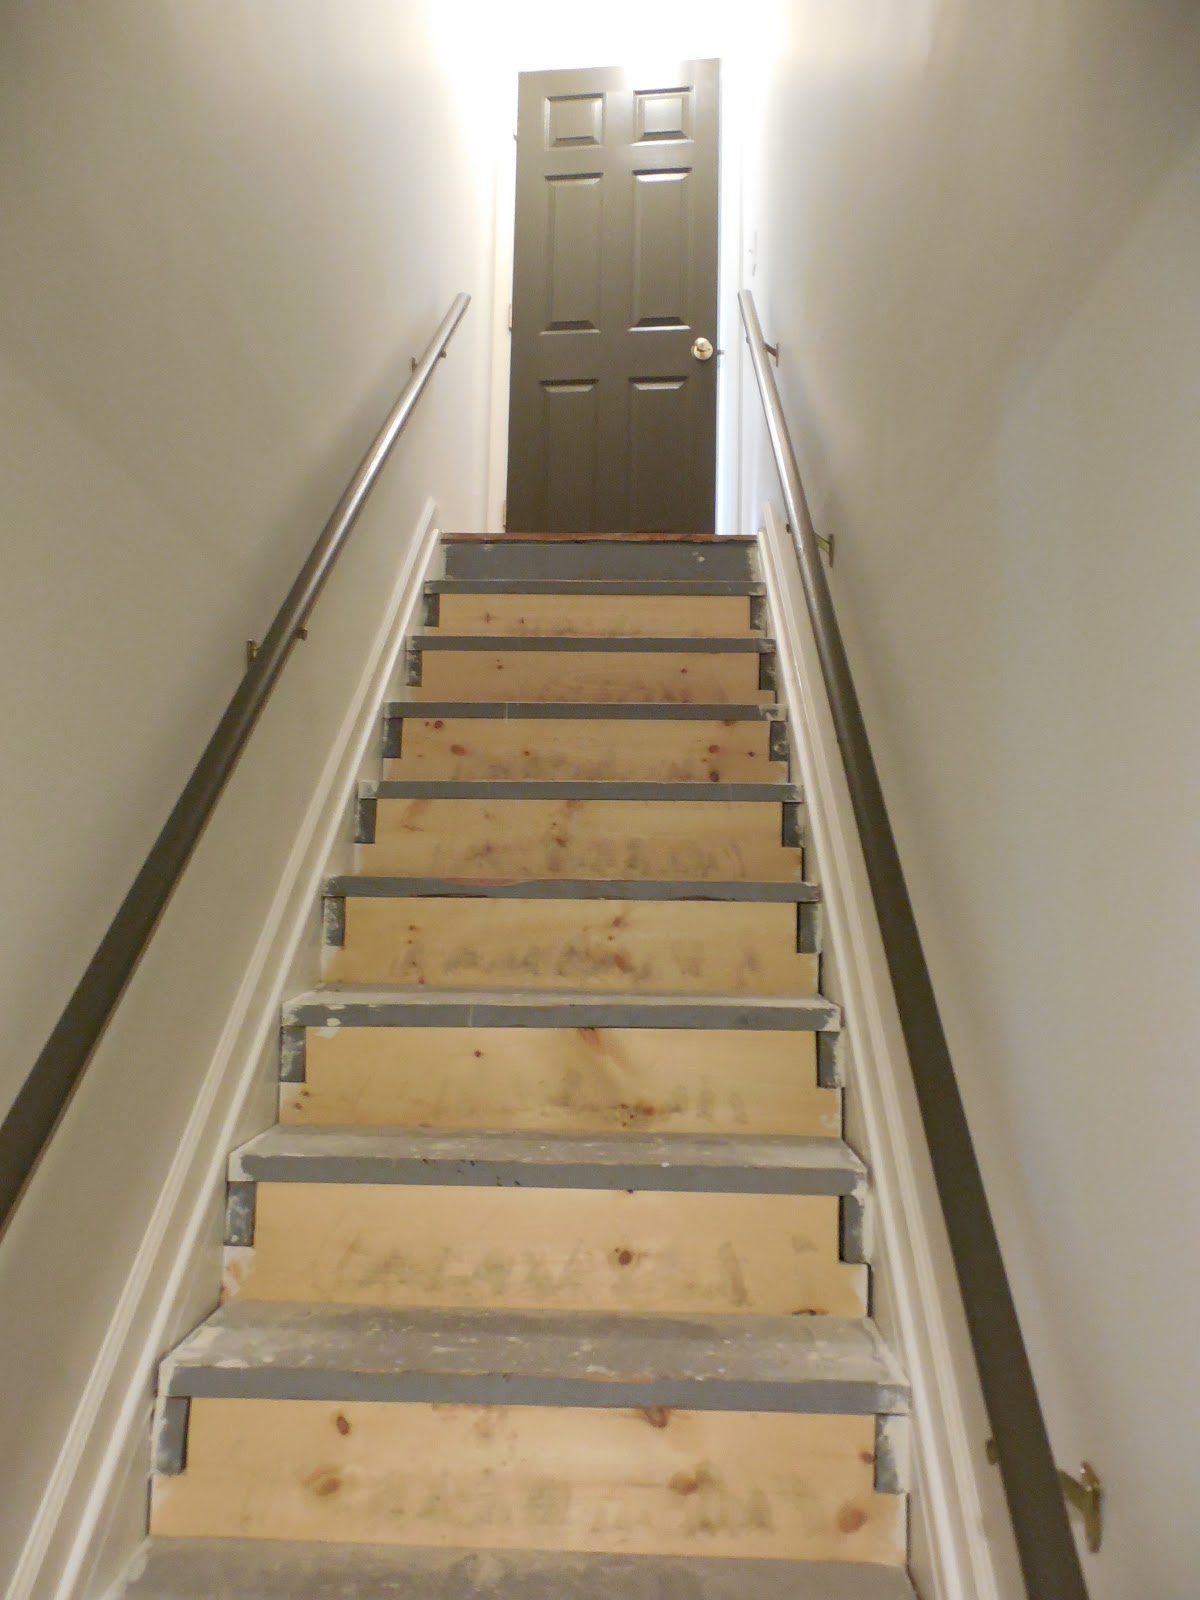
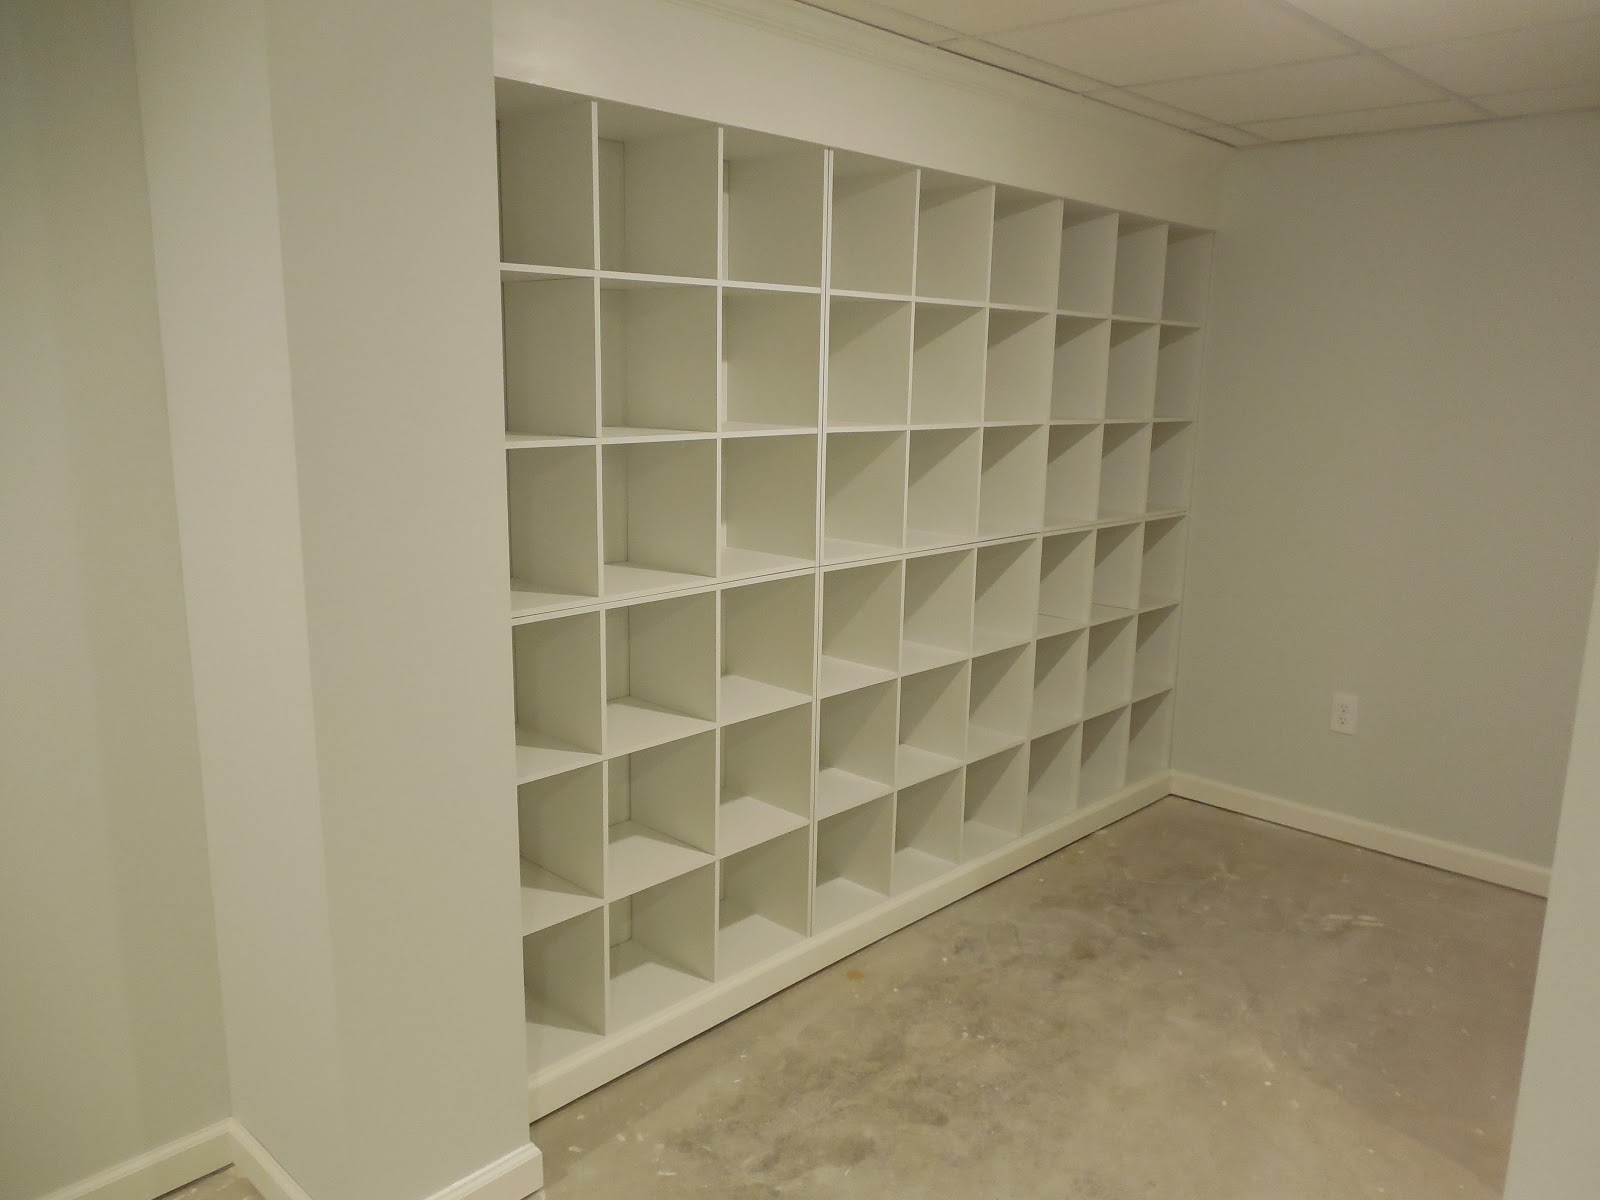
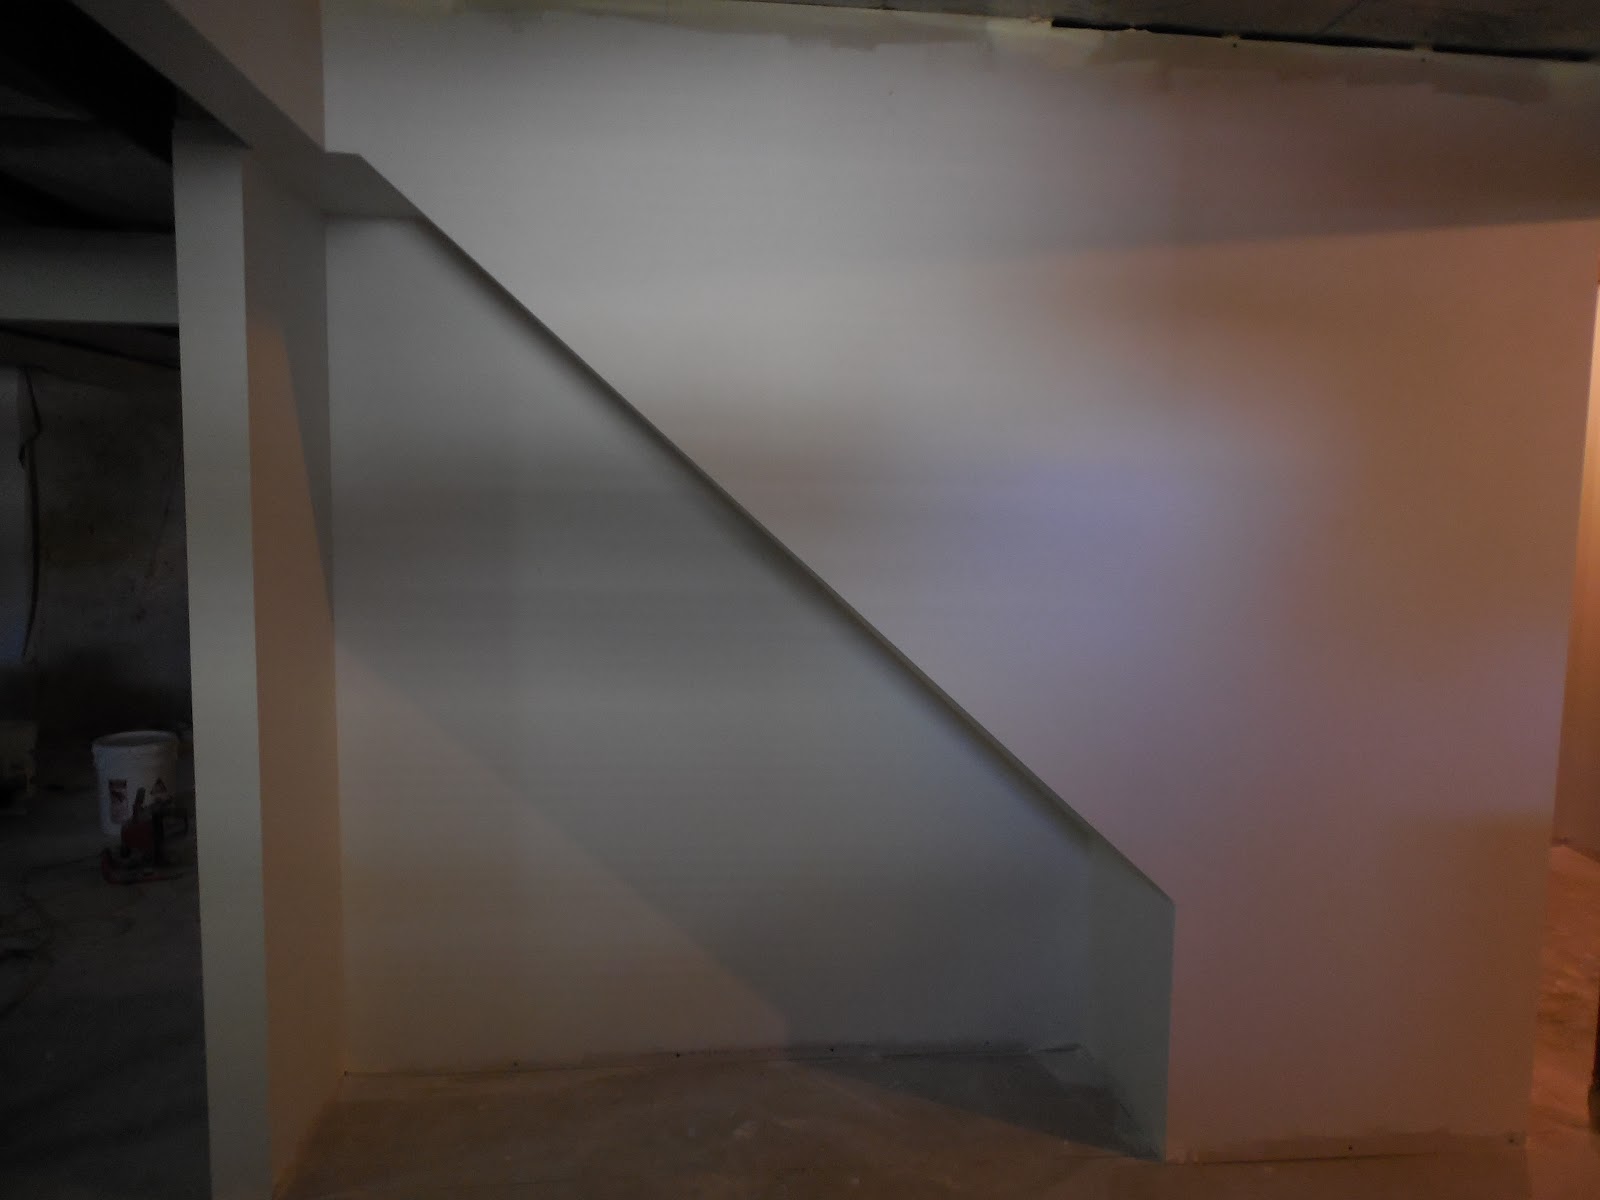
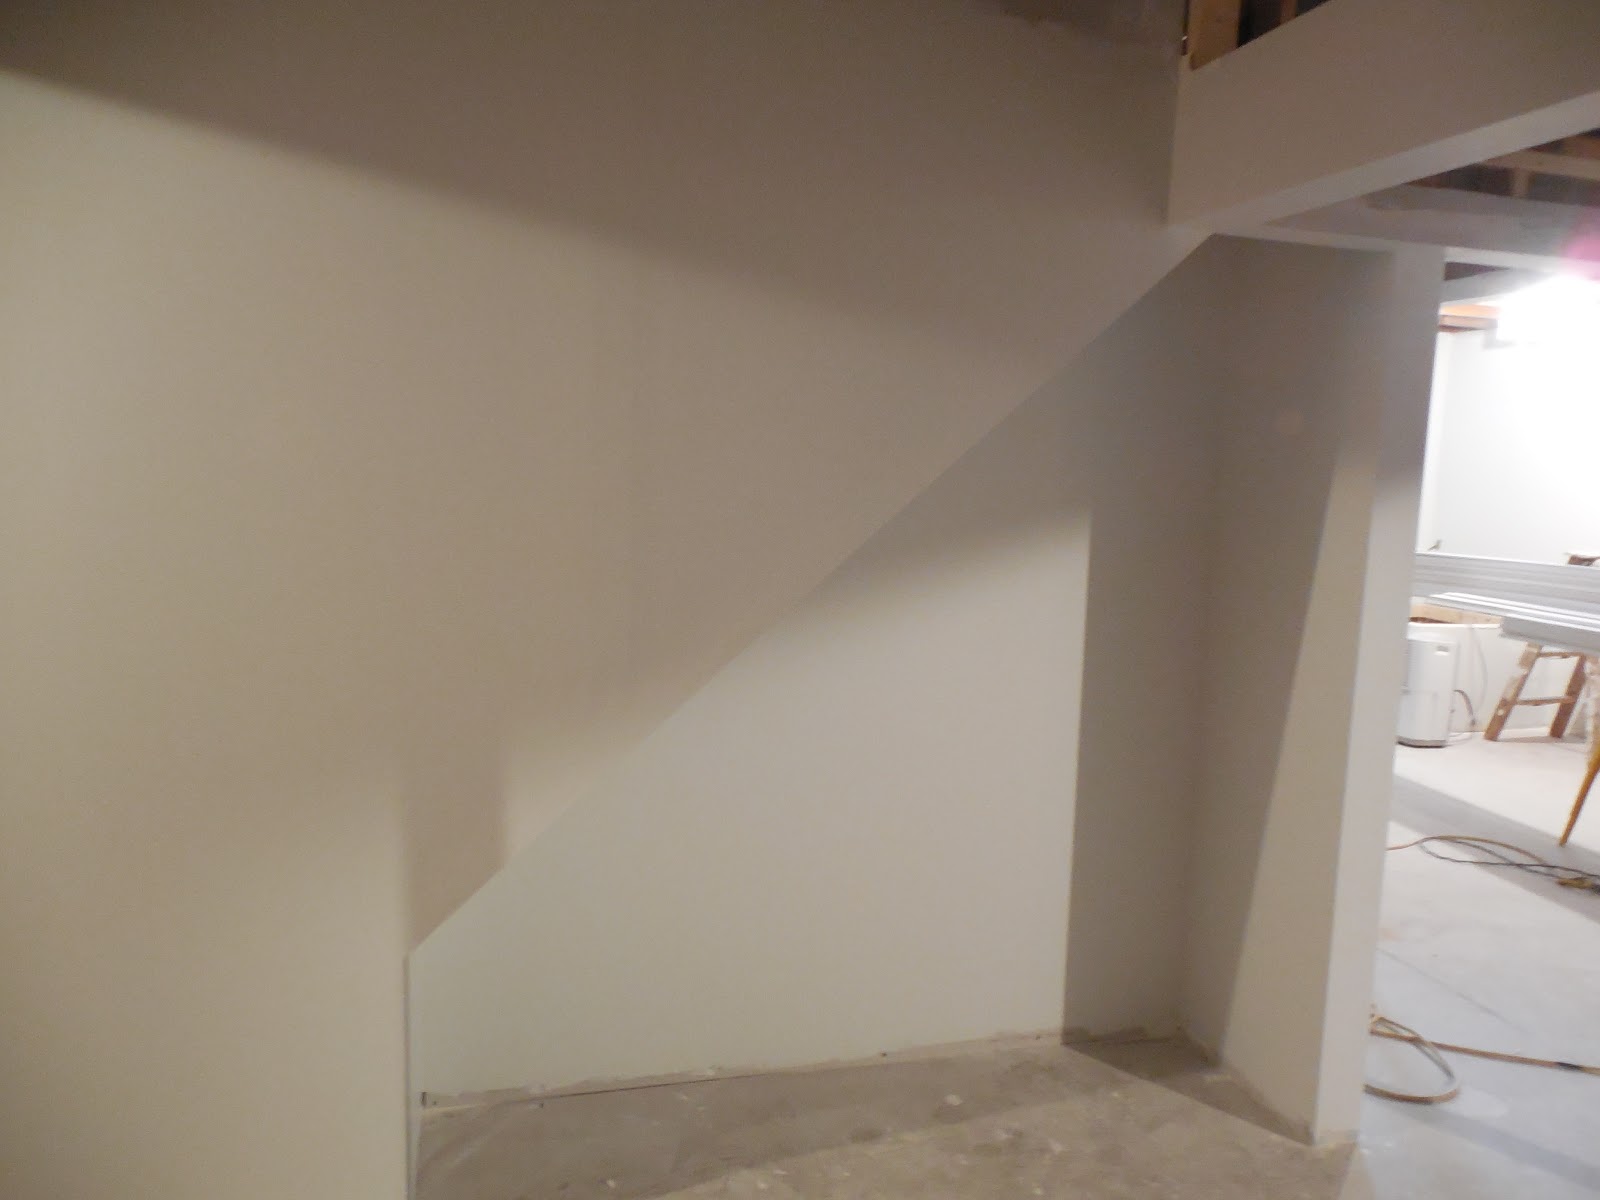
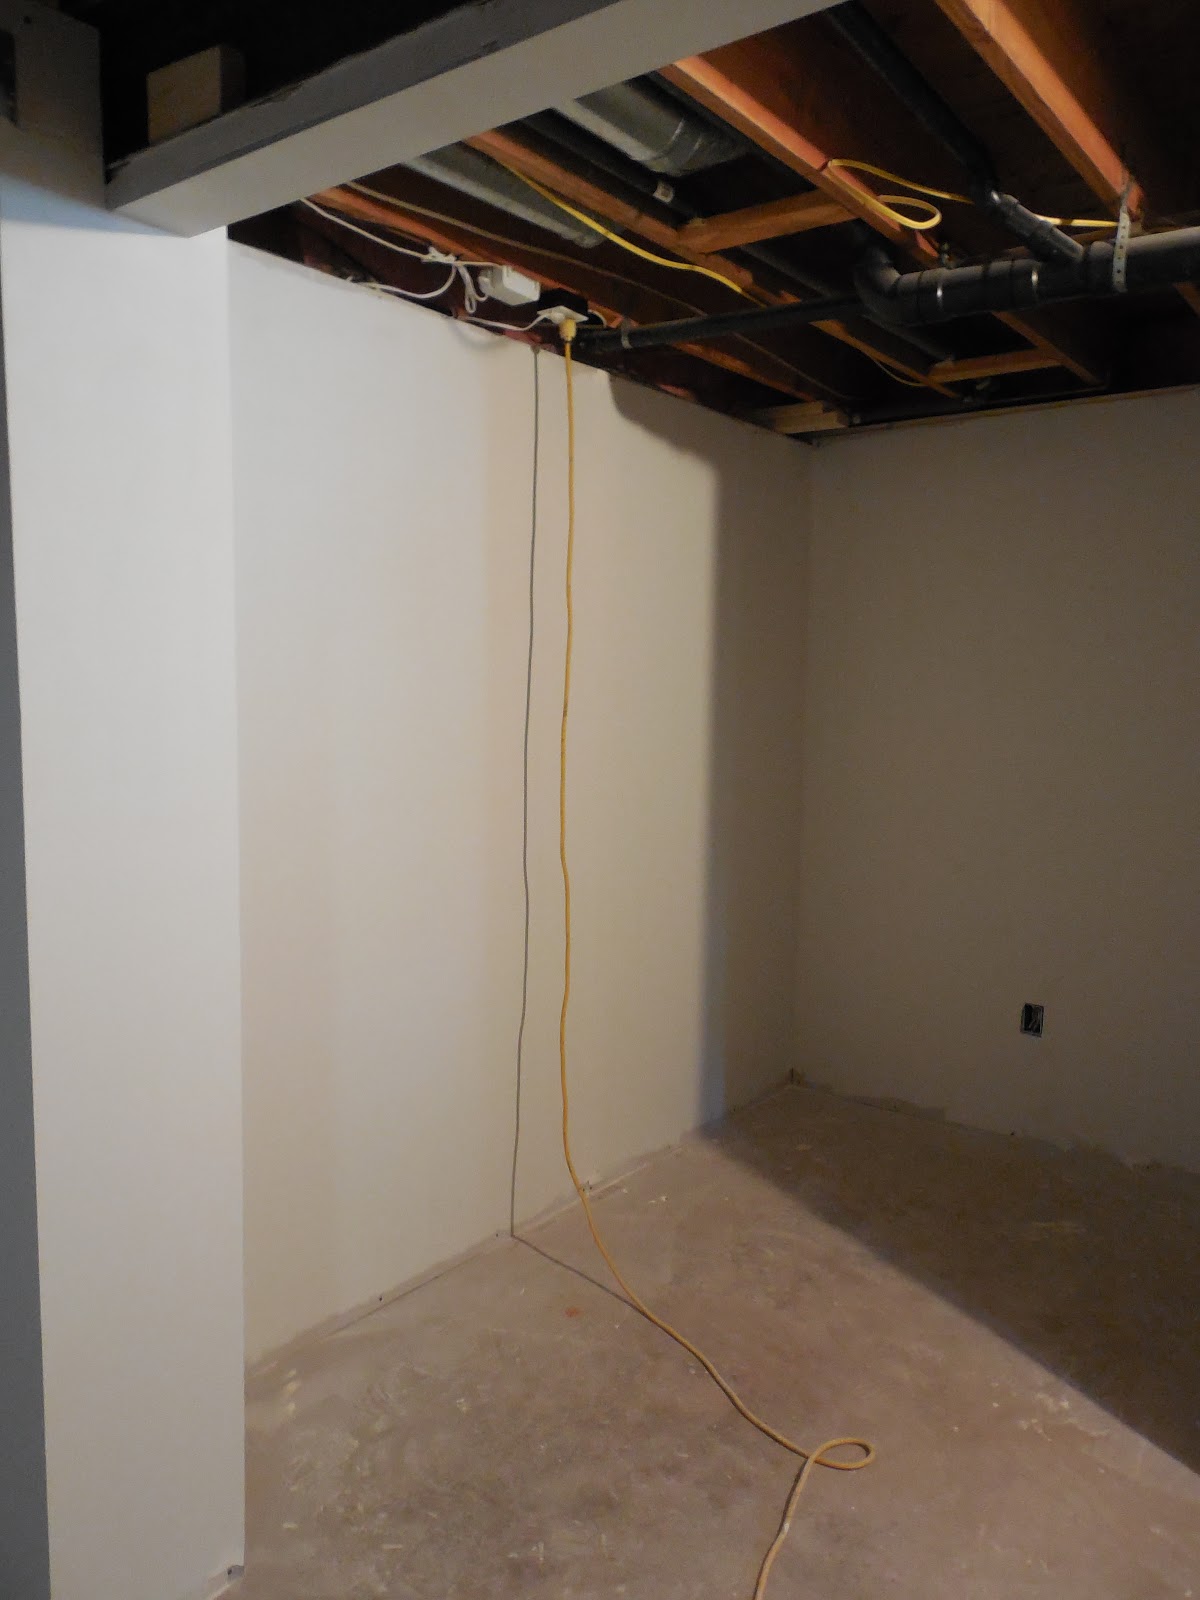
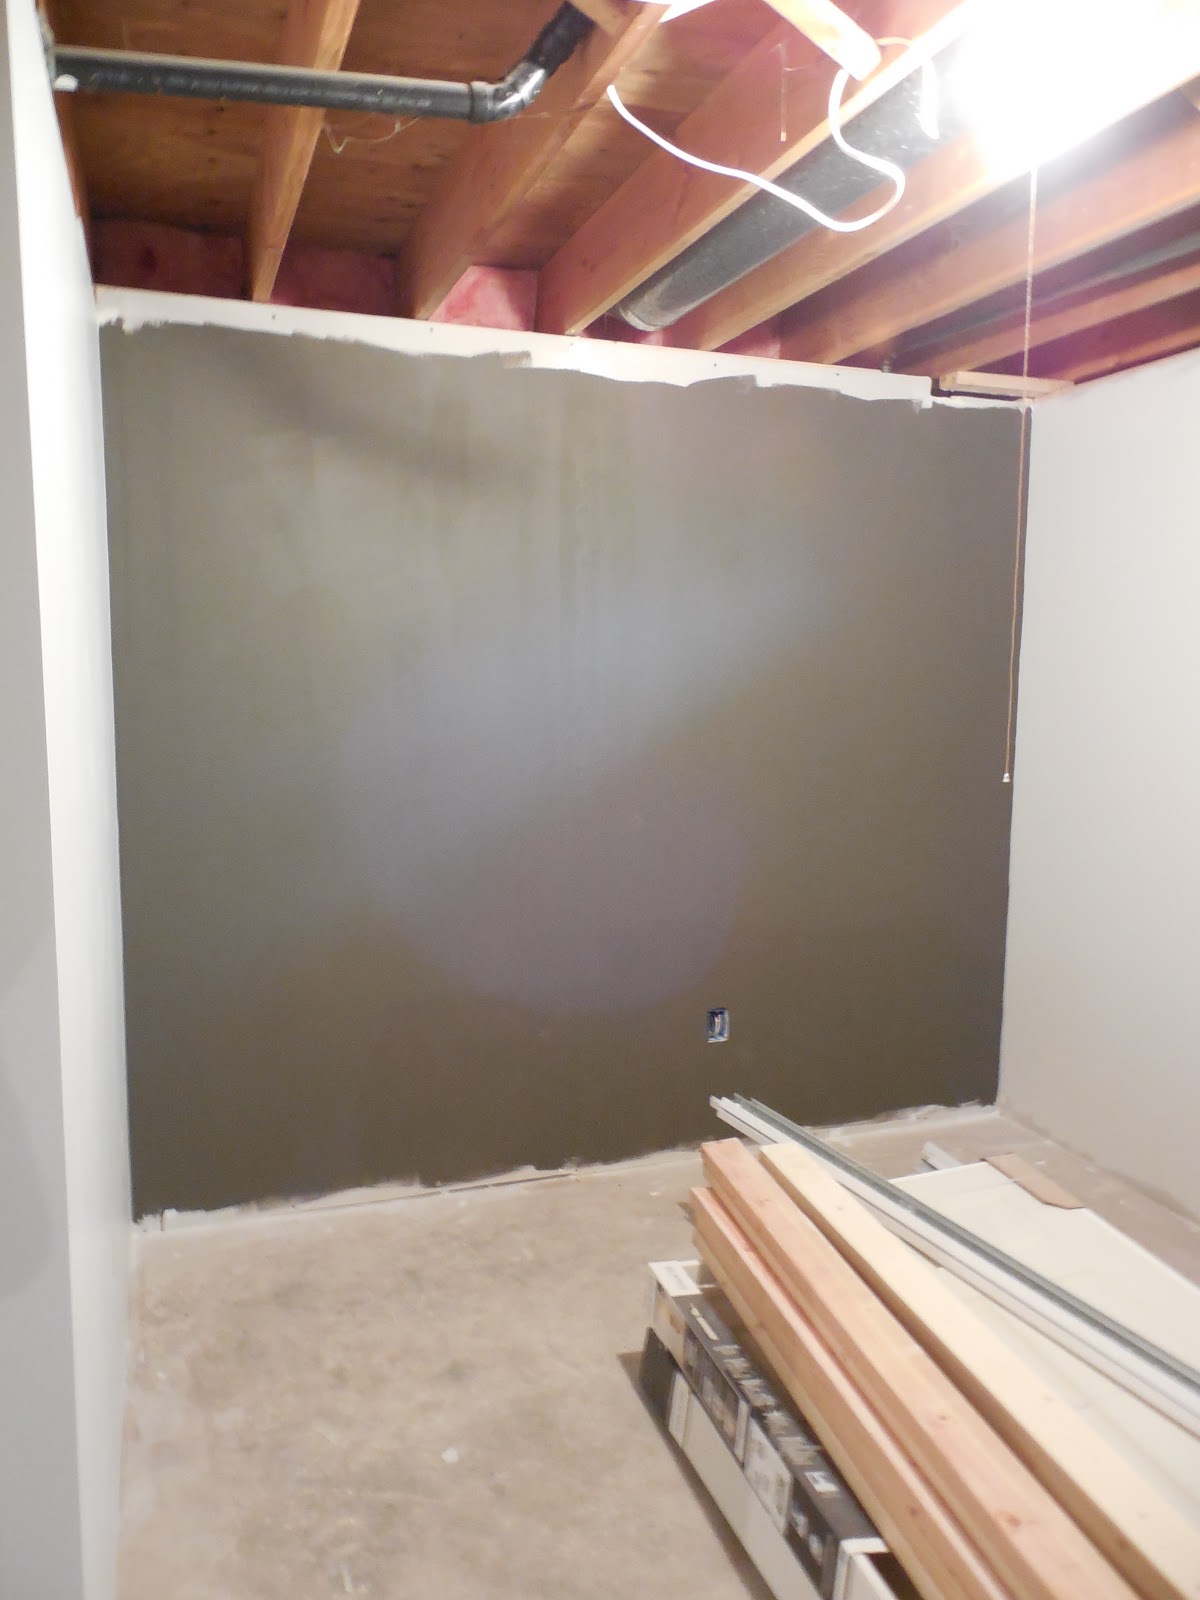
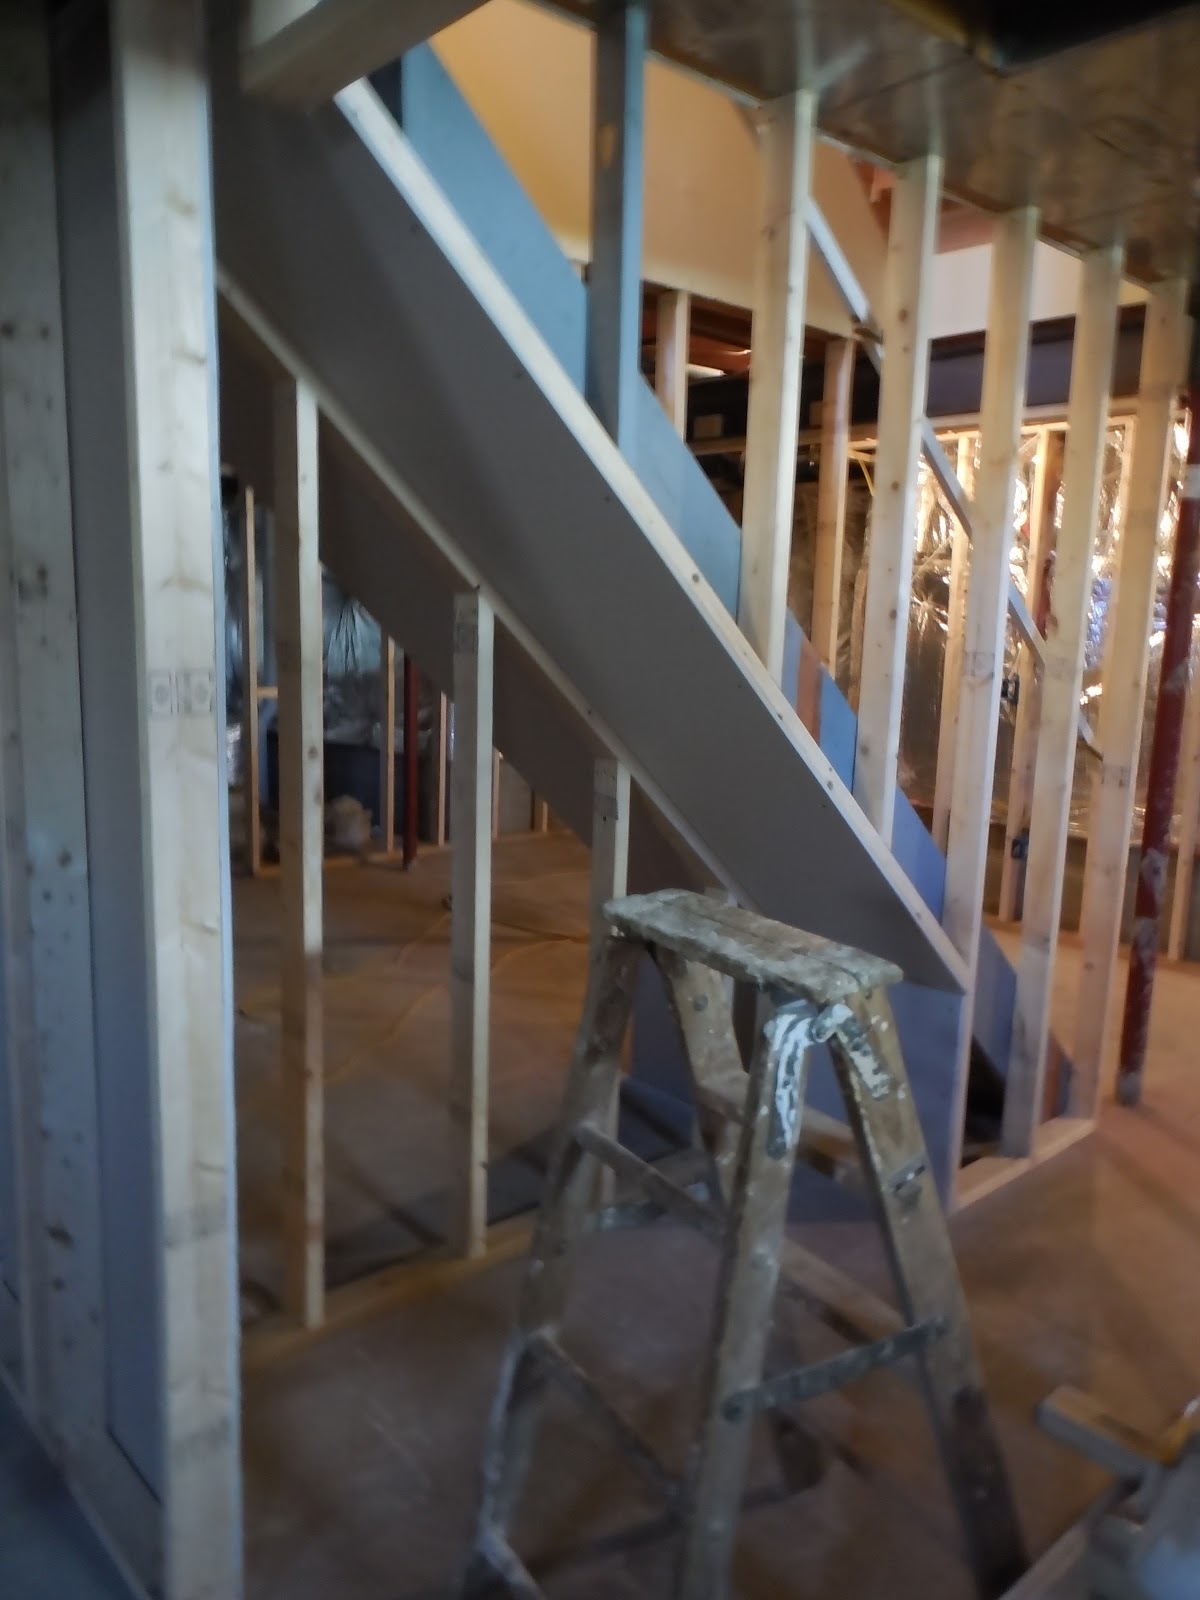
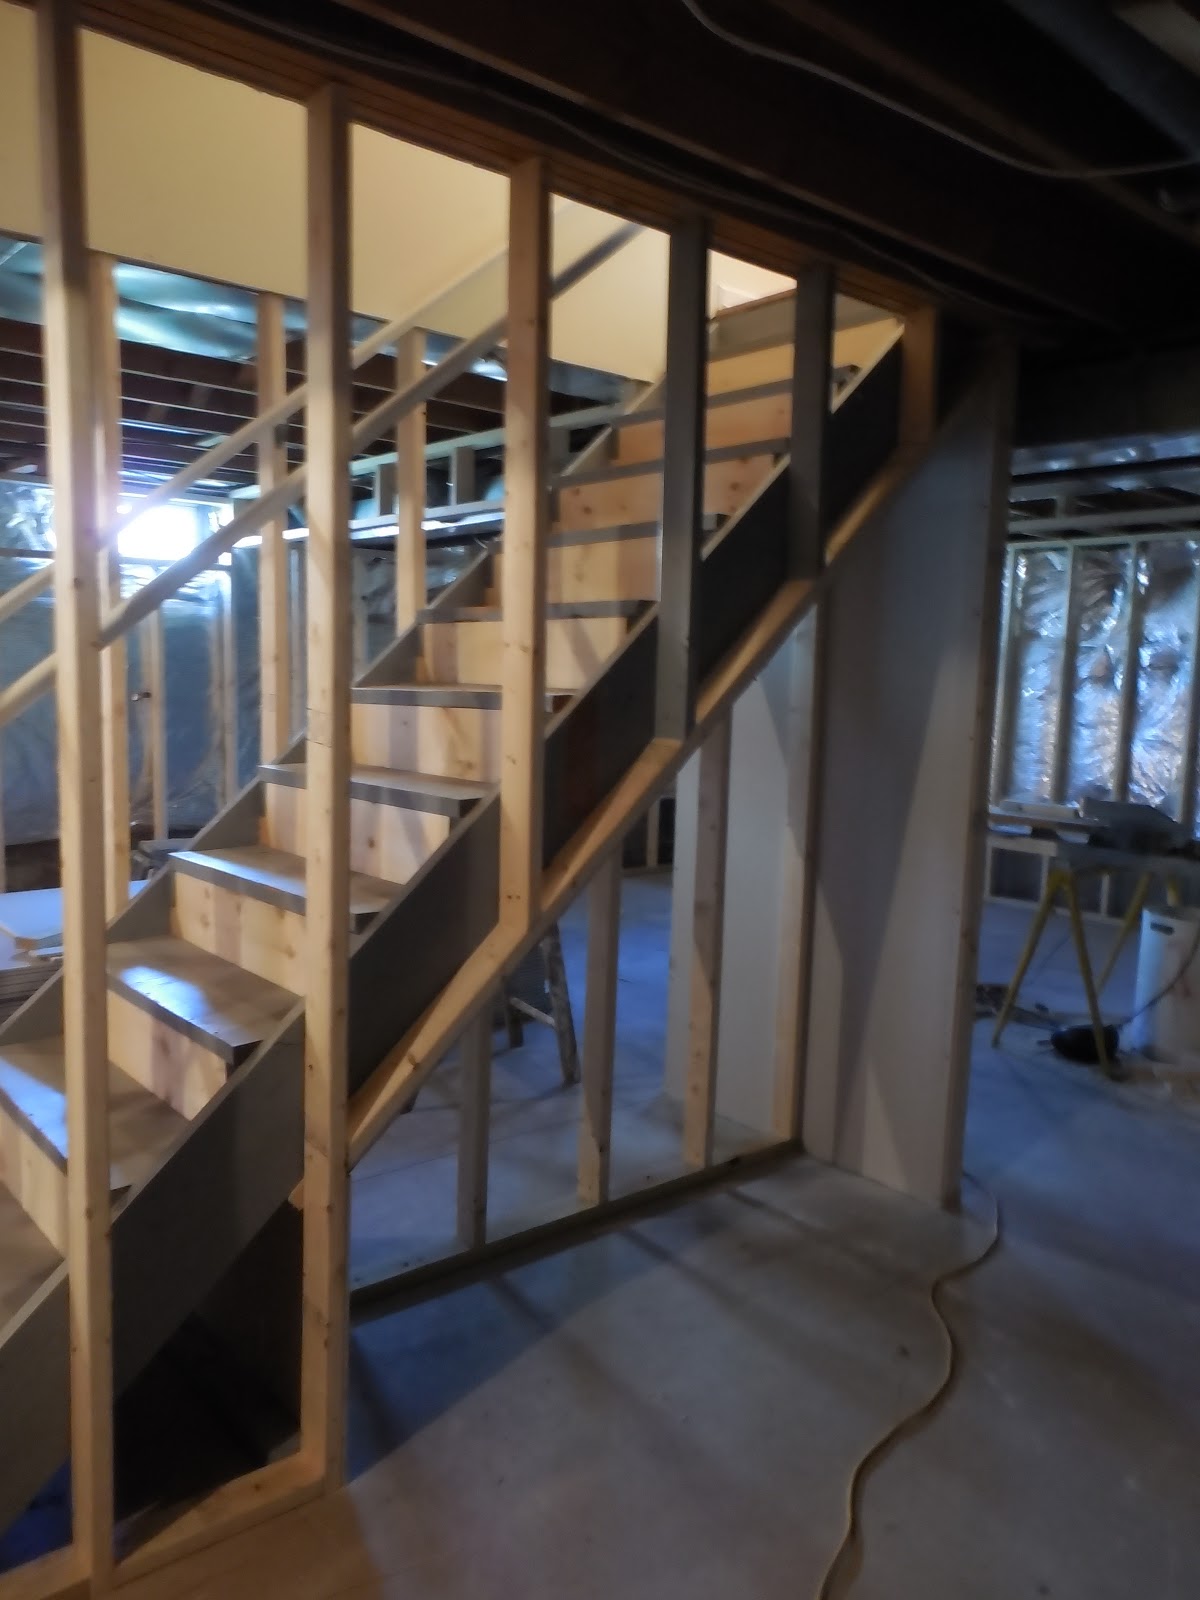
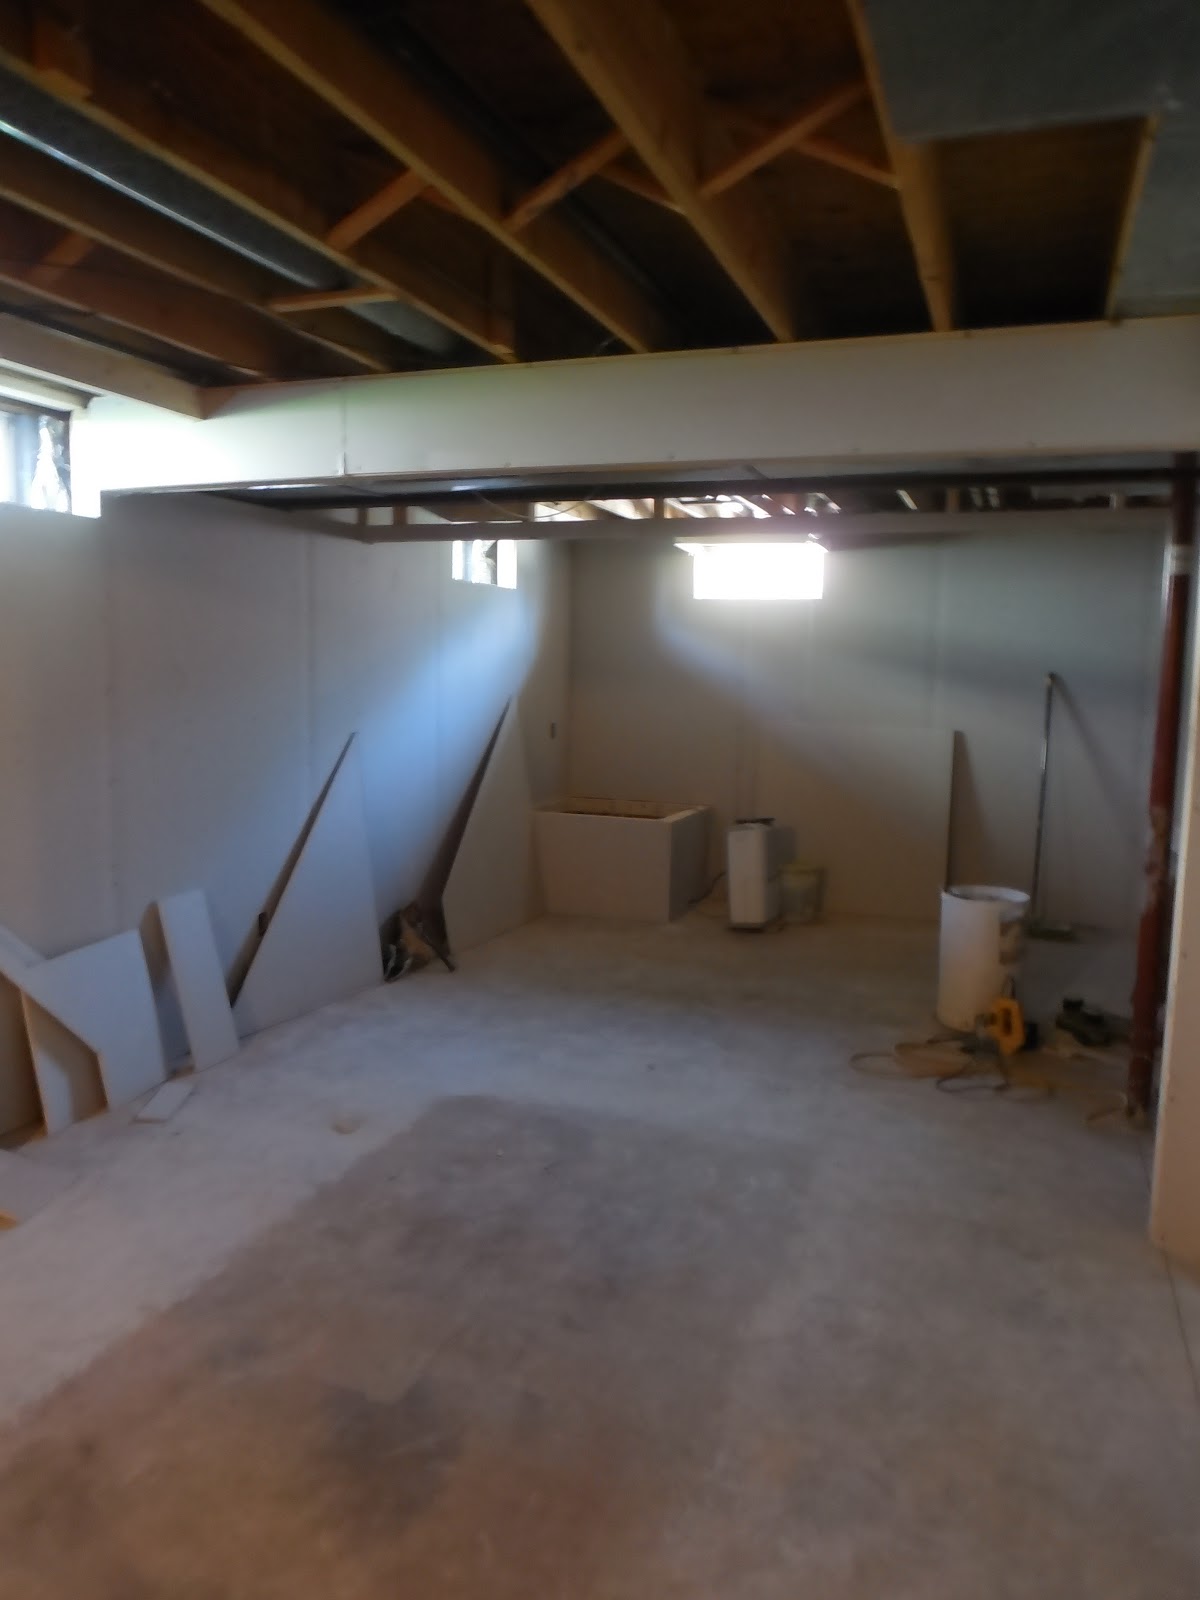
And now for a sneak peek {via instagram} of our finished basement… The carpet is installed and we are loving the new space!
Our basement

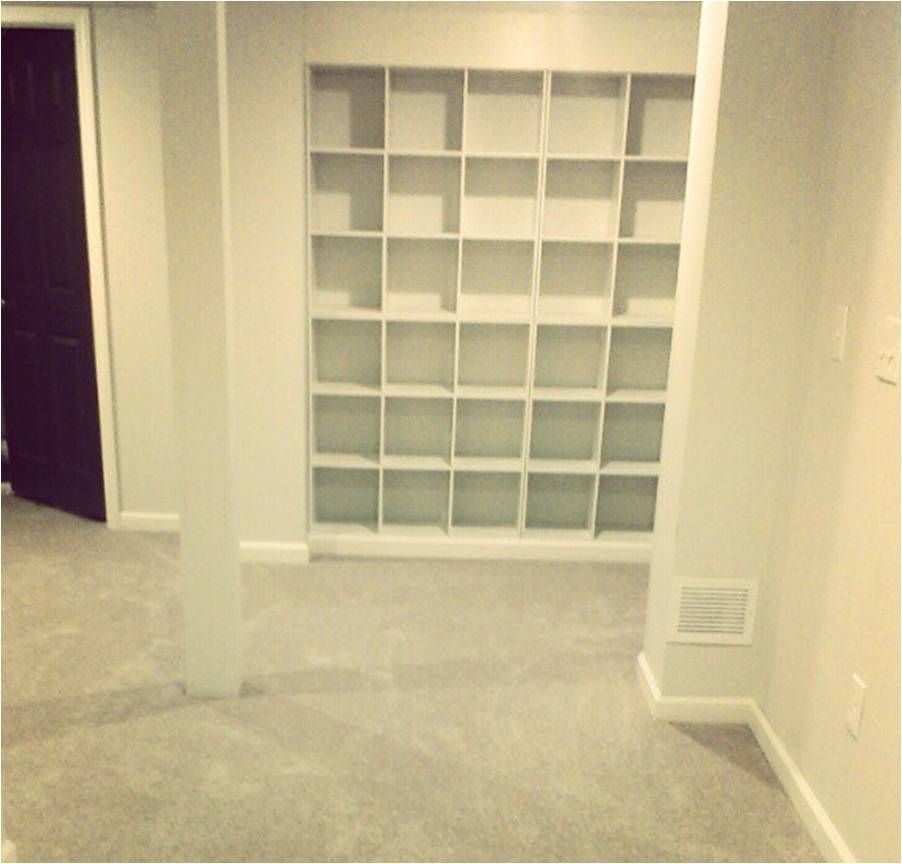
The carpet is a light sand color, which is hard to tell in the picture. I can’t wait to snap some real after shots soon!
Have a great day!!

Sneak Peek of Our Finished Basement!

May 19, 2013 by Amber Filed Under: basement, design, paint colors, personal design style


The time is finally here! The construction part of our basement is finished!! I named this post sneak peek because the carpet still needs to be installed next week. But, I couldn’t resist showing these pictures, since it now looks so much like a regular space. I will do a proper before and after once the carpet is in, but for now, here are the almost complete after pics…

We will truly have more storage than we know what to do with, but I am sure it will fill up quickly. Baskets are a wonderful thing, because anything can fill them and no one would be the wiser! We kept everything super light down here with the paint colors, since it can be a rather dark basement. The support posts are painted the same pale blue/gray as the walls, to help them blend in and fade away. In person, there is a definite difference between the wall color and creamy white trim, although it’s hard to see through the pictures. We have chosen a sandy/camel color for the carpet, which will work with our furniture and be an overall neutral choice. All of the doors and the stair railings were painted a dark gray/black. I love how that came out! The contractors doubted me on that decision, but in the end, they loved it! They might not think I am that crazy, after all.  ๐Ÿ™‚ I am over the moon excited to get this carpet installed. I am even more excited, though, to start using this space and make it our own. Count on many basement posts for the future, as I style this place up! To catch up on the beginning of this project, visit here.

More Basement Progress

May 13, 2013 by Amber Filed Under: basement, design, personal design style


I hope you wonderful moms had a great Mother’s Day! My mom came over and we had an amazing Mushroom and Sausage Risotto made by the hubby. It was a great day! I have some basement progress to show you! The walls have been painted and a special treatment has been done to one wall. Let’s get right to it…

Painted Walls

Soon to be Bookshelves

The walls have been painted Horizon by Benjamin Moore, which is a super pale blue/gray. We chose a light color because the basement is already dark and we wanted it to feel bright and airy. We have this color on our ceilings on the first floor and one shade darker for our kitchen, family room and master bedroom walls. So, the basement will flow with the rest of the home. There will be built in bookshelves for the space under the stairs and shelves along this long wall that you see in that last picture. You may have remembered a recent post where I discussed my shelf dilemma and whether I should opt for the gas pipe shelving unit or go with white cube (IKEA expedit look alike) built ins. I hope you’re not all going to be mad at me, but I chose the latter. I thought and thought about this and it really came down to the use for the space and the upkeep in this moisture rich basement. My husband is super supportive and still wants me to have my gas pipe shelves, so we’re going to work on it together and install them in our office! It will be a fun project and in the end, the office location will suit us better. In the beginning of the post, I mentioned a wall that will be getting a special treatment. And here it is… an entire chalkboard wall!!

One Coat of the Chalkboard Paint

It will be pretty dramatic when it’s complete! Maybe I could find the inner artist in me…

Source: edisonavenue.net via Sarah on Pinterest

With chalkboard paint, you can choose any color and have it mixed with the chalkboard paint. I chose Dragon’s Breath by Benjamin Moore, which is a deep gray/brown/black color. I already have this color on the interior side of our front door and love it! We will also use it on the doors downstairs and for the railings. {The doors and railings won’t be mixed with the chalkboard paint, though!} And in other related news, I have chosen the horse print for our family room wall! To recap, there is a giant empty wall space above our sofa that needs a giant piece of art. With much deliberation and so many great options to choose from, here is the winner…

via
The name of the print is “Once Upon A Dream” and I love it! It’s ordered, and I can’t wait to see it in person. And mom, if you’re reading this, I’m sorry that I forgot to tell you this when you were over!  ๐Ÿ™‚ I will make sure to take lots of pictures when she is framed and up on the wall! Thanks so much to all of you that weighed in on the decision! I was torn for a while on whether to go light or dark with the horse print, and with a darker frame, I think this will be a perfect compromise for our space. I say compromise because my husband is not too keen on this art idea, so with a washed out print on our light walls, it won’t stand out too much, yet still make the dramatic effect I was after. I just had to go with my gut on this one. Every room has to have a touch of the unexpected, right?? I hope Mike agrees when it’s up!  :)
I’ll be back later this week with a client’s painting project that you won’t want to miss!

Our Basement Progress Pictures

April 28, 2013 by Amber Filed Under: basement, design


As promised, here are some progress pictures on the basement. A lot can happen in one work week! The space has been fully framed, electrical was installed and all of the drywall is up! It is starting to resemble an actual room, now! Here we go…

Framing Stage

Stair Risers Are Up

Built In Shelving Spots

The last three photos above show the locations for the shelving that is going under the stairs and the wall of shelves.
Drywall Phase


We are moving right along and we couldn’t be happier! I can’t wait to see what this week will bring!

My Contractors Think I’m Crazy

April 24, 2013 by Amber Filed Under: basement, design, personal design style


Have you ever had a brilliant (or so you thought) design idea, and others didn’t quite see your vision?? That’s kinda where I’m at with our basement remodel. In my last post, I mentioned we are refinishing our basement from the concrete jungle that it is now, to a fully finished lower level. We’re so excited! I had the idea to have the contractors install a huge open shelving unit with plumbing and gas pipes. I gave them a written description taken from this post and I printed out a picture of what it could look like. This is what I showed them…

via 

via
Now granted, the printed pictures were in black and white, so maybe that took away from the unique effect these shelves have. Here is how the conversation went…
Me: I have this great idea to have you guys install a shelving unit with gas pipes and stained wood planks. It will be a cost effective way to have a large shelving unit!
Contractor: You want to do what??
Me: Install shelves with gas pipes.
Contractor: Ma’am, that’s not going to look good.
Me: {Cricket, cricket} I think it will give an industrial, chic look!
Now all kidding aside, the contractors have been wonderful to work with. They are reliable, on time and do a great job at a great price. So, no complaints here. My bubble was a little bursted, though. They said they could do it, but the only problem might be the location. Since it’s a basement, they mentioned the gas pipes will rust over time, even after spraying them with rustoleum. The dampness that’s natually in a basement will make that happen, for sure. I am not one to give up on my vision very easily, but I’m not too sure I want to double check that every guest has had their tetanus shot before touching our shelves. And by looking on line, it seems as though every person who tried this project has theirs on a main level room. So it might be back to the drawing board. I haven’t given up all hope yet on the idea, and they said we still have time to decide. My sweet husband already knows about my quirky ideas, so he is on board with whatever! But, here are some other shelving solutions I have found along the way that can take its place…
via 

via 

via 

via
I like that these shelves are white, and I especially like the look of the symmetrical cubes. They can make these or stack together ready made cube units from Home Depot. (This is when I really wish I lived near an IKEA! I could have them install the Billy bookshelf or large Expedit and call it a day! If we do this, we would paint the walls first and then install the open shelving unit after. That would create a nice contrast. We will also add some trim, to mimic the look of true built in shelving, so no one would be the wiser!
So, that’s where we’re at now. Decisions, decisions!
Have you ever been looked at like you’re crazy when it comes to design ideas??

This is Happening…

April 21, 2013 by Amber Filed Under: basement, design, personal design style


We are undergoing some renovations around here! This is the first time that we have changed our house in a big way. Let’s see if you can guess what we are doing, with these inspiration pictures…

Source: bhg.com via Amber B Interiors on Pinterest
Source: images.meredith.com via Amber B Interiors on Pinterest
Source: flickr.com via Amber B Interiors on Pinterest
Source: husohem.se via Amber B Interiors on Pinterest
Source: obaz.com via Amber B Interiors on Pinterest
Source: 3.bp.blogspot.com via Amber B Interiors on Pinterest
Source: 25.media.tumblr.com via Amber B Interiors on Pinterest
Source: iainclaridge.co.uk via Amber B Interiors on Pinterest

You might have guessed it… we’re finishing our basement! We are so excited and ready for it all to begin. I have big plans for this space. I plan to get the walls painted a very pale blue gray, almost white color. We don’t get a lot of natural light down there, so that will help to brighten up the space. Also, we are going to install shelving for the space under the stairs. I showed the contractor the 6th image above {gotta love pinterest} and it will happen! I would also like a huge chalkboard wall. I have always loved that look! Also, we are installing industrial style shelving, like the last image above. It’s a cost effective way to have about 10 feet of shelving, using wood boards, plumbing conduit and gas pipes. Materials alone, that idea costs only $200, and I love the result! That just might be my favorite aspect of this design! More on that idea later. This is pretty big for us, since we have never had any major renovation work done in the house before. I will make sure to take before pictures, so you can see the concrete jungle that it is now! That will be quite the before and after.

Have you finished your basement?? Any tips, ideas to avoid??

  • « Previous Page
  • 1
  • 2
Welcome!

Hi, I'm Amber... a wife, mom and interior decorator. I am the writer of Simple Dwellings and the designer behind Amber B Design. Blog topics are all things design, with the occasional DIY attempt! Thanks for stopping by Read more...

  • Bloglovin
  • Email
  • Instagram
  • Pinterest
  • Twitter

Blog Posts, Straight to Your Inbox

Popular Projects

A dining room with white walls and wooden table.
A black door with white curtains and a red chair
A staircase with black and white chevron pattern on the steps.

Blog Love

  • Addison’s Wonderland
  • A Thoughtful Place
  • Alison Giese Interiors
  • Amber Interiors
  • Bailey McCarthy
  • Caitlin Wilson
  • Chris Loves Julia
  • Classic Casual Home
  • Cottage and Vine
  • Design Indulgence
  • Dwell by Cheryl
  • Eddie Ross
  • Elements of Style
  • Emily A Clark
  • Emily Henderson
  • Gallery No Eight
  • Hi Sugarplum
  • House of Jade
  • Jana Bek
  • Juniper Home
  • Kate Marker Interiors
  • Lucy Williams
  • Monika Hibbs
  • Our Fifth House
  • Pencil and Paper Co
  • Rachel Parcell
  • Rambling Renovators
  • Pure Style Home
  • Sita Montgomery
  • Studio Mcgee
  • The Makerista
  • The White Buffalo Styling Co
  • the Zhush
  • Traci Zeller
  • Young House Love

Copyright Amber B Design © 2025 ยท Design by Britt Douglas