Amber B Design Studio

Interior Design & Decoration for the South Florida region

  • Home
  • About
  • Services
  • Portfolio
  • Blog
  • Press
  • Contact

My Hand Painted Wall Design

July 31, 2014 by Amber Filed Under: design, dining room, Featured, painting, personal design style


I am constantly inspired by design ideas and have lately been stretching my comfort zone to try new ways to express those inspirations into my own home. A room can completely be transformed through paint. Whether it’s a whole new paint color on all of the walls or a special treatment to one wall section… paint can change a room’s vibe and overall style. I have always loved designer Kelly Wearstler’s unique take on design and the way she can effortlessly push the envelope. Take for example, her iconic foyer with those gorgeous coral walls…

image via Vogue
How cool is that picture?!? And then my jaw dropped again when I saw a similar style, but on drapery panels…
The home of Christine Dovey, designed by Meredith Heron and seen on Style at Home.
And I am in awe of this modern hand painted look also seen on Kristin’s living room wall from the blog, The Hunted Interior…
via the Hunted Interior

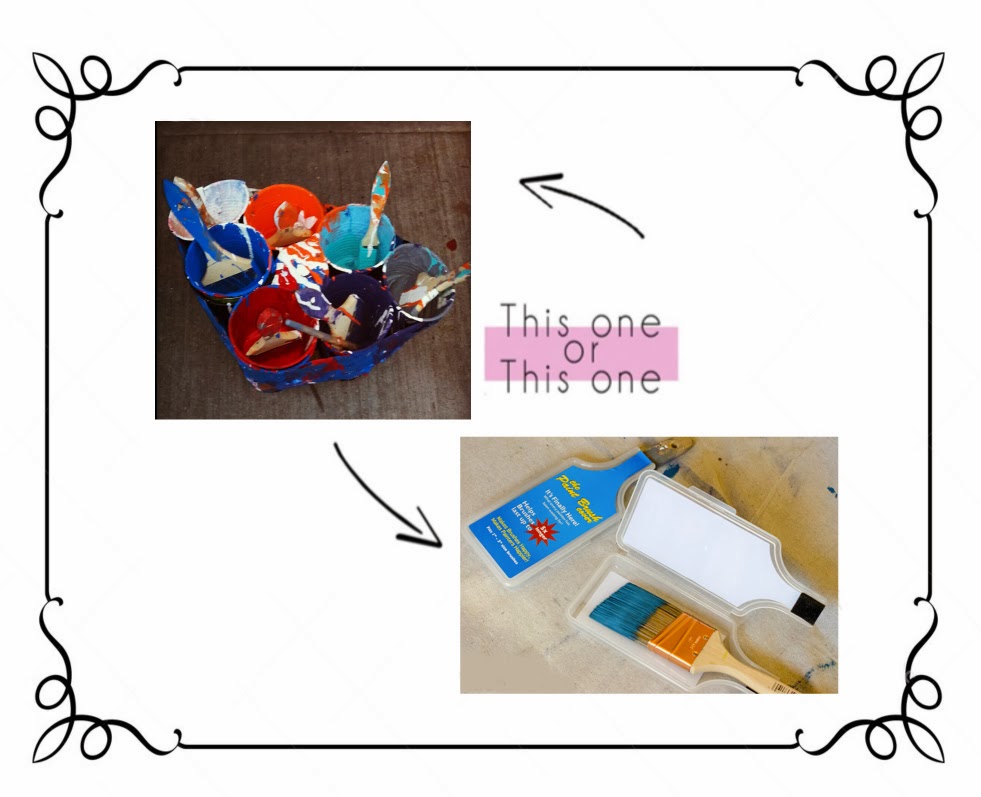
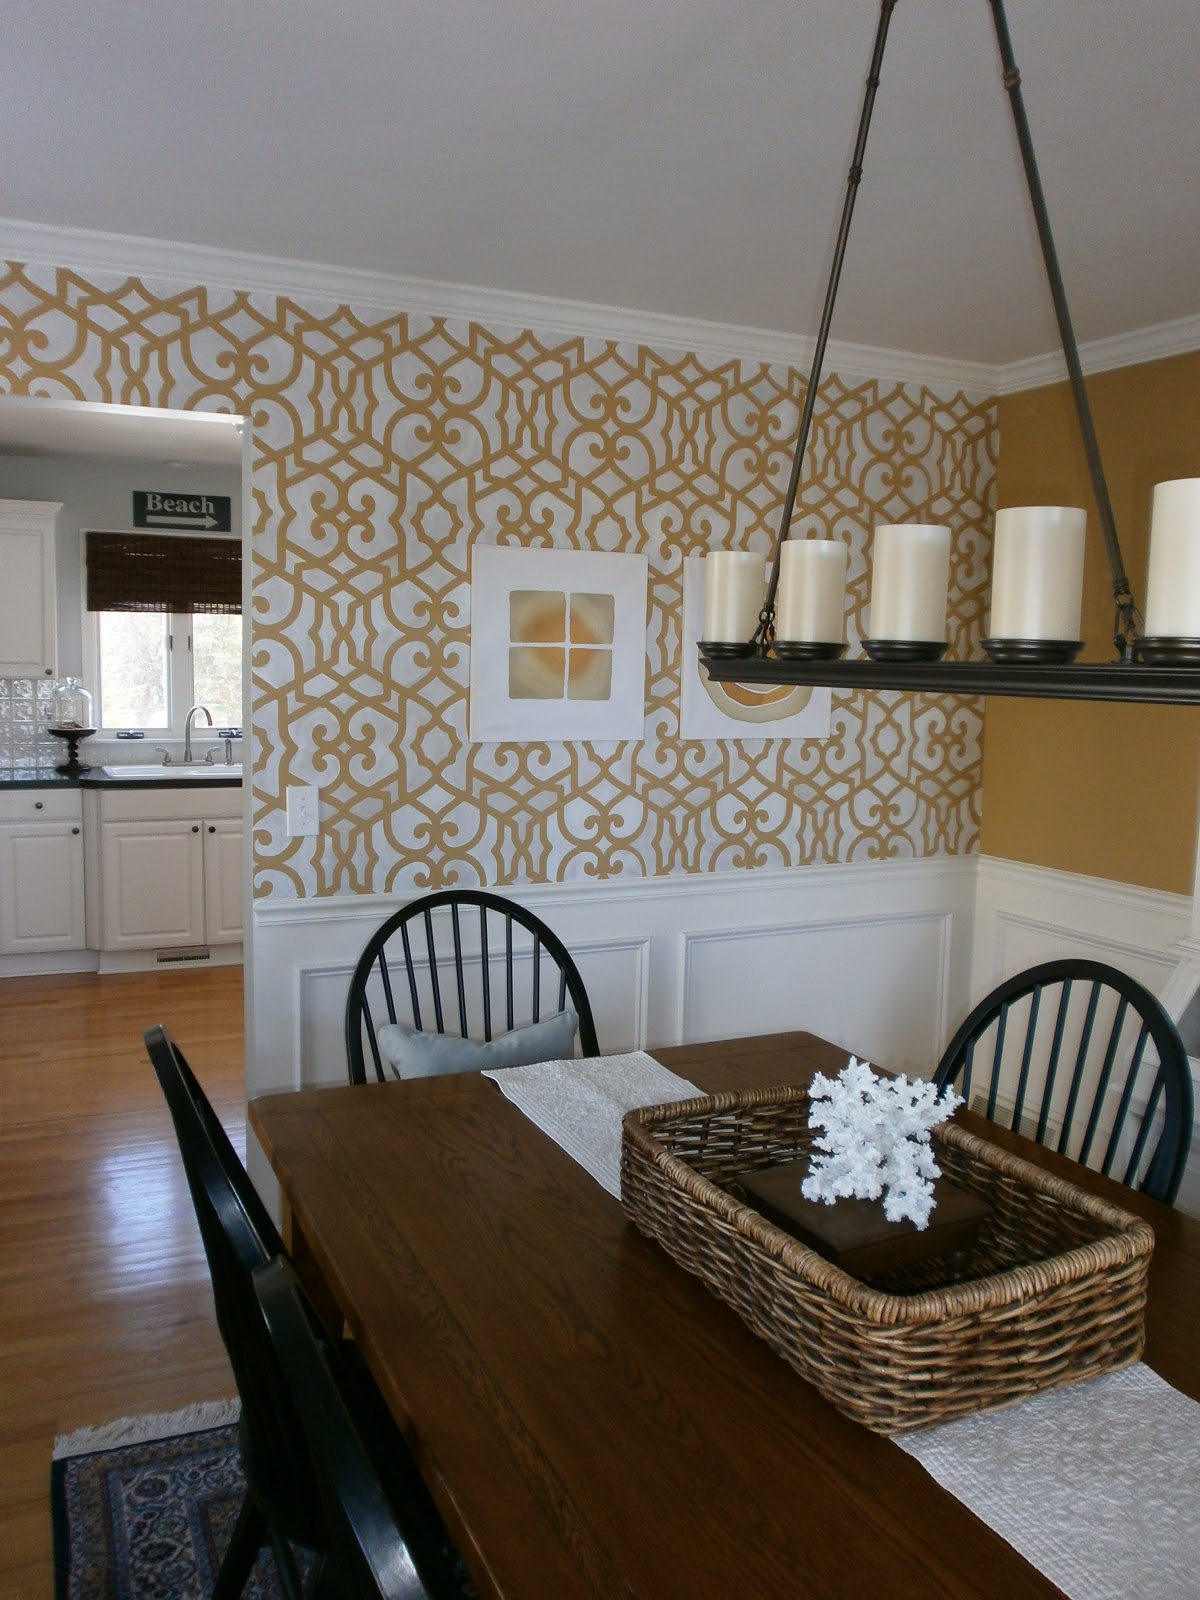
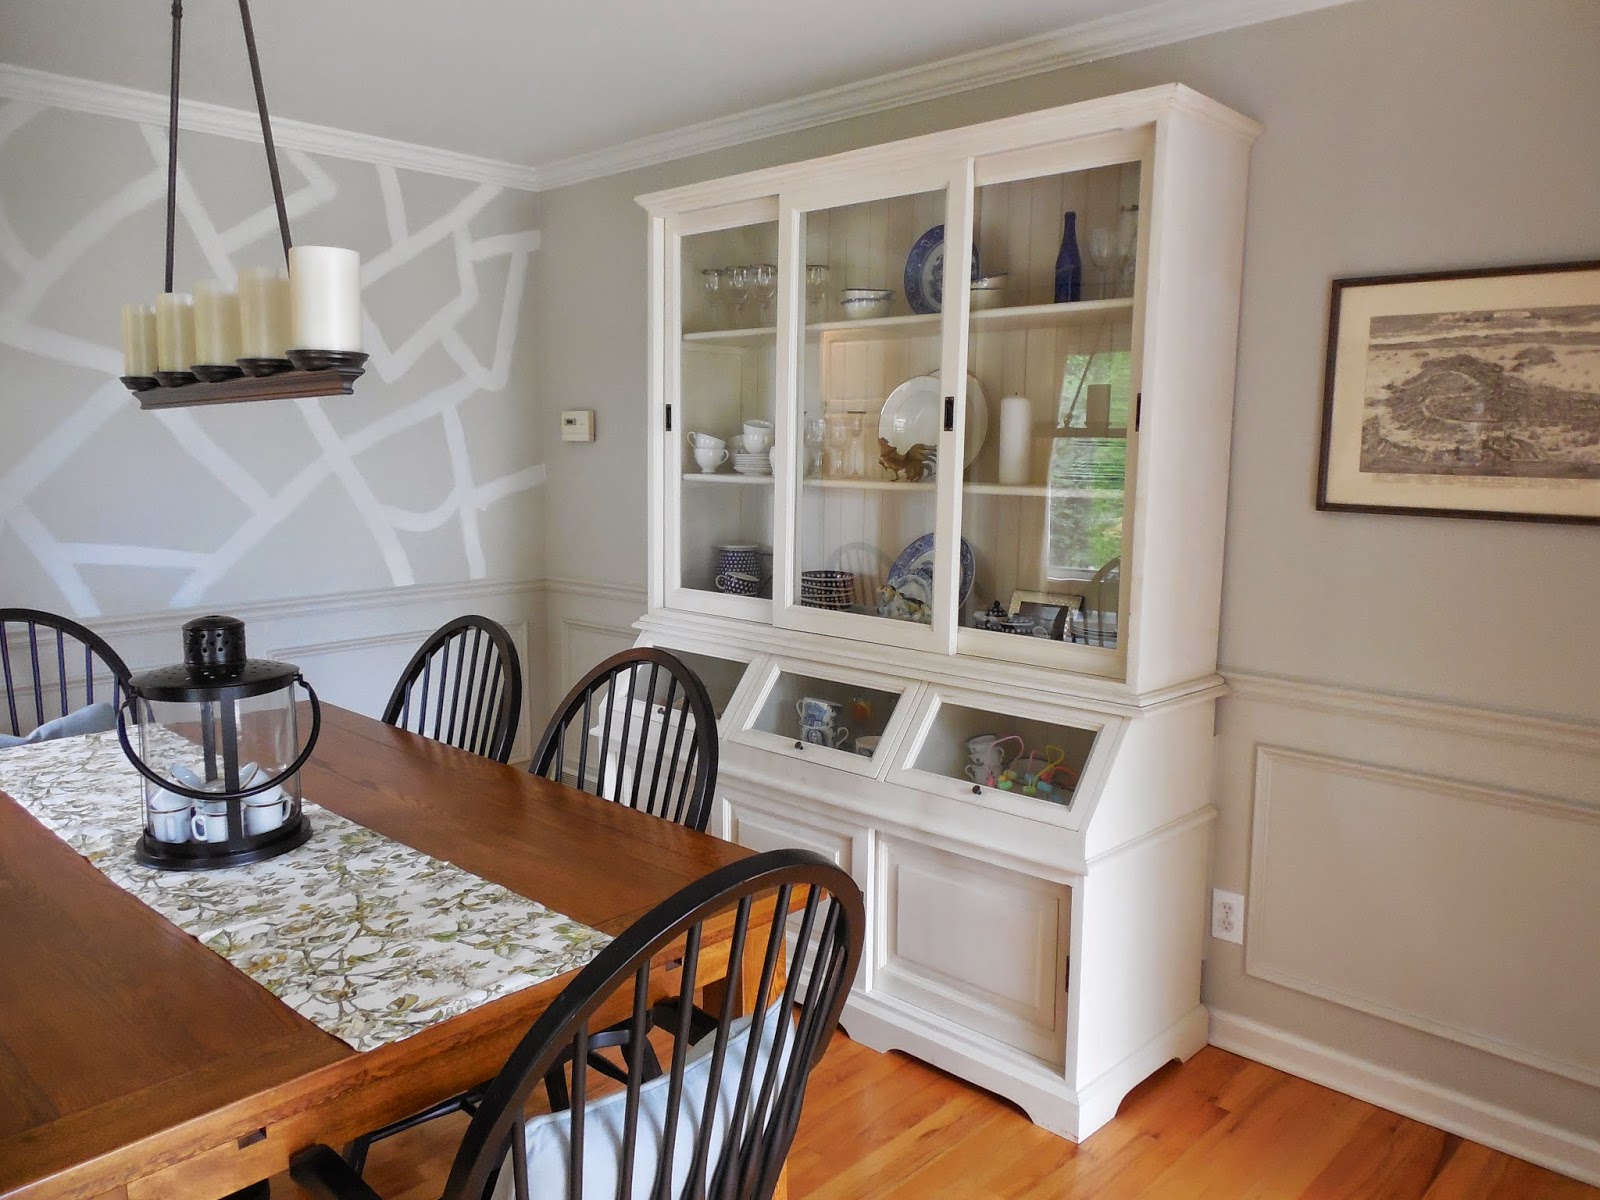
I knew I had to apply it in some way in my own home. And if I got it totally wrong, it’s just paint, right? There’s really no tutorial for this project. Just some leftover white paint, a two inch paint brush and your creativity. I would paint a couple of brush strokes and then step back to make sure it was coming along how I planned. That’s all there is to it! And my husband really likes it, too. He walked in and said, “wow, I really like it!” Win win for me! It was also a great validation for me that I didn’t just do something completely crazy. ๐Ÿ™‚

How Do You Like Your Kitchens??

April 9, 2014 by Amber Filed Under: design, kitchen, painting, personal design style


My favorite look is an all white kitchen… white cabinets, some sort of white stone for the counters and some sort of white tile backsplash. {Or, the same white stone carried up as the backsplash… dreamy!!} But as our design tastes tend to change over time, I have also recently had my eye on the look of painted cabinetry in soft, muted colors. Taupe/gray cabinets with that same white stone lends depth and charm. Here is a round up of some great kitchens, where they have done just that!

via

via

via

via

Mix it up with bold contrast…

via
Black and white…

via
Now, one might argue that these kitchens are gorgeous already. I mean, look at them??? Is that really how mine would look if I painted my cabinets? So, I thought it would be fun to also include an amazing before and after of a kitchen that changed their builder grade cabinets from a stained finish to a wow gray! Julia, from the blog Hooked on Houses, showed us this…
Before…

After…

To see the chosen cabinet color and more photos, visit HERE.
So… how do you like your cabinets???

A Quick, Simple Way to Tackle Painting Projects

February 24, 2014 by Amber Filed Under: blog review, painting, painting tips


My motivation to complete house projects comes when I get ready to entertain. I will be hosting a house full of friends soon and that is the perfect way for me to finally tackle some much needed projects around the house. So when a representative from the Paint Brush Cover contacted me to review their product, I was on board! I had some walls that needed retouching around the home, but knowing me, I never finish a painting project in one sitting. I might do one wall one day and then move on to the next wall a few days later. But, I always dread washing out the paint brushes! Sometimes, they are still wet when I am ready to start painting again. But luckily, I don’t have to worry about that any longer! The Paint Brush Cover allows you to keep your paint filled brush safe in an airtight container for days, even weeks! Made of a clear, durable plastic, it ensures that your paint brush stays safe and ready to use, no matter how much it’s tossed around.

I had to try this out for myself and I started on our dining room wall…

Lovely wall scuff marks!


The product says it fits most 1-3″ brushes and my 2 1/2″ brush fit like a charm! As you can see from my paint can, I don’t finish in one day!  ๐Ÿ™‚ So when I was done for the afternoon, I tried placing my paint filled brush in the cover to see what would happen…
Days later, I was so excited to still see the paint brush wet and ready for the project! I could even see wet paint on the inside of the brush cover, proving that this really works.
I like that the cover is clear, so you can do a quick look to see what paint you used last. Perfect for the avid painter! The inside of the cover wipes clean with just a wet paper towel…
And now, a room/wall set for entertaining!

I will definitely use this product for future painting adventures! Anything that makes my life easier is a thumbs up in my book! To order your very own and make painting easier, order HERE.

{E-Design Progress} The Painted Desk

May 16, 2013 by Amber Filed Under: design, e-decorating, e-design, painting


In a recent post, I showed the wonderful progress my client has made in her office. She already had most of the existing furniture pieces and was looking to add some modern touches through paint and accessories. To recap, here is the design board I came up with…

 The Plan {click on image to make larger}

One of the things we wanted to do in this space was paint her desk. It was a deep espresso finish that also matched the desk chair. We wanted to lighten up the space and a great way to do that is through paint. Here is what her desk looked like before…

Before

There are various dark wood tones in this room, so by painting the desk a lighter color, it brought a new bright, airy feel to the room. I chose a creamy gray/white color. She plans to use the other colors on this swatch for rooms throughout her home, so we kept it cohesive and stuck with a color from the same color strip. We also painted the bench legs in the same light color, too! Here is an after shot of the newly painted pieces…

After

There are still some accessories to add and paintings/art to move around, but we are so excited about this amazing progress! Never underestimate the power of paint for any space! Thanks so much to my client for allowing me to share these pictures.

Have you taken out your paintbrush lately??

A Colorful, Liveable Dining Room E-Design Project

April 26, 2013 by Amber Filed Under: design, e-decorating, e-design, inspiration, painting


Thank you all so much for your support on my last post! Everyone unanimously voted to go with the pipe shelving! I truly appreciate all of your tips and encouragement. I will post some basement progress pictures this weekend, but today, I have an exciting e-design project to show. I have been working with this amazing client for a while on different rooms, and we have just completed the dining room. She already had the furniture pieces for the space and was looking to add some color, pattern and modern fun to the room. We want this dining room to flow with the other areas we recently finished in her home, as well as work with the nearby spaces she already completed herself. My client loves a color palette of blues, greens and oranges. Here is the accessory design board I came up with…

The Design

This might be one of my favorite projects to date. I love how fun and colorful this room will be, as well as the small, new details we will add to the space. The ceiling trim images shown at the bottom left side of the board is an idea I had for her ceiling. She also has crown molding around the perimeter of the room, so we will add this three inch band of trim all the way around the room. I can’t wait to see how that looks! I was inspired by this project by Tobi Fairley…

Inspiration

via
I also adore the new prints that will be hung on either side of her hutch. They are shown on either side of the lanterns on the design board. When I was pinning the artist’s work on pinterest, my client saw them and immediately e-mailed to tell me that’s what she wanted. That worked out great, because I was pinning them for her dining room! I love it when I am in sync with client’s ideas.
Happy Friday! I’ll be back this weekend with our basement updates! {Hint, hint… all of the drywall is up!}


DIY: Painting A Ceramic Tile Backsplash

January 17, 2013 by Amber Filed Under: design, painting, painting a tile backsplash, painting ceramic tile, painting grout, painting tips


Well, the project is complete! I know you might be wondering if this was worth it and if I’m glad I did it… the answer is yes!! I was so excited to modernize my tiles a bit and go for a cleaner, more updated look.  My tiles were white, which was great, but they had flowers scattered throughout the backsplash.

Before

 (This is an old picture with our previous wall color.)
And here is the tile, all painted and flowerless!
After

I can’t even remember which tiles had the flowers! Here is a breakdown of the materials needed and some helpful tips:
– Scouring pad to lightly sand the tiles and smooth out the flower design. The flower tiles were a little bumpy where the design was, so I just used a Scotch Brite green scouring pad, and it worked fine.
– Microfiber dust cloth to remove the dust from the tiles after sanding.
– Blue painter’s tape and drop cloths to protect your counters. I made sure to tape after the grout, so I could paint the grout that met the counter. That way, it’s all uniform and looks realistic.
– 2″ paint brush (Don’t go cheap with this! Choose the best!)
– Small roller brush (Choose one that doesn’t shed and has a small pile. You don’t want to get paint trapped inside a fuzzy roller, causing a messy paint job.)
– A special bonding primer that bonds to glossy, special surfaces. The clerk at the paint store said this was the best option. (I always use Benjamin Moore paints for all of my projects!) Here is a close up picture of the primer:
Once you have two coats of this primer, your paint will stick very well. It will also be long lasting. My mom said it best:  With this primer on, you’re on the same playing field as your walls. Well said! Now, my paint will be washable, scrubbable, like any wall! 
– Color Matched Paint with a sheen.
To get the exact color match, I took one of my cabinet drawers to the paint store. They can color match it exactly. As we all know and I have learned the hard way in the past, there are a million different shades of white paint! The clerk mixed my color with this paint.
Helpful Tips:
– Once your counters are protected and materials are out, start with the paint brush and prime the grout, first. Use a little paint on the brush, to make sure you don’t full in the grout lines too much. It’s better to do thin layers a couple of times, rather than one goopey layer. (Is goopey even a word? Spell check says no!) In the end, you want to make sure your backsplash still looks like tile and not fiberboard, trying to be tile.
– Wait 24 hours before applying the actual paint. This is important, because the bonding primer needs to fully dry and cure. I was so tempted to just finish in one day, since all of the materials were out. But, patience will pay off.
– When you start your painting the next day, lightly sand the tile again with the scotch brite pad. For some reason, my primer made little bubble marks on some of the tiles. I was so nervous about that! Don’t worry, the sanding will help that and now- no bubbles!
– All in all, make sure you do at least 2 coats of primer and 2 of the paint. It’s a pain in the neck and can be tedious, but then you’re done!
Wow, this is a novel! It was a lot of work, but worthwhile projects always are.  ๐Ÿ™‚
Total cost for this project… $48.00! In the future, I’m sure we’ll replace it with something different, but I will enjoy this for a long time.
So how about you… would you try it??
I am linking this project up to Savvy Southern Style:

Painting Ceramic Tile {The Primer is On!}

January 16, 2013 by Amber Filed Under: budget saver, design, painting, painting a tile backsplash, painting ceramic tile, painting grout


Well… what’s done is done! I have started my painting project in the kitchen. Now, no turning back! A while ago, I posted about re tiling our backsplash and choosing a grout color. Well, I have taken this project into my own hands and decided on something entirely different. I have never liked our flower design on some of our backsplash tiles. I like that the tile is white, but the flowers made the backsplash more dated. White subway tile would be ideal, but I’m all about working with what you’ve got in 2013! There will be more details to follow, but as a money saver, I decided to paint the tiles with a special primer/ paint that adheres to tile! Here is an update, all primed and ready for the topcoat…

Sorry that the picture is grainy. It’s a phone picture on a cloudy day. After two coats of primer, I can hardly see the flowers! Yay! I had to let the primer cure overnight, so I will be back at this in a little while. We also have white cabinets, so I brought a kitchen drawer into the paint store to get a color match. I can’t wait to show completed pictures!

Have you ever painted tile?? Would you ever be as crazy as me and try it??

Creating Contrast in Your Rooms

January 14, 2013 by Amber Filed Under: design, paint colors, painting, painting tips, personal design style


I received an e-mail recently from a reader, asking about my dining room transformations and how to choose the best color in your space. I thought it would be a great post to present on the blog and open up the discussion with all of you! My original paint color in the dining room was Bungalow Gold by Eddie Bauer. While I enjoyed the color for a while {7 years, to be exact!}, I needed a change. So, I decided to stencil one wall, after receiving a free stencil for a product review.

While the stencil was fun and something new, I still wasn’t feeling it. I realized the main reason why, was because there was not enough contrast in the room. The oak floors blended with the table, which blended with the walls. I have been meaning to make some of my spaces lighter and brighter, and I knew this was the room to start! This space did not need another warm tone… it had too many, already. What this space needed was some contrast. It needed a cooler color in the blue/gray/green family. Fast forward to my decision… and we have Halo, by Benjamin Moore. I love that it appears almost white when the sun is shining, yet provides that cool tone of gray/green that this room needed. I know I have already shown the dining room reveal here, but I thought it was also worth mentioning why this color was chosen and how to achieve contrast in your home. Here is the new paint color:

For me, adding a cooler color helped to break up all the similar tones, and I am so much happier. The paint brush can be put down, for now!

How about you, do you like more of a contrast, or similar tones throughout?

The Dining Room is Beginning Its Transformation!

December 13, 2012 by Amber Filed Under: design, painting, personal design style, walls


There is nothing like the holidays and company coming to get your act together and finish design projects. As if this time of year isn’t busy enough already, I have decided to add one more task to the list… painting my dining room! Call me crazy, but sometimes I work better under pressure! I have committed myself to one wall a day, with some time off in between. That will be a very manageable way for me to complete this on time. I am a very slow, meticulous painter, so one wall a day allows me to take my time and not get too sloppy when I’m dog tired! Here is one wall down…

Don’t mind the painting supplies in the right corner! 

The new color is Halo by Benjamin Moore. It’s part of their off white color collection and is a putty gray/green color. On sunny days, it will appear more white and when it’s cloudy, you can truly see it’s gray/green color. I decided to paint all of the walls, including the wainscoting. With this lighter color, I thought it gave interesting depth and dimension to the walls. The art also works well with the new color and the white background pops against the walls. If you have been reading this blog for a while, you know that I had a stencil above the wainscoting for this wall. Here is the before:

Before:

While I loved the trellis pattern on the stencil (and still do), I was never happy with the contrast of the dark walls. We have wallpaper in our foyer, and I just thought it was too busy for this space. I was looking for something lighter and brighter. Don’t worry- this stencil will show up somewhere… stay tuned on that one! I still have three more walls to go and over a week to complete it all!

Wish Me Luck!!
The after shots also show some holiday decorating and new placemats. More on that soon!
Are you like me and decide to make fast home updates right before holiday company arrives??

Welcome!

Hi, I'm Amber... a wife, mom and interior decorator. I am the writer of Simple Dwellings and the designer behind Amber B Design. Blog topics are all things design, with the occasional DIY attempt! Thanks for stopping by Read more...

  • Bloglovin
  • Email
  • Instagram
  • Pinterest
  • Twitter

Blog Posts, Straight to Your Inbox

Popular Projects

A dining room with white walls and wooden table.
A black door with white curtains and a red chair
A staircase with black and white chevron pattern on the steps.

Blog Love

  • Addison’s Wonderland
  • A Thoughtful Place
  • Alison Giese Interiors
  • Amber Interiors
  • Bailey McCarthy
  • Caitlin Wilson
  • Chris Loves Julia
  • Classic Casual Home
  • Cottage and Vine
  • Design Indulgence
  • Dwell by Cheryl
  • Eddie Ross
  • Elements of Style
  • Emily A Clark
  • Emily Henderson
  • Gallery No Eight
  • Hi Sugarplum
  • House of Jade
  • Jana Bek
  • Juniper Home
  • Kate Marker Interiors
  • Lucy Williams
  • Monika Hibbs
  • Our Fifth House
  • Pencil and Paper Co
  • Rachel Parcell
  • Rambling Renovators
  • Pure Style Home
  • Sita Montgomery
  • Studio Mcgee
  • The Makerista
  • The White Buffalo Styling Co
  • the Zhush
  • Traci Zeller
  • Young House Love

Copyright Amber B Design © 2025 ยท Design by Britt Douglas