Amber B Design Studio

Interior Design & Decoration for the South Florida region

  • Home
  • About
  • Services
  • Portfolio
  • Blog
  • Press
  • Contact

{Before and After} An X Bench is a Better Fit

April 4, 2013 by Amber Filed Under: before and after, design, DIY, foyer, personal design style, project


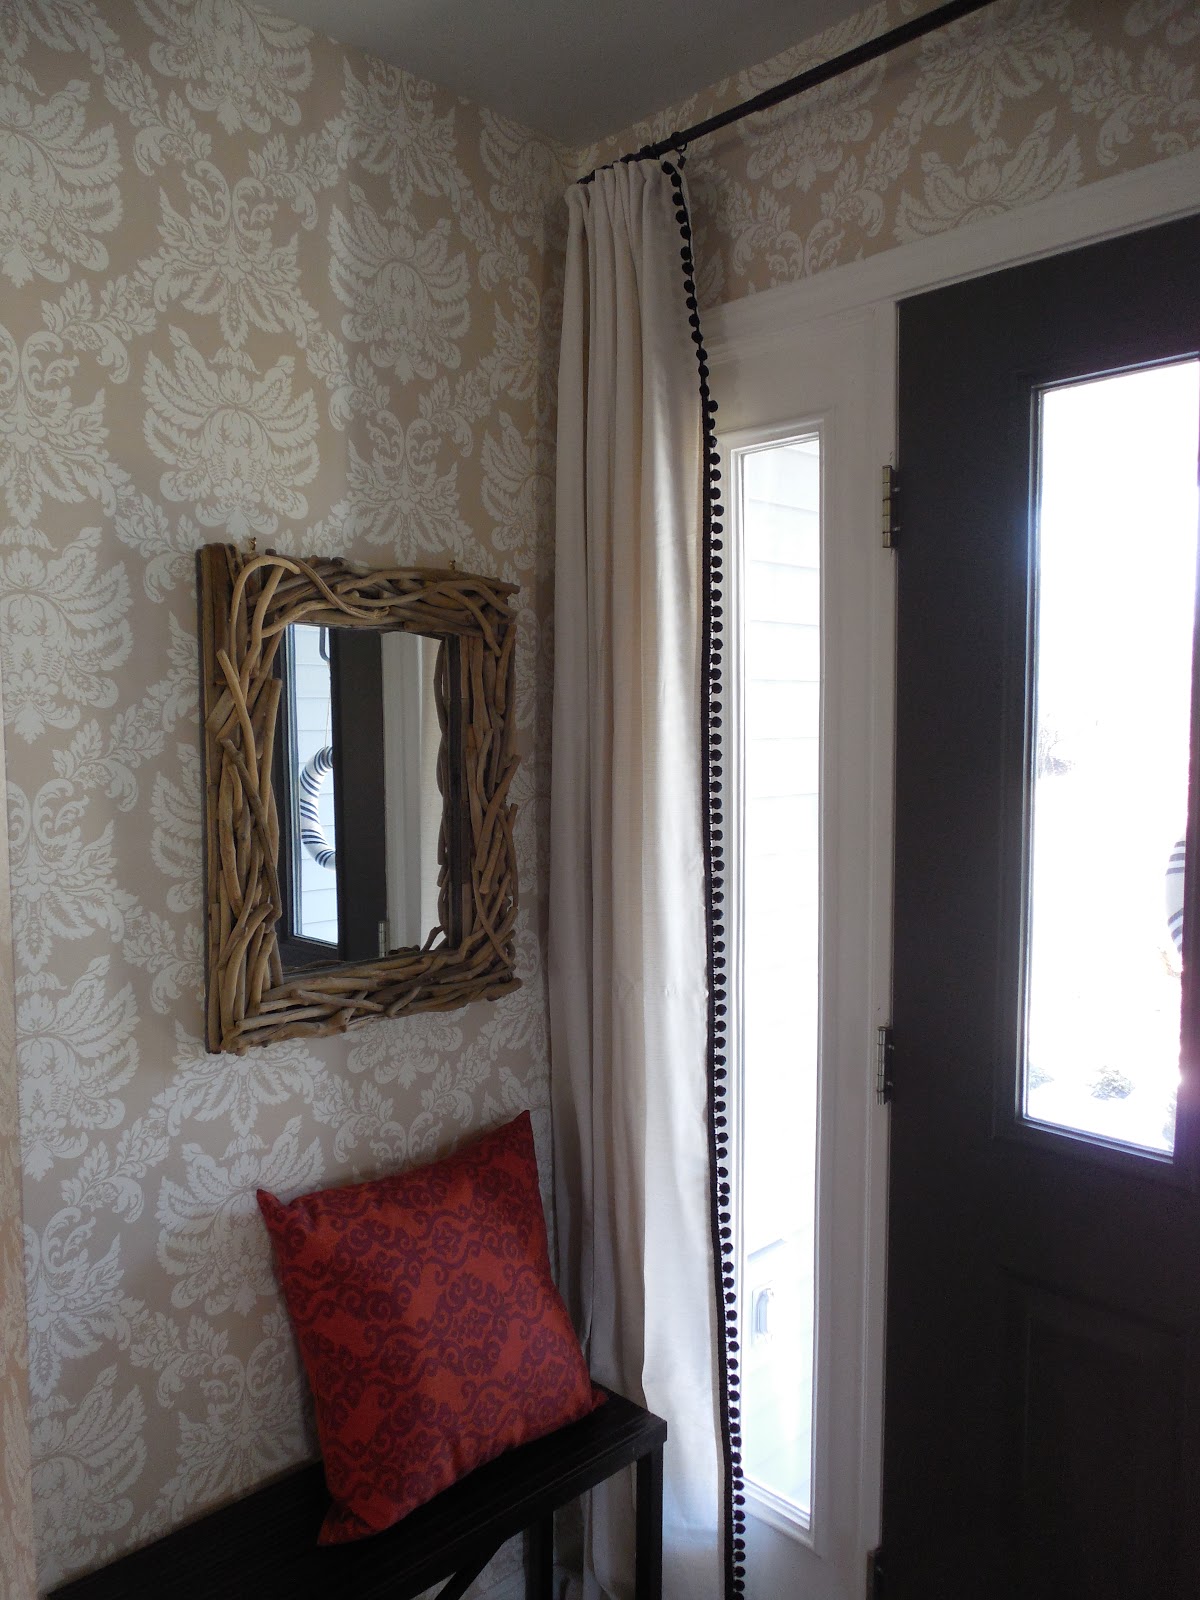
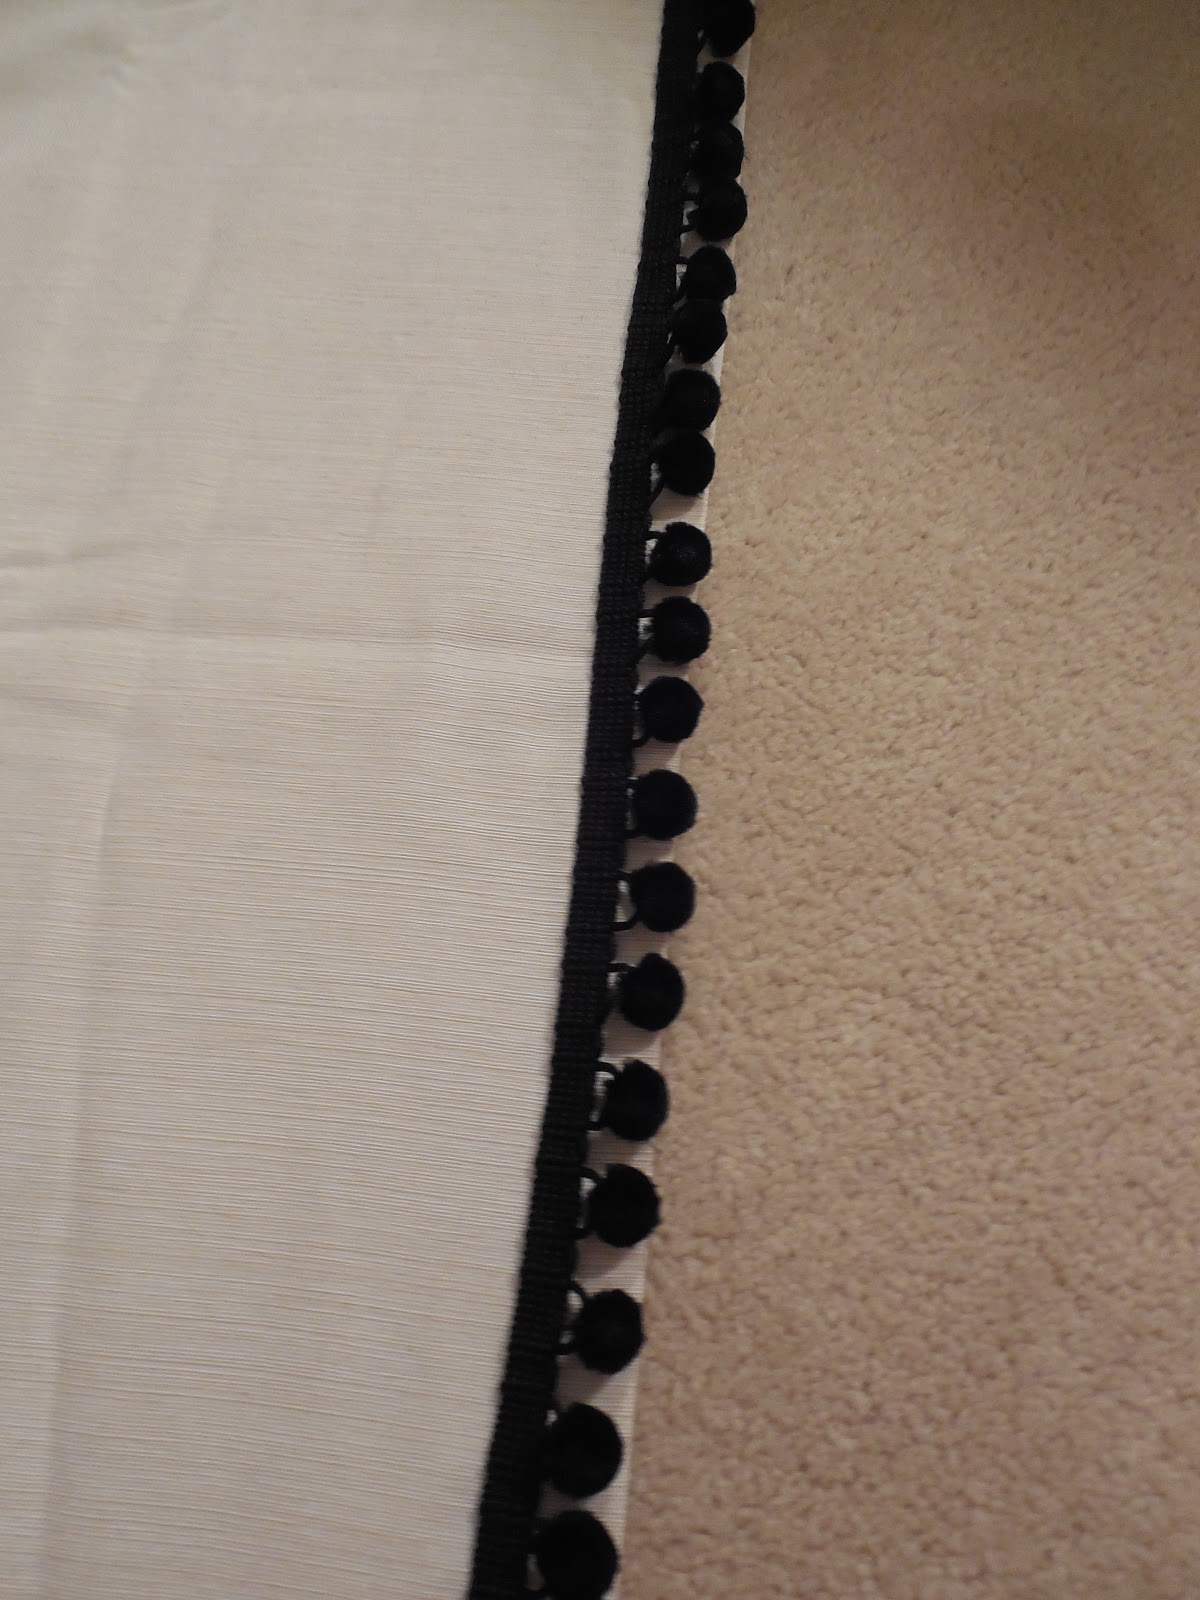
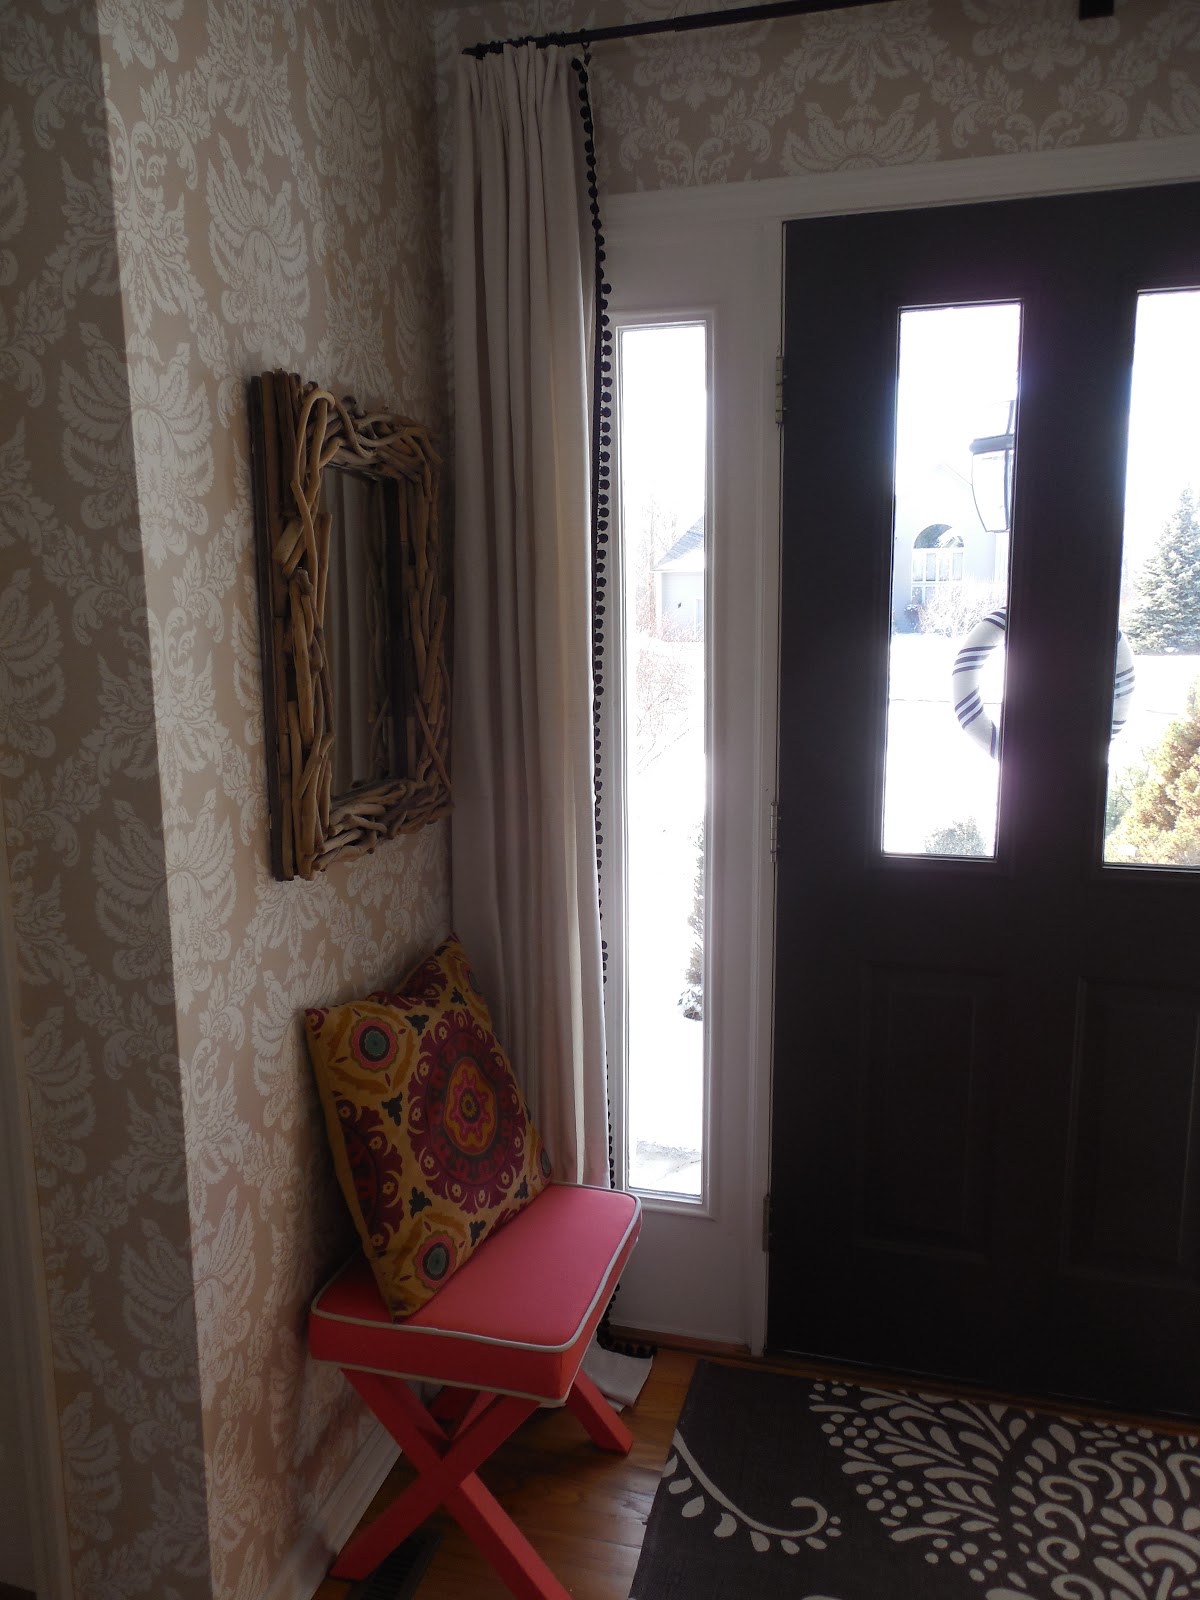
I recently posted about my pom pom fringe curtains, and as I was looking at the pictures, I noticed the bench was now a bit too long. Well, I actually noticed it when seeing it in front of me, but the pictures drove the point home even more. It was time for the bench to go somewhere else in the house and this spot needed a smaller seat. Here is what the foyer looked like about two days ago…

Before

The curtains were being pushed to the side by the bench. Once we install the tiebacks for the drapery panels, I think it would be that much more apparent. I love the bench and its new home. It is now in the guest room, where it be a great spot to place towels, small suitcases, etc. And here is the new option…
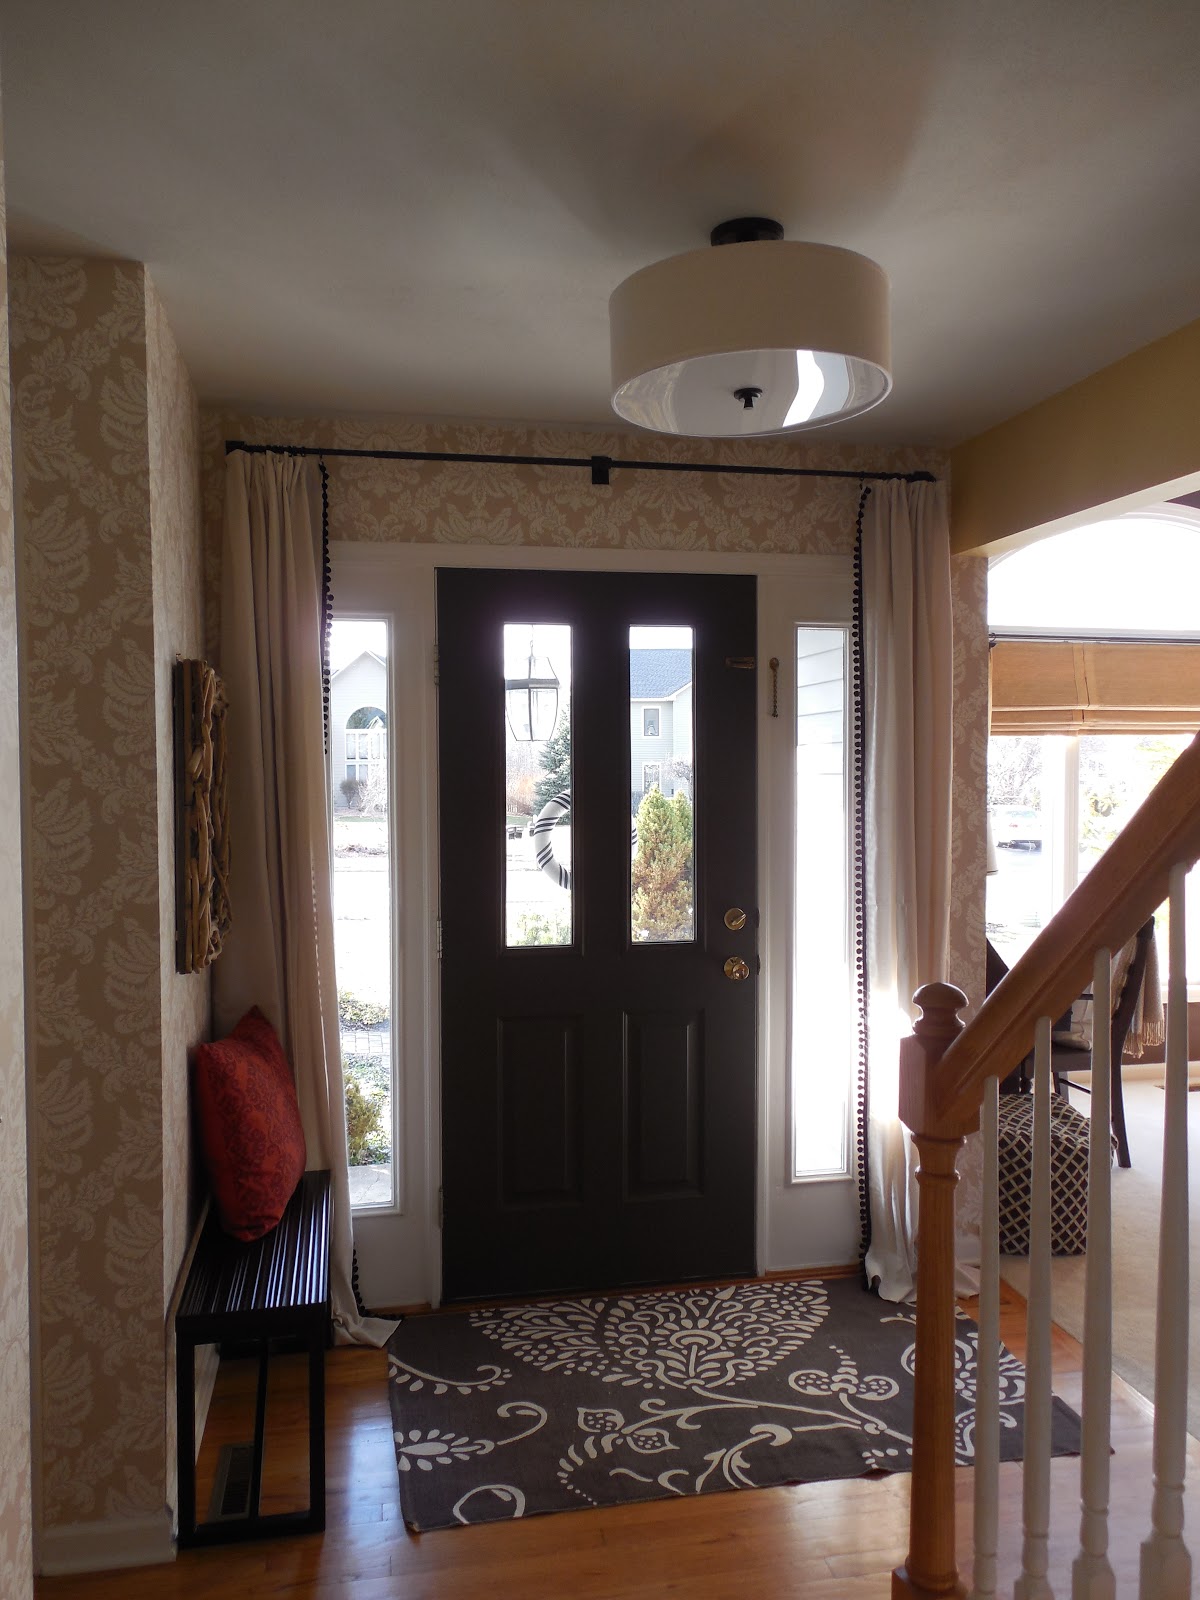
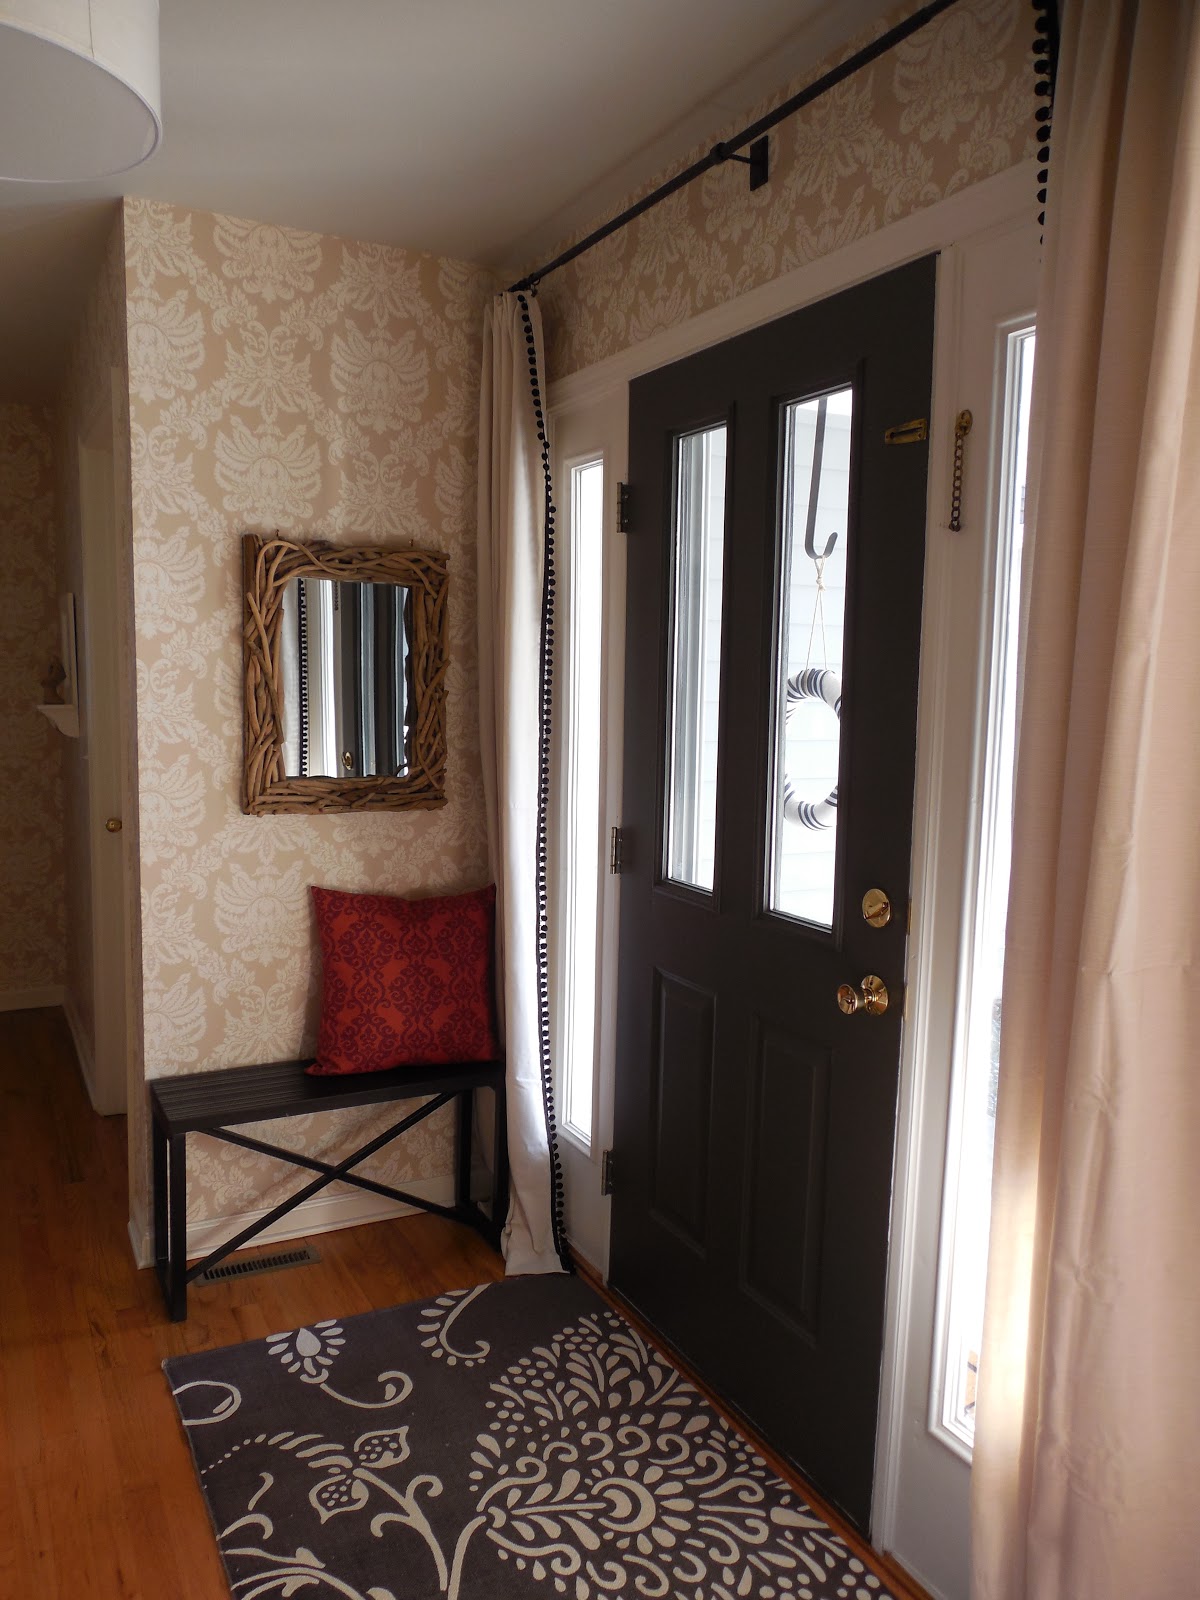
After

I have had my eye on this X bench for a while. It was finally on clearance at Target, and I scooped up the last one! Originally on sale for $69 and I bought it for $41!! I love their Threshold line of accessories and small furniture pieces. Yet again, Target is brining their ‘A’ game! The seat is actually much deeper than the black bench, so it will be much more comfortable when taking off shoes. We will actually use this one! And if I ever feel the need to move it around, X benches are one of those versatile pieces that will work anywhere. I love seeing two under a console and at the foot of the bed. Since I have only one, it will also work great as a side table, with the additon of a small tray. You may have noticed that I also switched out the pillow for the suzani print. I brought up this conversation on instagram, and my blog friend Holly liked the suzani option here better. I would have to agree, so here it is! In my last post about my master bedroom, I mentioned that if you keep a fairly consistent color scheme throughout your home, you will easily be able to switch out accessories from room to room. I was mainly referring to this pillow. Since I have had this suzani print pillow, I have been pulling colors from it and sprinkling it throughout the home. This new bench has the same coral color as in the pillow, the living room wall color has the same brown, the secretary desk lamp has the same turquoise, etc. This way, I can easily shop around my home without worry if it will work in each room.

Still to do… add the curtain tie backs and replace the polyester pillow insert with a down filled option. Always a better alternative! Oh yeah, and paint the stair railing black! And that door in the last picture, too. So much to do, so little time!

{DIY} Adding Pom Pom Fringe

April 2, 2013 by Amber Filed Under: DIY, Featured, foyer, personal design style, project


When I {or I should say my husband) installed a curtain rod above our front door, I chose the same drapery panels that are in our kitchen and family room. I wanted to do a little something more to them, so I decided to add black pom pom fringe to the edges of the panels. I am happy to report that this was super easy to do! It took about 20 minutes one night to get both panels finished!

After

Here’s a little step by step if you are thinking of adding a little pizazz to store bought drapery panels…

The Materials

You Will Need

1. Black Pom Pom Fringe cut to size
2. Aleene’s Fabric Fusion
3. Drapery Panels
4. Scissors

I had the lady at Jo Ann Fabrics cut the pom pom fringe to size for each panel. She was great and added an extra few inches, which I cut off after the project was complete. It was nice to have that extra bit of fringe in case one side had an unfinished edge.

First, I layed the fringe in place to make sure I liked the way it looked. When I knew I had enough and it was just the way I wanted, I moved the fringe to the side and started to add fabric fusion to the panels. I love this stuff! I have used it to attach trim to lamp shades and now this! The fabric is washable after 24 hours and can also be dry cleaned! I don’t have a picture of this step, since I was using both hands, but I applied the fusion about 1/4 ” from the edge of each panel.

I started this project on the carpet, and then realized I might be getting permanent glue on the carpet! Not good. Luckily, I didn’t… but I came up with another way to do this project just to be sure-

I decided to place an old sheet under the panel where I was working. Both are terribly wrinkly, but nothing is perfect during the process, is it??

I waited about an hour to make sure the glue was secure to the panels. This stuff is amazing. It adhered so well and I could tell it wasn’t going anywhere. I decided to add a little fabric fusion to the top and bottom of the fringe, to prevent fraying. The lady at the store said I could stictch the edges to prevent fraying, but this girl doesn’t sew! So, the fusion will also work like a charm. I was too excited to wait until the next day to attach the panels to the curtain rings, so I went for it!

Next up, is painting the stair railing black! One of these days!  ๐Ÿ™‚ Oh, and of course adding drapery tie backs and steaming those panels. Is it ever done???

{Client After} DIY Art

March 3, 2013 by Amber Filed Under: art, DIY, e-decorating, e-design, project


I have another after photo to show from one of my recent projects! I love being able to see projects come to life. This is for a client looking to add new modern touches to her lower level space. We are adding a gallery wall of photos on her stairway going down into her basement. Here is our inspiration for that…

Source: blog.foundstyle.net via Amber on Pinterest

I love that gallery wall image- gets me every time! With a large collection of photos on the stair wall, I wanted the wall at the end of the stairs to have a graphic impact with typography art. I thought that would balance well with all of the family photos. I instantly thought about a DIY subway sign project! Since this is a space to gather and entertain friends and family, why not greet them with personal art once they walk downstairs! She loved this idea, because she could make the piece meaningful by adding places they have lived and traveled. Here is the completed subway sign:

After…

Didn’t she do a great job?!? She said the project was super simple. In my design presentation, I included a tutorial from my blog friend, Courtney. When Courtney completed this project, she gave a full explanation of what to do and the materials to use on her blog.

Since this photo has been taken, the walls have been painted a gorgeous gray color! I can’t wait to show you more soon. I might just have to try this project myself. It would be so much fun to look at all of the places we have lived and traveled in one piece of art.

So how about you… have you ever made your own art??

DIY: Wrapping Paper Art

February 17, 2013 by Amber Filed Under: design, DIY, great deal, project


As I was in TJ Maxx the other day, {my favorite brick and mortar store} I came across pretty striped wrapping paper. While some may just view it as great paper for wrapping presents, I had other plans! Our fireplace mantel still had frames with Christmas paper inside, so I thought I should switch that out fairly soon. {I know… Christmas was over long ago!} Here is our mantel, starting to get ready for spring…

All I did was open the frame and cut the wrapping paper to size! I decided to use the same paper for both frames, but change the direction of the stripes to make it look a bit different. I still have a ton of paper left for wrapping presents for any holiday! The green would work for any age and gender! {I could even save it for Christmas presents for next year. Imagine this paper with a big red bow!}

Since I already had the matted frames, that’s two pieces of art for $3.99! Not bad.

Have you finished any inexpensive decor projects lately??
Do tell… I will include them in a new post!

DIY: Hemming Your Curtains – The No Sew Way!

September 16, 2012 by Amber Filed Under: design, DIY, project


I meant to show you this DIY project last week, but I fell a bit behind. I recently added new drapery panels to our master bedroom, but they were too long. 84″ panels would have been too short and 95″ panels (the size I bought) were too long. Well, I don’t sew, so I needed to figure out a cost effective way to handle this dilemma. My chosen option… stitch witchery! This is the first time I ever used this, and I loved it! It can also be called ‘hemming tape’ and it’s a no sew option for adding decorative trim, hemming panels or for any fabric project. Here is the finished product: (They still need to be steamed, but hey- some day!)

Here is my DIY tutorial:

1. I first hung my panels on the curtain rod and pinned them to the desired height. That way, I didn’t have panels that ended up being too short! I wanted to make sure they puddled about 1-2 inches on the ground. Then lay your drapery panels out and measure how much you want to hem. I hemmed up about 8 inches.

2. Next, place a couple strips of stitch tape on your panels. I tried to place them towards the top and bottom of the hem, making sure they held up well.

3. Then, bring your panel up to the desired height and press down with a damp cloth, then warm iron. Make sure you continue to move the iron, using small movements.

4. Gently pull back on the part you hemmed, to ensure you have a strong bond. And there you have it- hemming the no sew way!

Pretty soon, I hope to show more of the room, including some new pillows! Stay tuned…

Welcome!

Hi, I'm Amber... a wife, mom and interior decorator. I am the writer of Simple Dwellings and the designer behind Amber B Design. Blog topics are all things design, with the occasional DIY attempt! Thanks for stopping by Read more...

  • Bloglovin
  • Email
  • Instagram
  • Pinterest
  • Twitter

Blog Posts, Straight to Your Inbox

Popular Projects

A dining room with white walls and wooden table.
A black door with white curtains and a red chair
A staircase with black and white chevron pattern on the steps.

Blog Love

  • Addison’s Wonderland
  • A Thoughtful Place
  • Alison Giese Interiors
  • Amber Interiors
  • Bailey McCarthy
  • Caitlin Wilson
  • Chris Loves Julia
  • Classic Casual Home
  • Cottage and Vine
  • Design Indulgence
  • Dwell by Cheryl
  • Eddie Ross
  • Elements of Style
  • Emily A Clark
  • Emily Henderson
  • Gallery No Eight
  • Hi Sugarplum
  • House of Jade
  • Jana Bek
  • Juniper Home
  • Kate Marker Interiors
  • Lucy Williams
  • Monika Hibbs
  • Our Fifth House
  • Pencil and Paper Co
  • Rachel Parcell
  • Rambling Renovators
  • Pure Style Home
  • Sita Montgomery
  • Studio Mcgee
  • The Makerista
  • The White Buffalo Styling Co
  • the Zhush
  • Traci Zeller
  • Young House Love

Copyright Amber B Design © 2025 ยท Design by Britt Douglas