I am so excited to have a special guest blogger here with us today. Jordan, from the blog The 2 Seasons, is here to share a very creative art project and a colorful way to fill a wall space in your home. Jordan shares a fun design/DIY blog with her mom Janette. Not too long ago, Jordan and I realized we lived near each other and share so many of the same interests! I can’t wait for you all to see this creative art project…
Hello, everyone! I am Jordan, the daughter half of the mother/daughter lifestyle blog called The 2 Seasons. My mom Janette and I have been writing our blog together for the past three years. I am so pleased that I discovered Amber and her blog. Plus, we found out that we live very close to each other, and we had the opportunity to meet in person. That was fun!
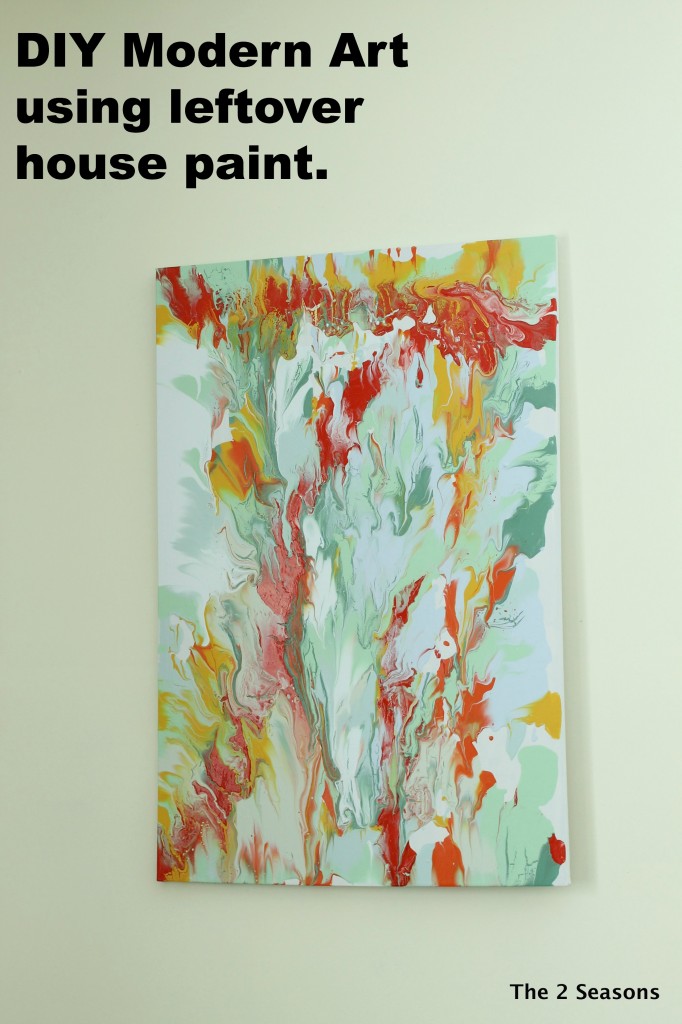
As a southern girl who now lives in central New York, I have learned the winters here are very long. I try to do things that will keep me busy, and this is the perfect winter-time project. We love color here at The 2 Seasons and making modern art during the gray months is one way to incorporate color into our traditional homes. My mom made a couple of modern art projects (here and here), and I followed to make my own. We have a blank wall in our study, and I definitely wanted to add some spring color in the form of DIY art. Some people say this isn’t art but that instead it is making home decor. Whatever it is called, it is a great way to create color and interest for your walls while the winter blasts away outside. Plus, it’s an automatic conversation piece.
We discovered the artist Cassandra Tondro and all of her amazing work. I found out she also had some Youtube videos that teach how to make your own art out of left over house paint. It looked like a fun project, and I decided to give it a try. I am happy to report that I had great success following her method, and I am about to share it with you.
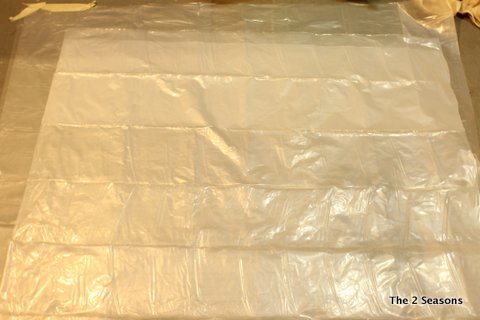
To get started, you need a canvas, plastic drop cloth, old house paint, gloves. The first step is to find an area where you can spread out a couple of layers of the plastic drop cloth. I worked in my basement so the photos are not the best.
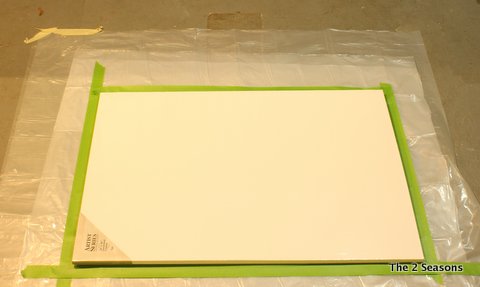
Once the plastic drop cloth is on the floor, take your canvas and map its size. I just marked the sides/size with Frog tape. You can also use a felt-tip marker if you don’t want to use tape.
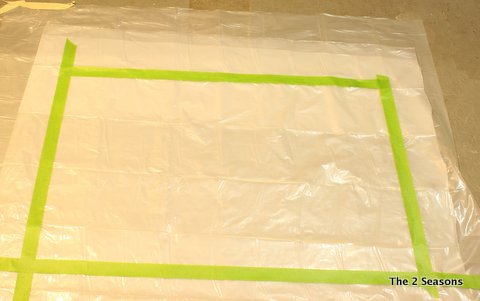
Here is the plastic marked with the size of the canvas. This serves as the guideline for where the paint goes.
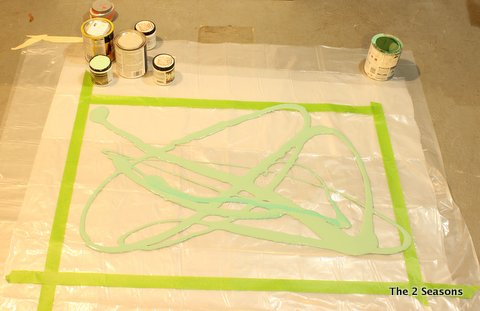
The next step is to get your paint ready to go. Remove the lids and stir each can of paint so that it is well-mixed. Put on some fun music, and take your first color and start pouring. This is when you determine if you want to make a design and how you want your colors to blend and mix.
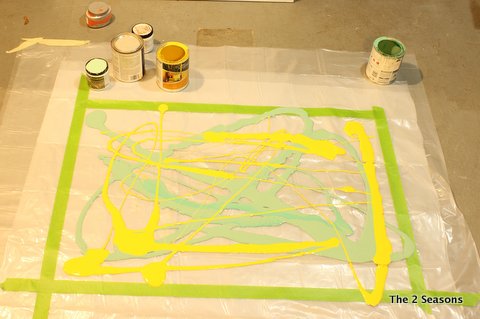
The next couple of pictures all show me adding the color to area.
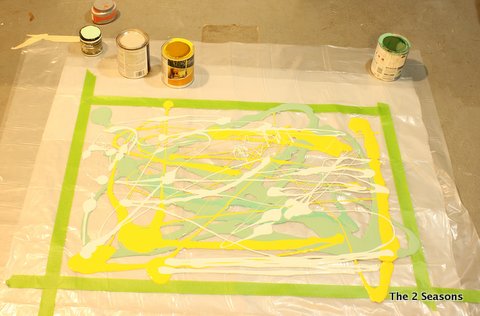
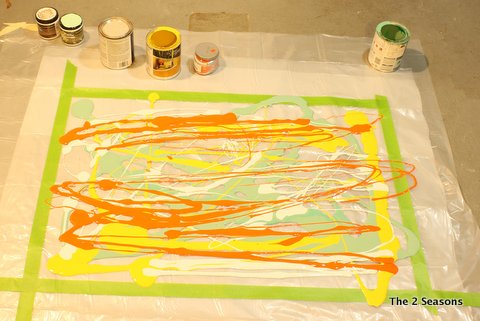
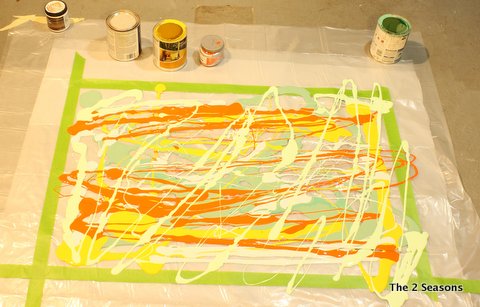
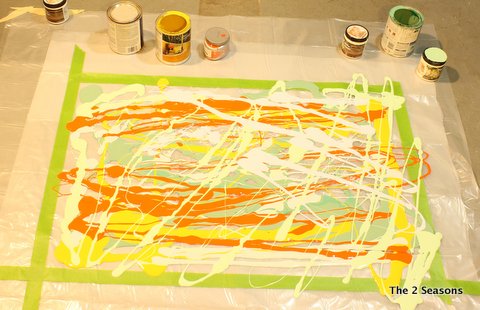
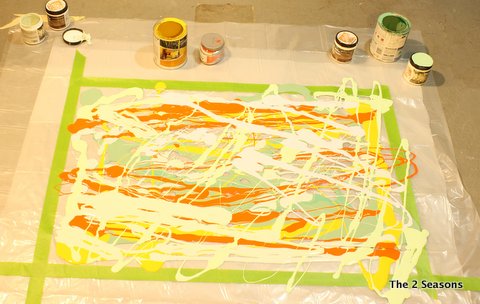
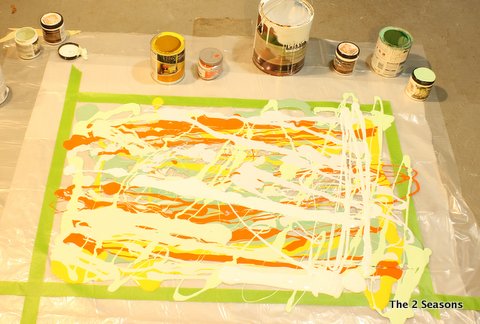
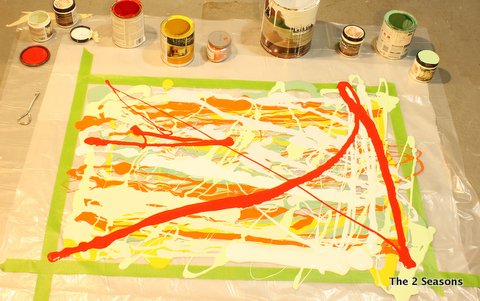
I had a lot of paint samples that I used. This project uses a lot of paint. The Habitat Restore sells house paint at a deep discount so if you need additional colors be sure to check out your Restore. Also, you can sometimes find discounted cans of mistake paint at Lowe’s and Home Depot.
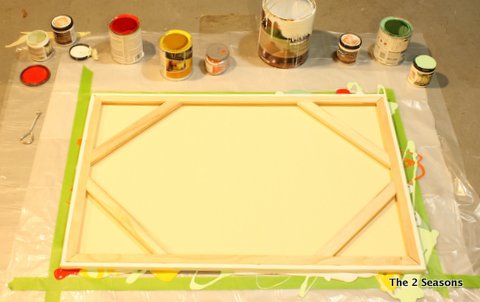
Once you are happy with your colors and design, gently place the canvas on top of the paint. You can do an undercoat on the canvas beforehand if you want, and allow it to dry first. That is a way to add an additional color to your creation.
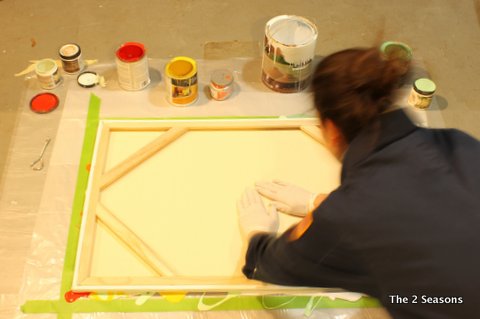
Take your hands and rub them on the canvas to get out any air bubbles and to spread the paint around and cover the canvas.
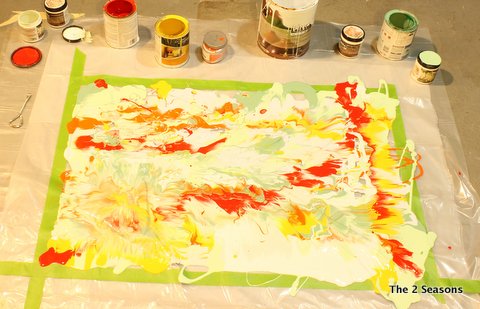
When you think you have covered the whole canvas, pull the canvas directly up from either a side or straight up. I pulled up from a side. Take it to an out-of-the-way area to dry for a couple of days. The colors need to dry and set so they won’t run when you hang it on the wall.
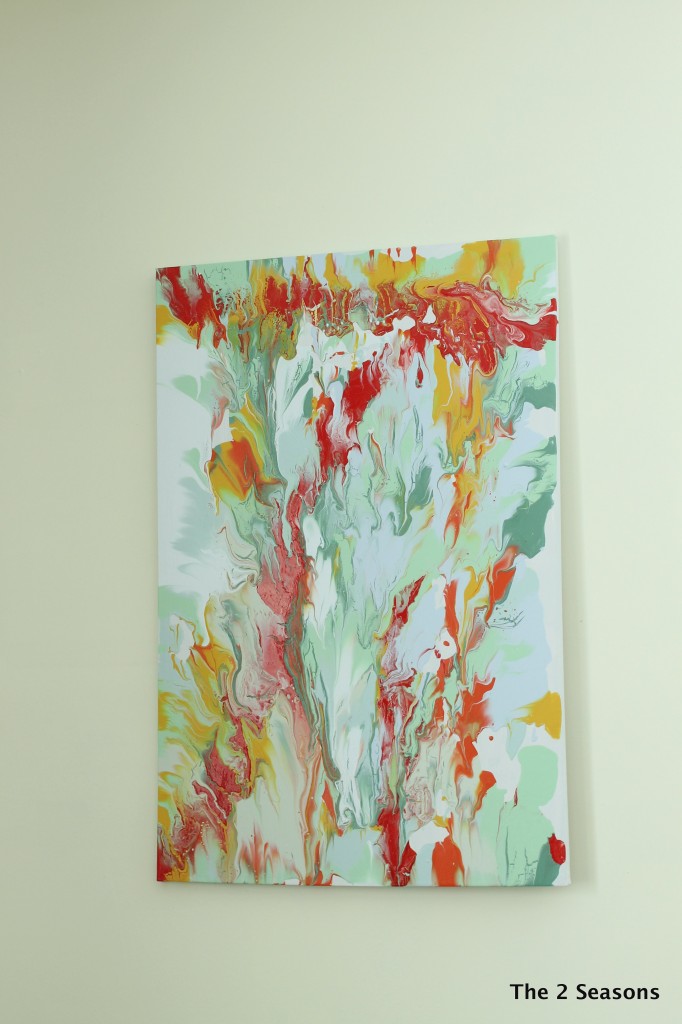
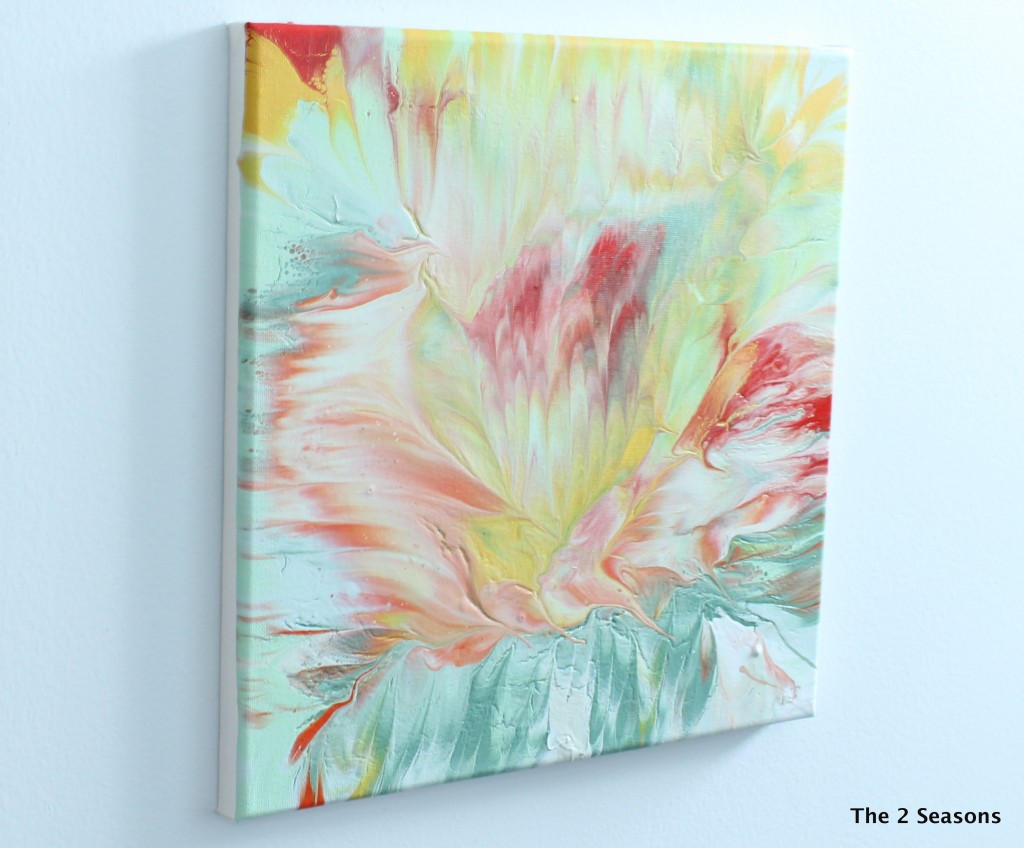
My canvas measured 24 x 36, but I also had a small canvas on hand. Since I had a lot of paint on the plastic, I decided to make another small creation using the same colors.
The possibilities are endless, and this would be fun for all ages.
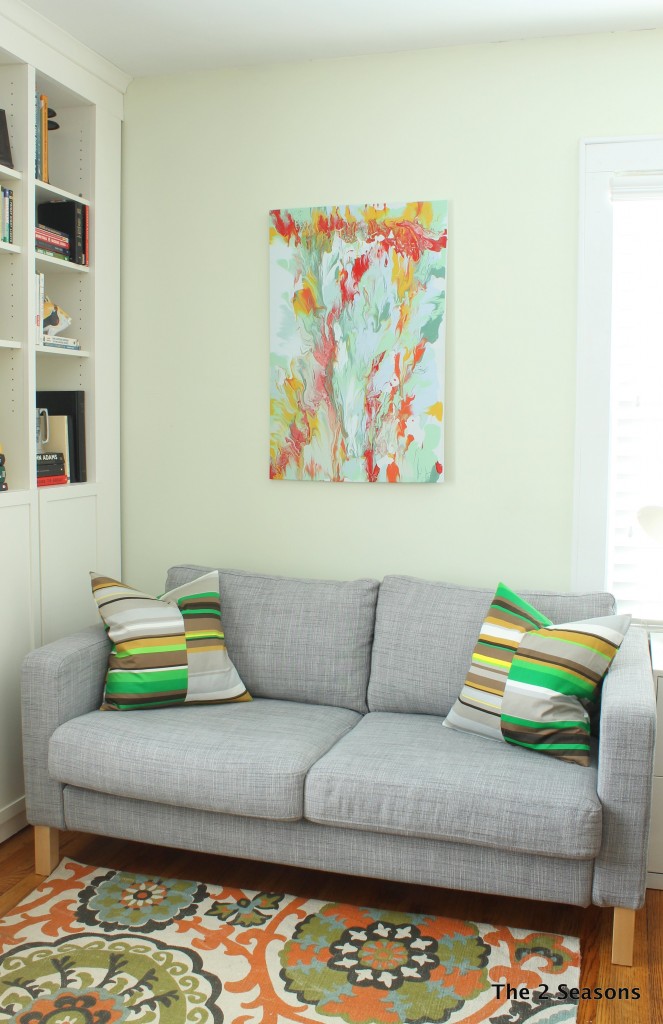
The painting now has a home in our study and I LOVE it!

I would like to thank Amber for allowing us to guest blog for her today. We hope you stop by our blog and feel free to like us on Facebook or follow us on Pinterest.
Cheers!
That is definitely gorgeous art to me!! And I also love to put on some music when I paint. 🙂 Thanks so much to Jordan for stopping by and sharing this amazing DIY paint project with us! Be sure to check out The 2 Seasons blog to see what Jordan and Janette are up to next!
What a fun project, and so easy! Thanks for sharing.
Whoa. This is cool! I never imagine doing this easy step. I have been dreaming to be an artist, but ‘m not that good. Your idea helps me to create a one-time yet exquisite art. DIY!
Sebastian of
Granny Flat Super Store
This is awesome, and so much fun!
Hi to all, as I am really eager of reading this website’s post to be updated on a regular basis. It carries good data.
Paints colour ideas Nepal
Color Nepal
Cheap paints colors Nepal